Join me and make this fun Space Kitty shirt today! All you need is a cricut machine, infusible ink and an easy press to start now! Make sure you check out the other gals post at the end of my blog for more DIY wearable ideas!
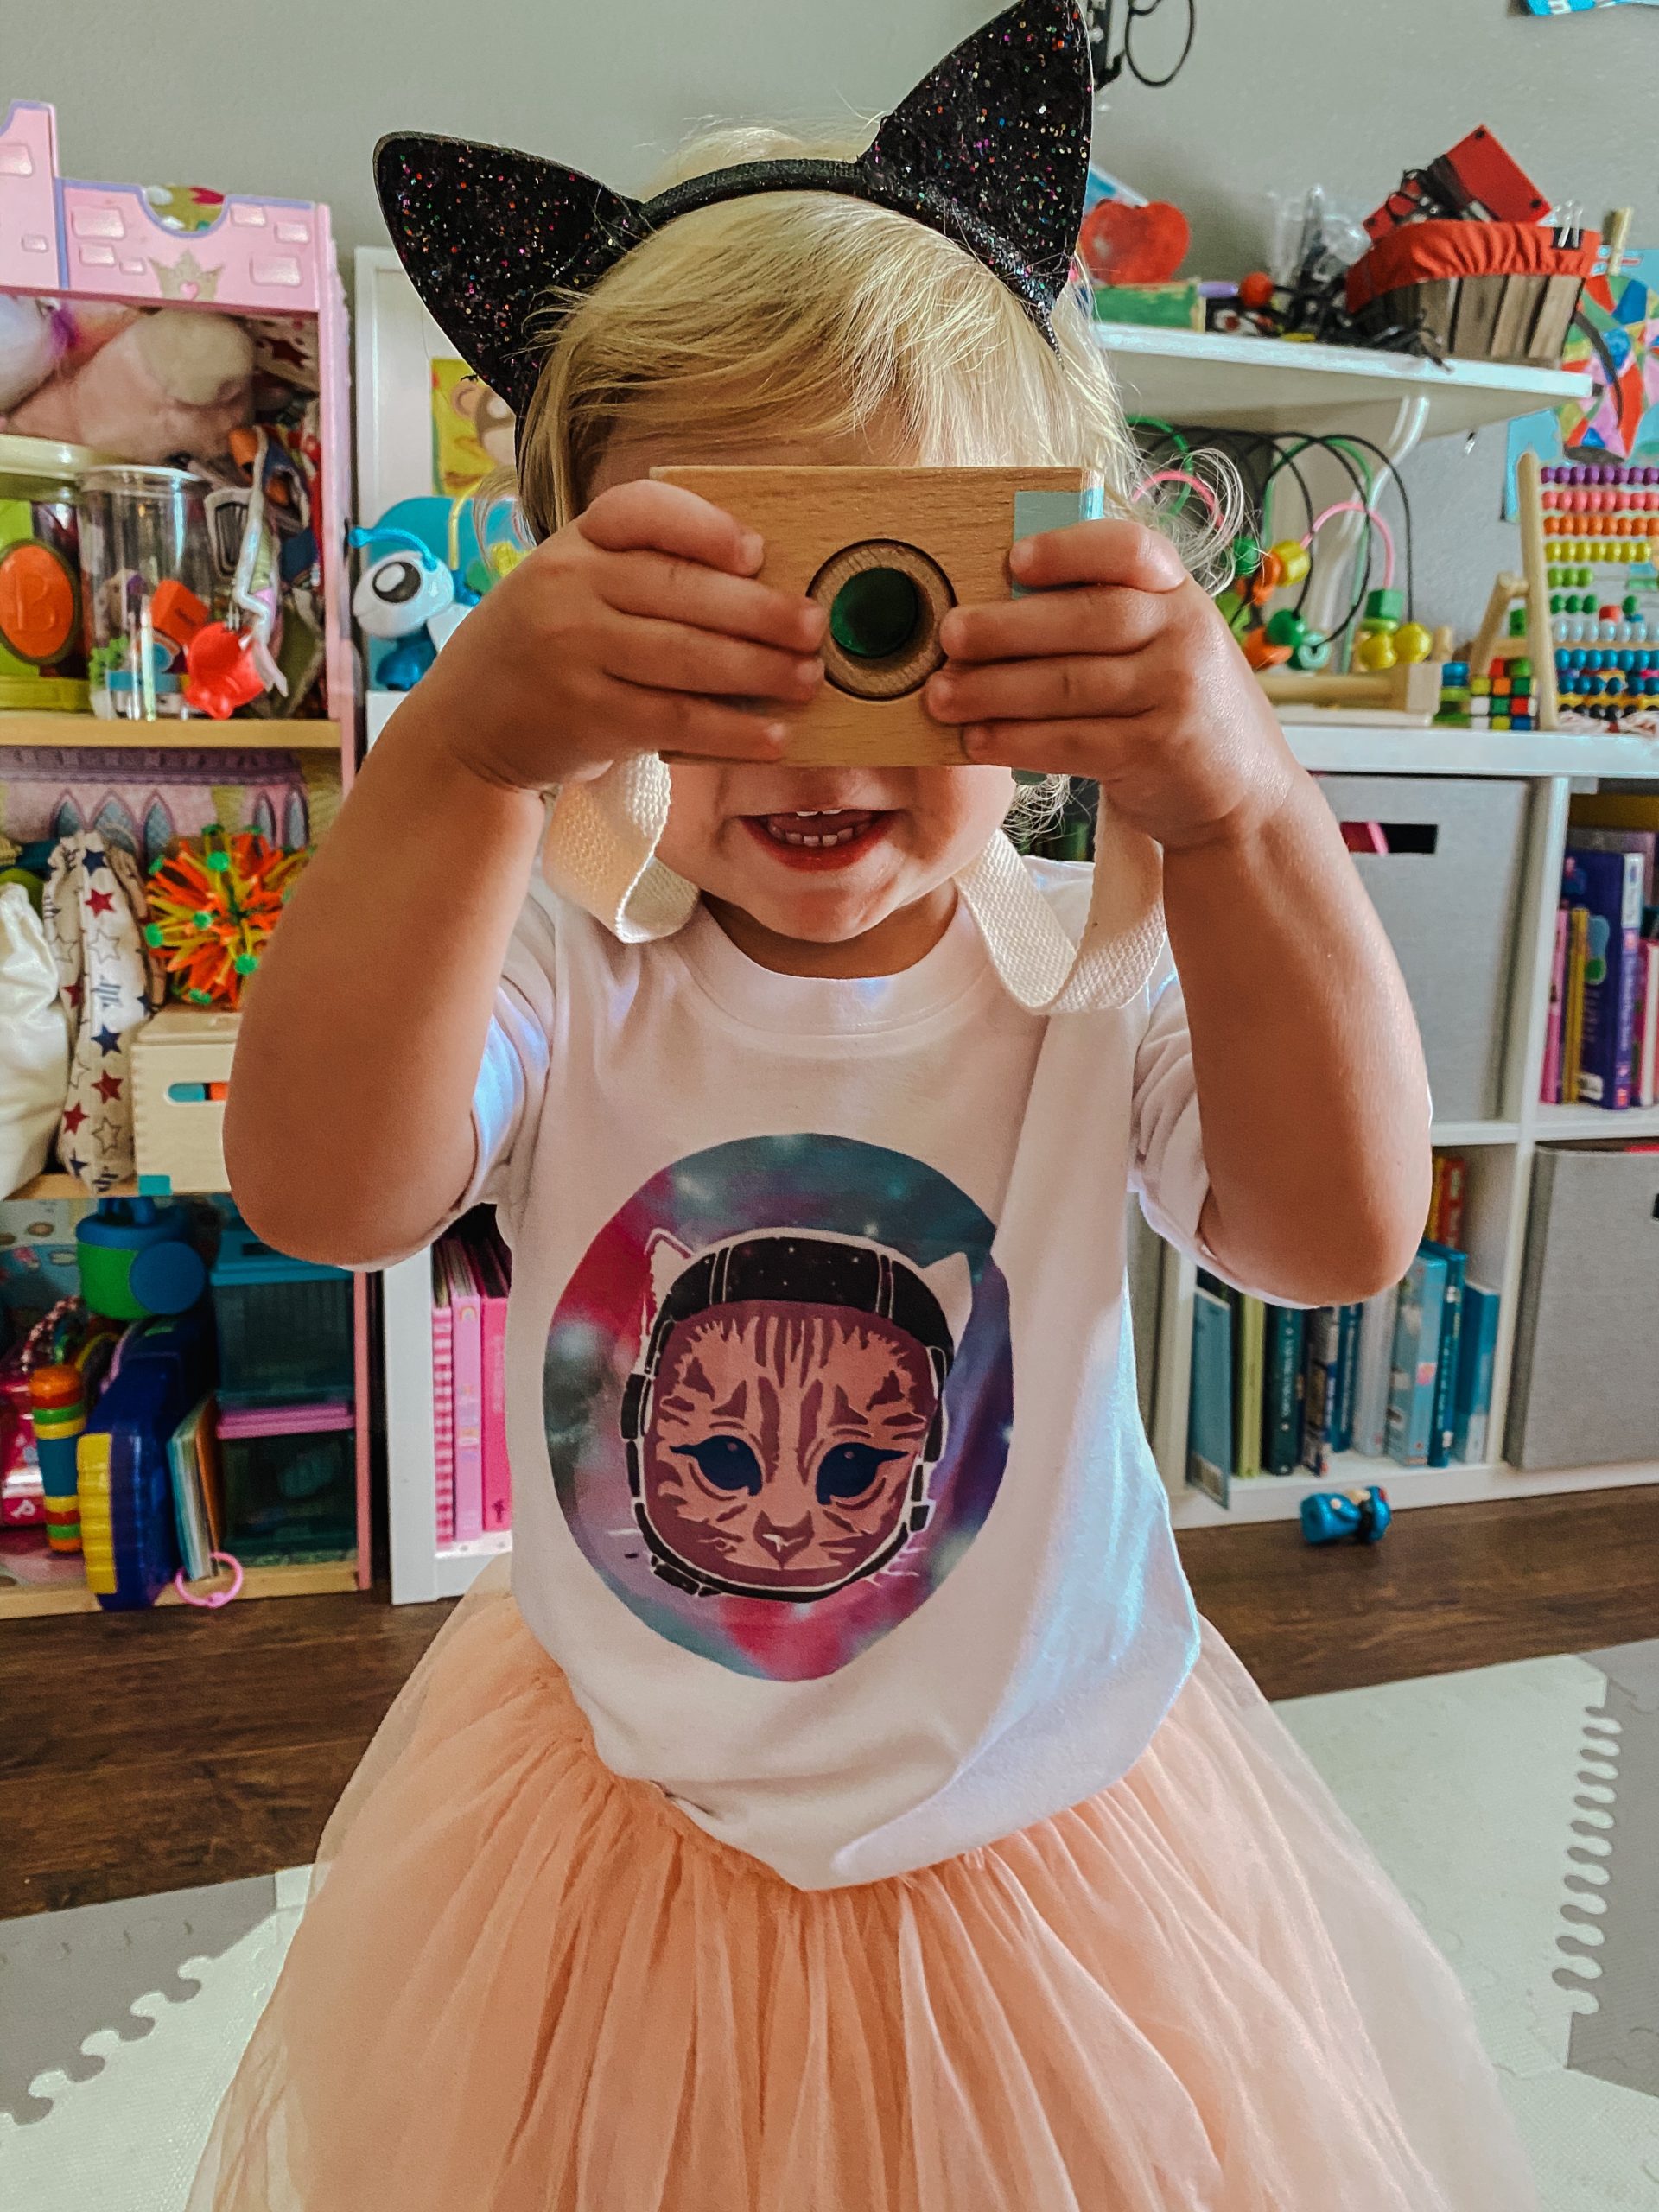
Join me and make this fun Space Kitty shirt today! All you need is a cricut machine, infusible ink and an easy press to start now! Make sure you check out the other gals post at the end of my blog for more DIY wearable ideas!
DIY Sight Word Kids Game It’s a blog train! Make sure check out the other fun DIY kids crafts at the end of my blog I don’t know what it is but every time …
How to layer with the Cricut Joy So you got the Cricut Joy and now you are wondering what’s next! The convenient thing about the Joy is that you can make labels in a jiffy. …
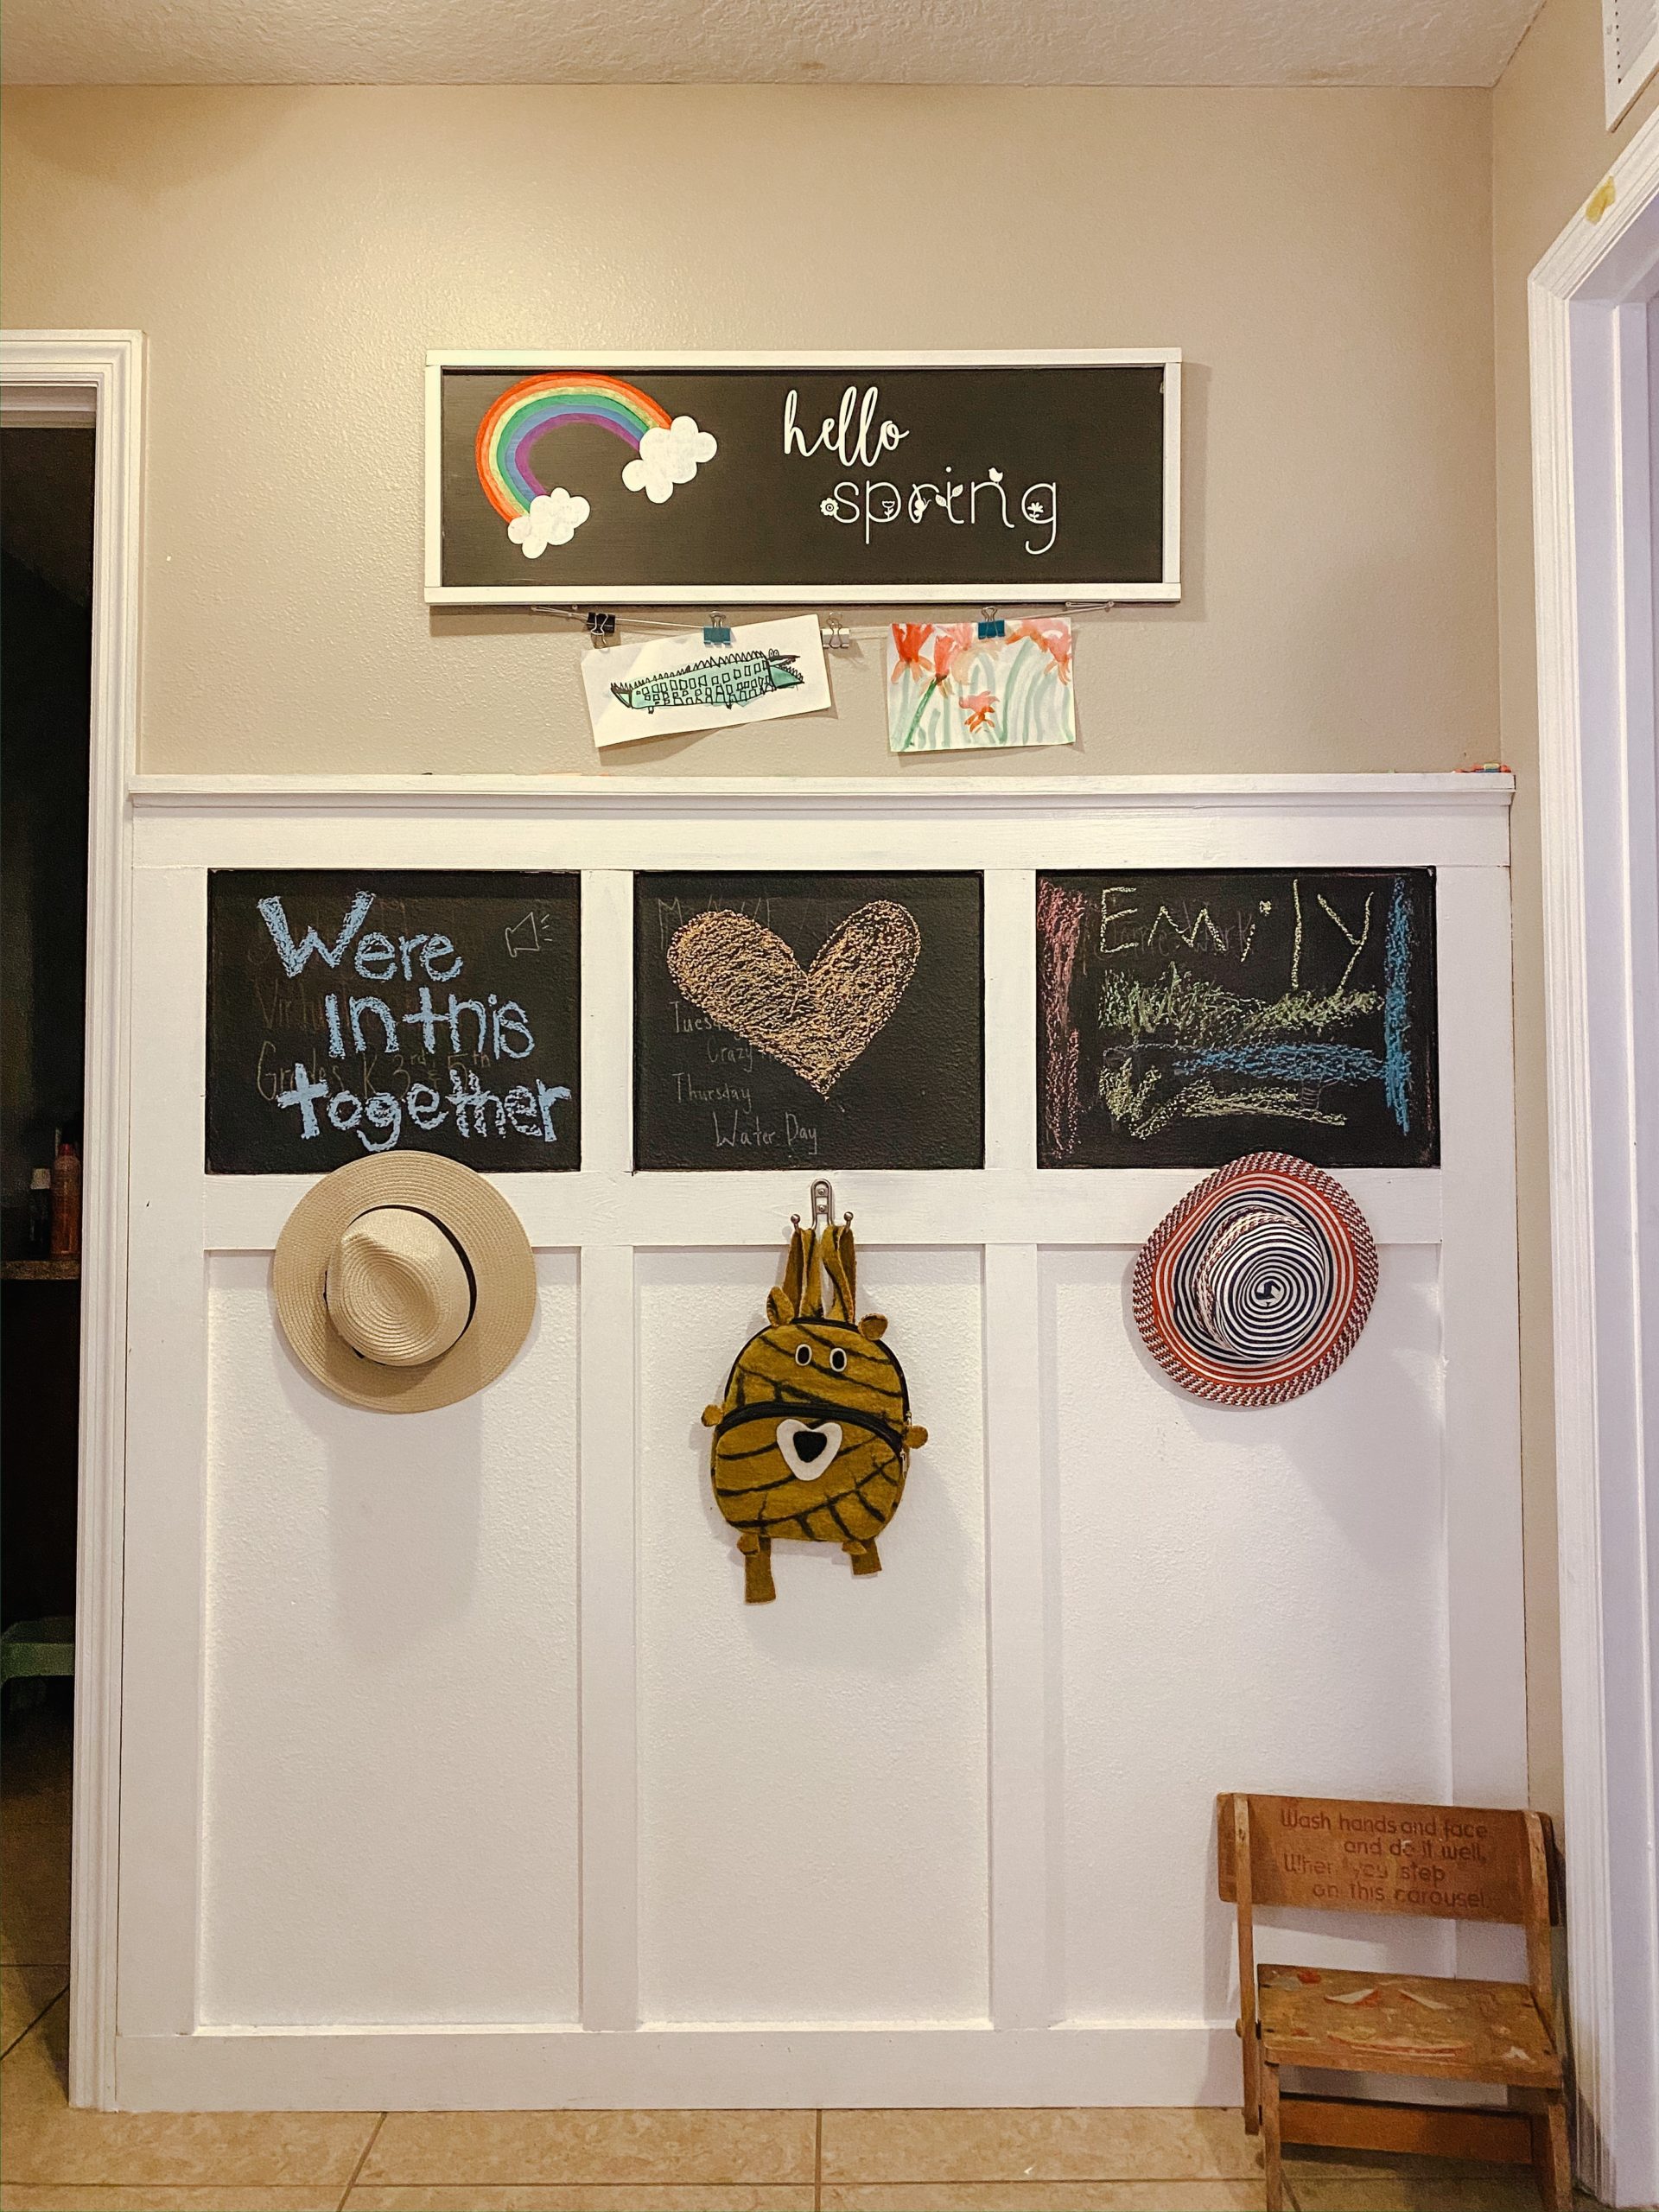
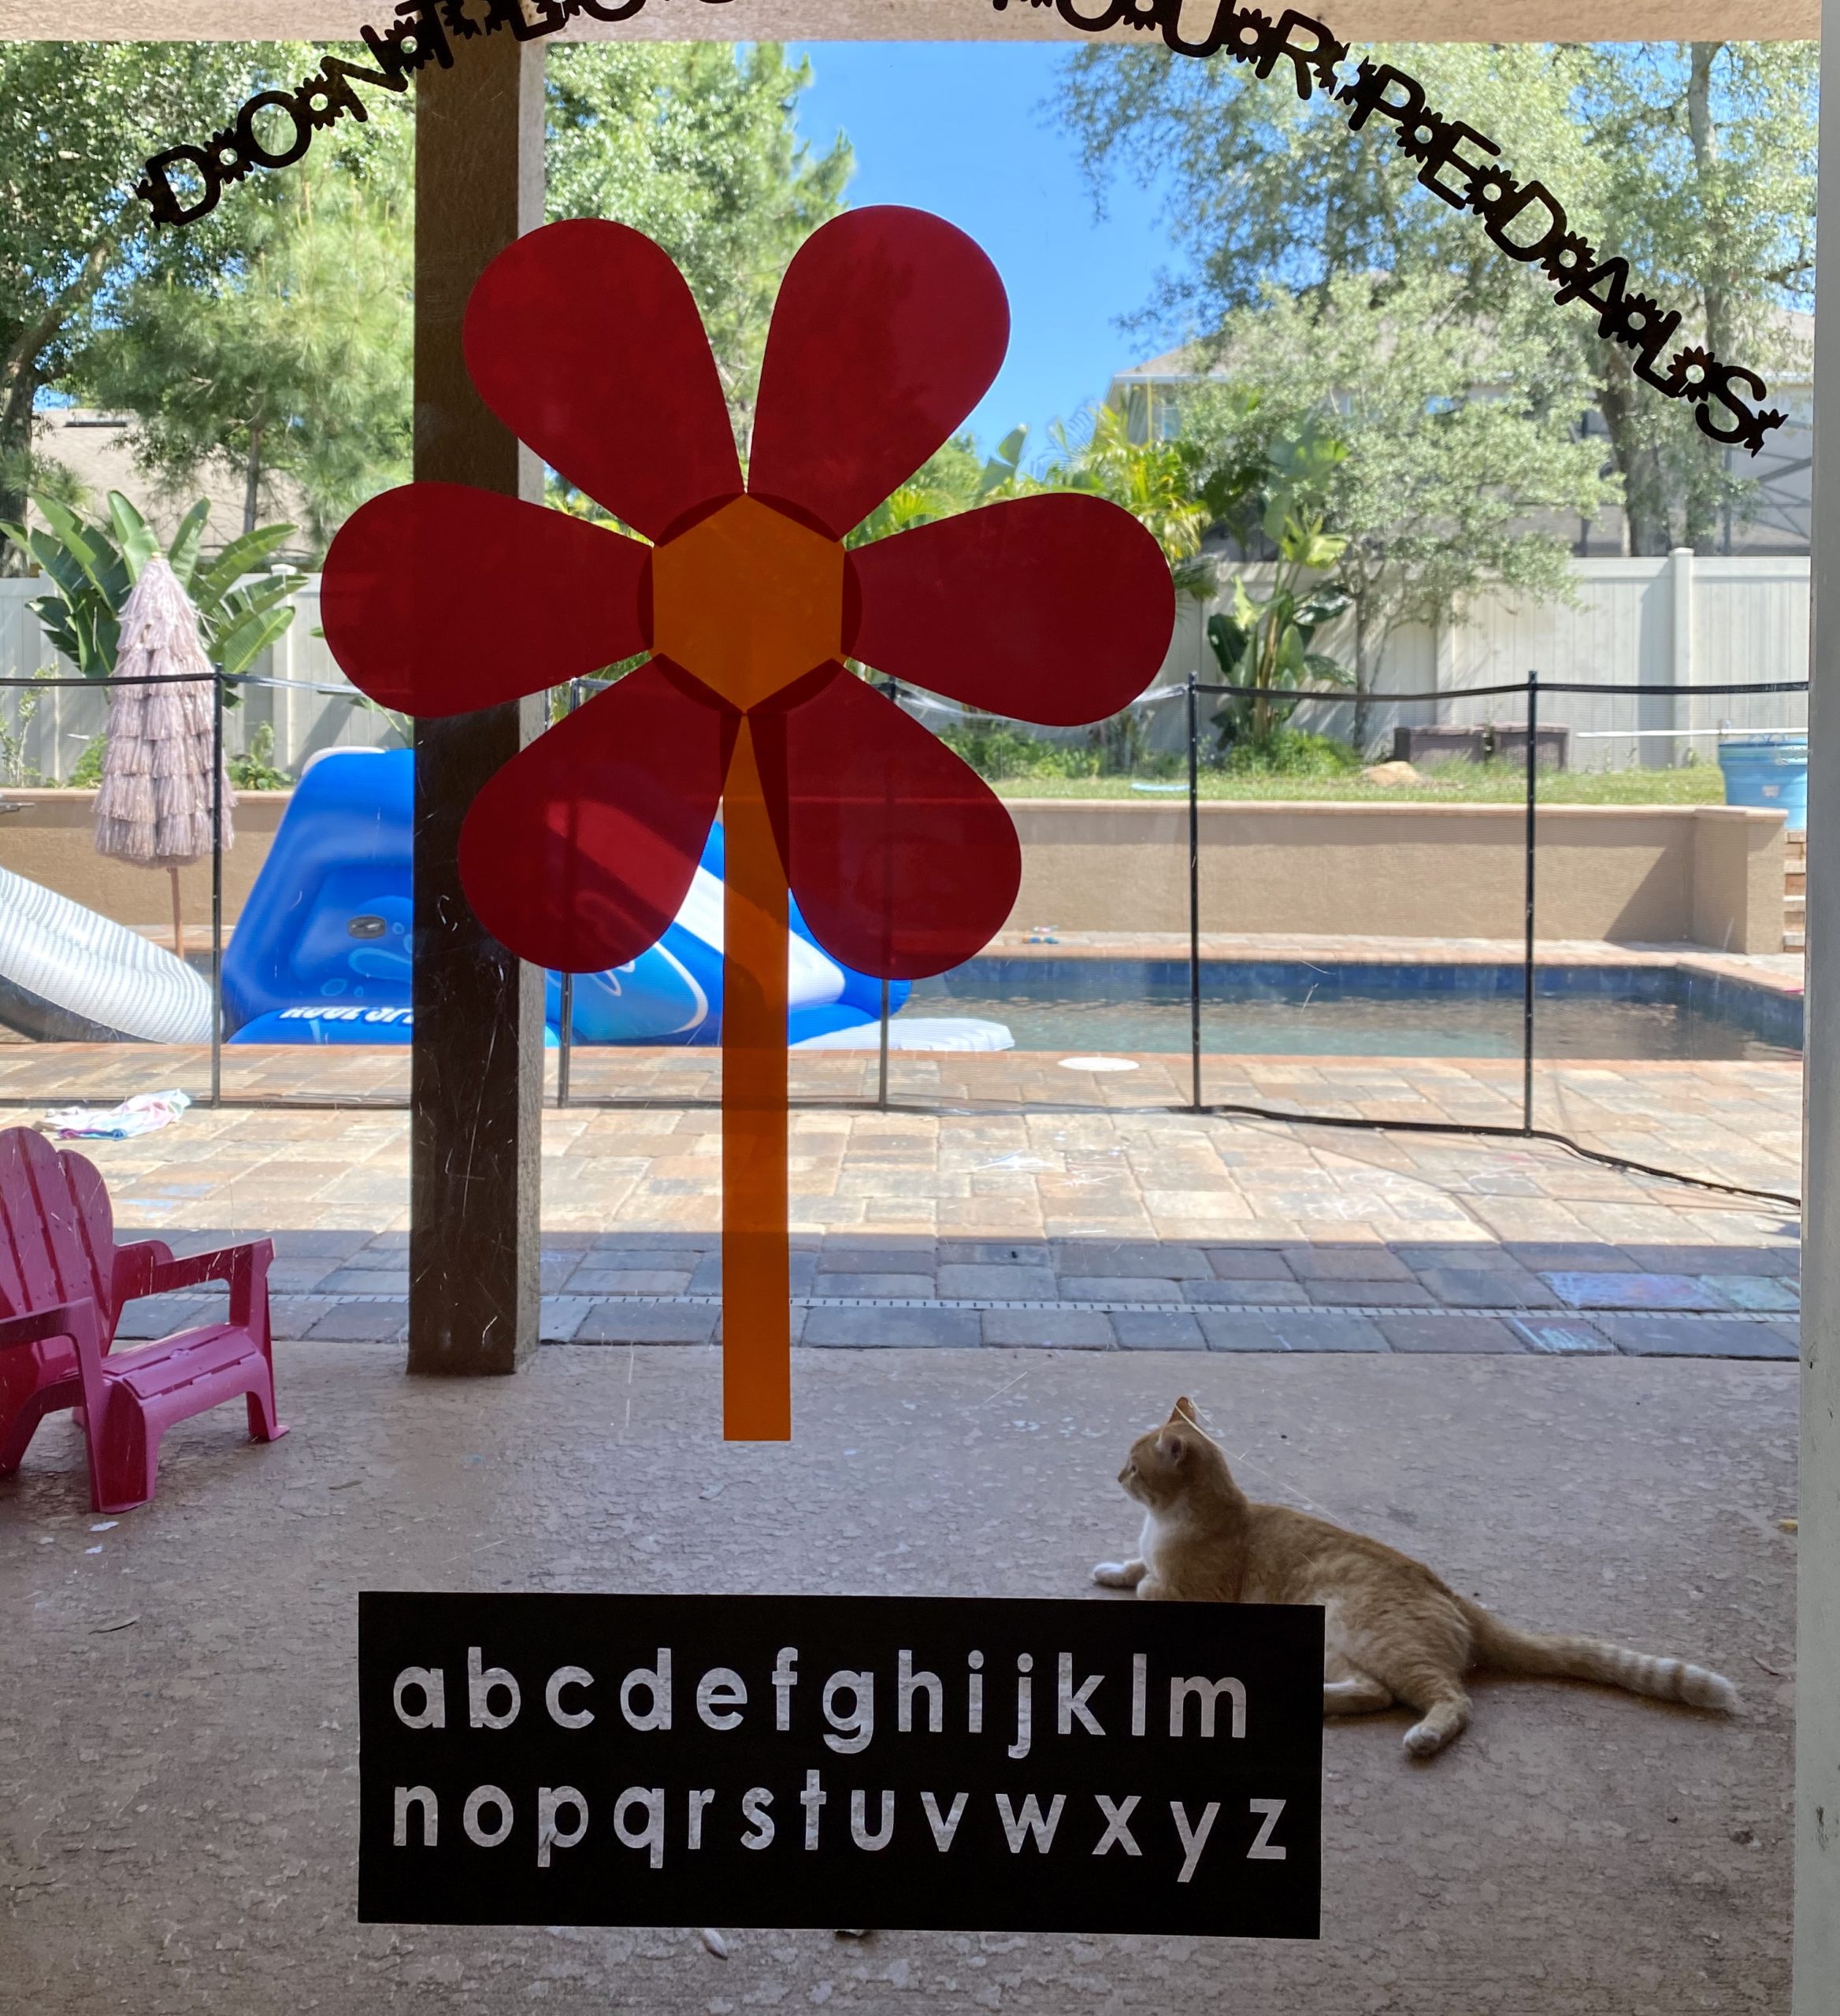
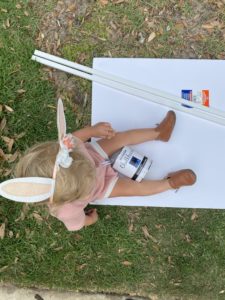
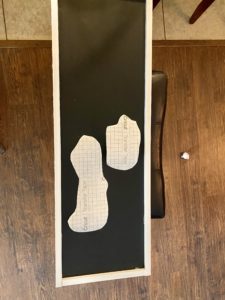
Spring is in the air and with everything going on I’ve had a lot of free time to work on a few crafts around the house. If there is one thing I love to do, it is to repurpose what I already have laying around. The inspiration for this craft actually came from my oldest son Tyler’s science fair project. He was required to make a trifold board to present his Elephant Tooth Paste to his class. Well, the project was turned in via FlipGrid ( I still think that is so cool how they have adjusted to distant learning) and we were left with this awesome Elemer’s Trifold Board. Because I hate to throw a good thing away I spent some time thinking about what I wanted to do with it and thats when I came up with the idea to make a DIY Spring Chalkboard!
Here’s what you need:
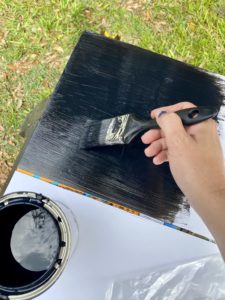
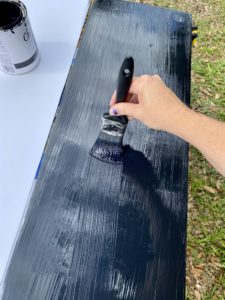
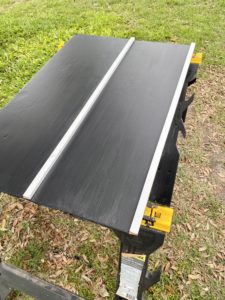
We happen have the Rustoleum Chalk paint from a pervious home project, but you can pick up a 1 Qt. from Home Depot for $12.00 or less. What is nice about this paint is that it dries really fast so you’re not waiting a long time to make your board. While you are waiting for it to quick dry you’ll want to cut the wood. I chose an already white squared wood from Home Depot. It was $0.69 a foot so I think it was under $5? But I didn’t have to paint so that saved money and time.

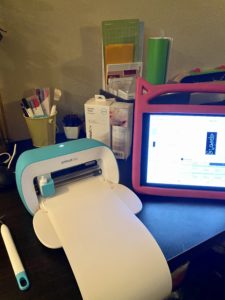
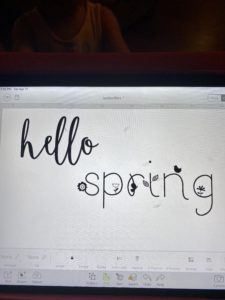
After your paint has dried and your wood is cut you’ll glue on your boarders. Next, you’ll want to let your creation loose. Here is the vinyl project for my Cricut Joy. Choose what you’d like to draw. I was torn between rainbow, flowers and garden items. I went with the rainbows because it’s Emily’s favorite.
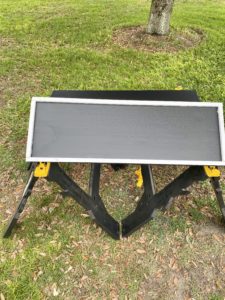

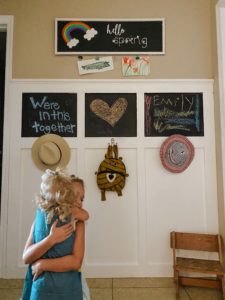
And there you have it! You can use the other side of the board to create one for another holiday or fun sign. Now head over to the next Spring Blog Train to see some other fun crafts.
Thank you all so much for reading! I can’t wait for you to see the other participating crafts! Head over to these pages to check them out and don’t forget to share your attempts with us!
Kayla
Instagram.com/kaysdailyinsight
kaysdailyinsight.com/
Doris
mommadoris.home.blog/
Instagram.com/momma_doris_
Bria
briasnyder.com/
Instagram.com/Bria.snyder
Kalah
kayandbabe.com/
Instagram.com/kayandbabe