=Next Counting by 10’s to 100 Spring Kite. The sun is shining, the wind is blowing and the fragrance of fresh blossom flowers are in the air. While your stuck inside it doesn’t mean you can’t …
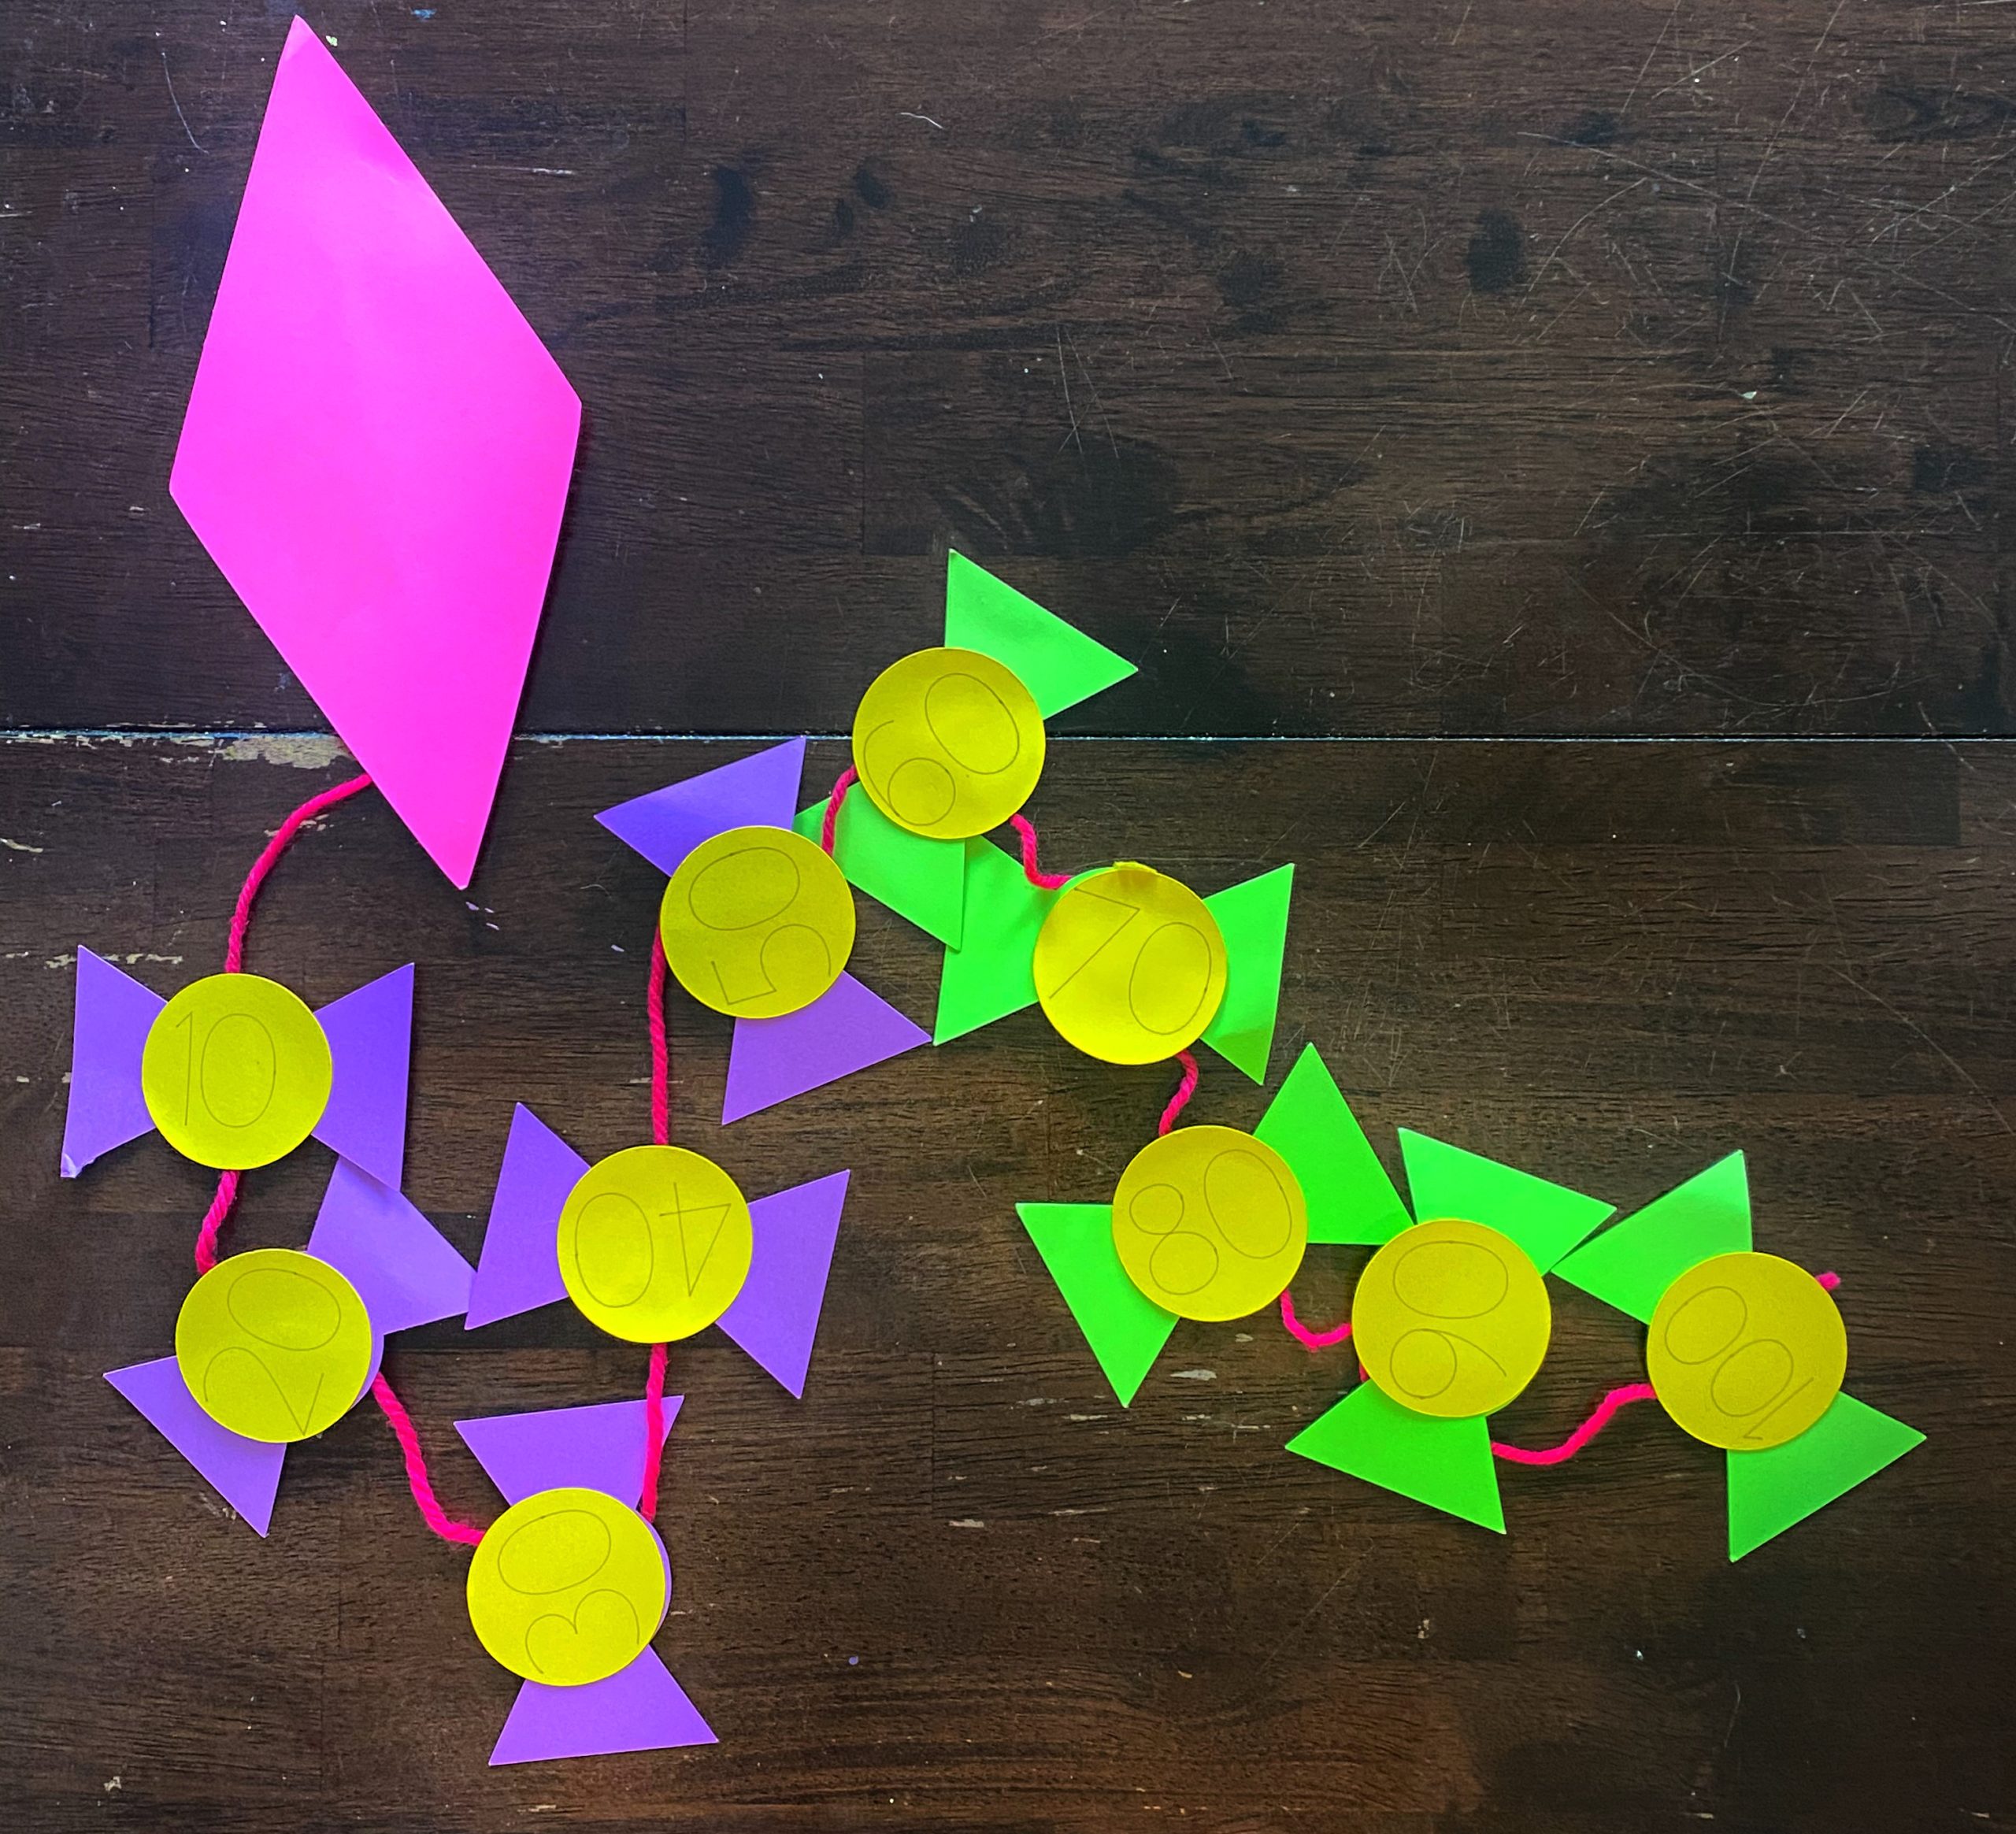
=Next Counting by 10’s to 100 Spring Kite. The sun is shining, the wind is blowing and the fragrance of fresh blossom flowers are in the air. While your stuck inside it doesn’t mean you can’t …
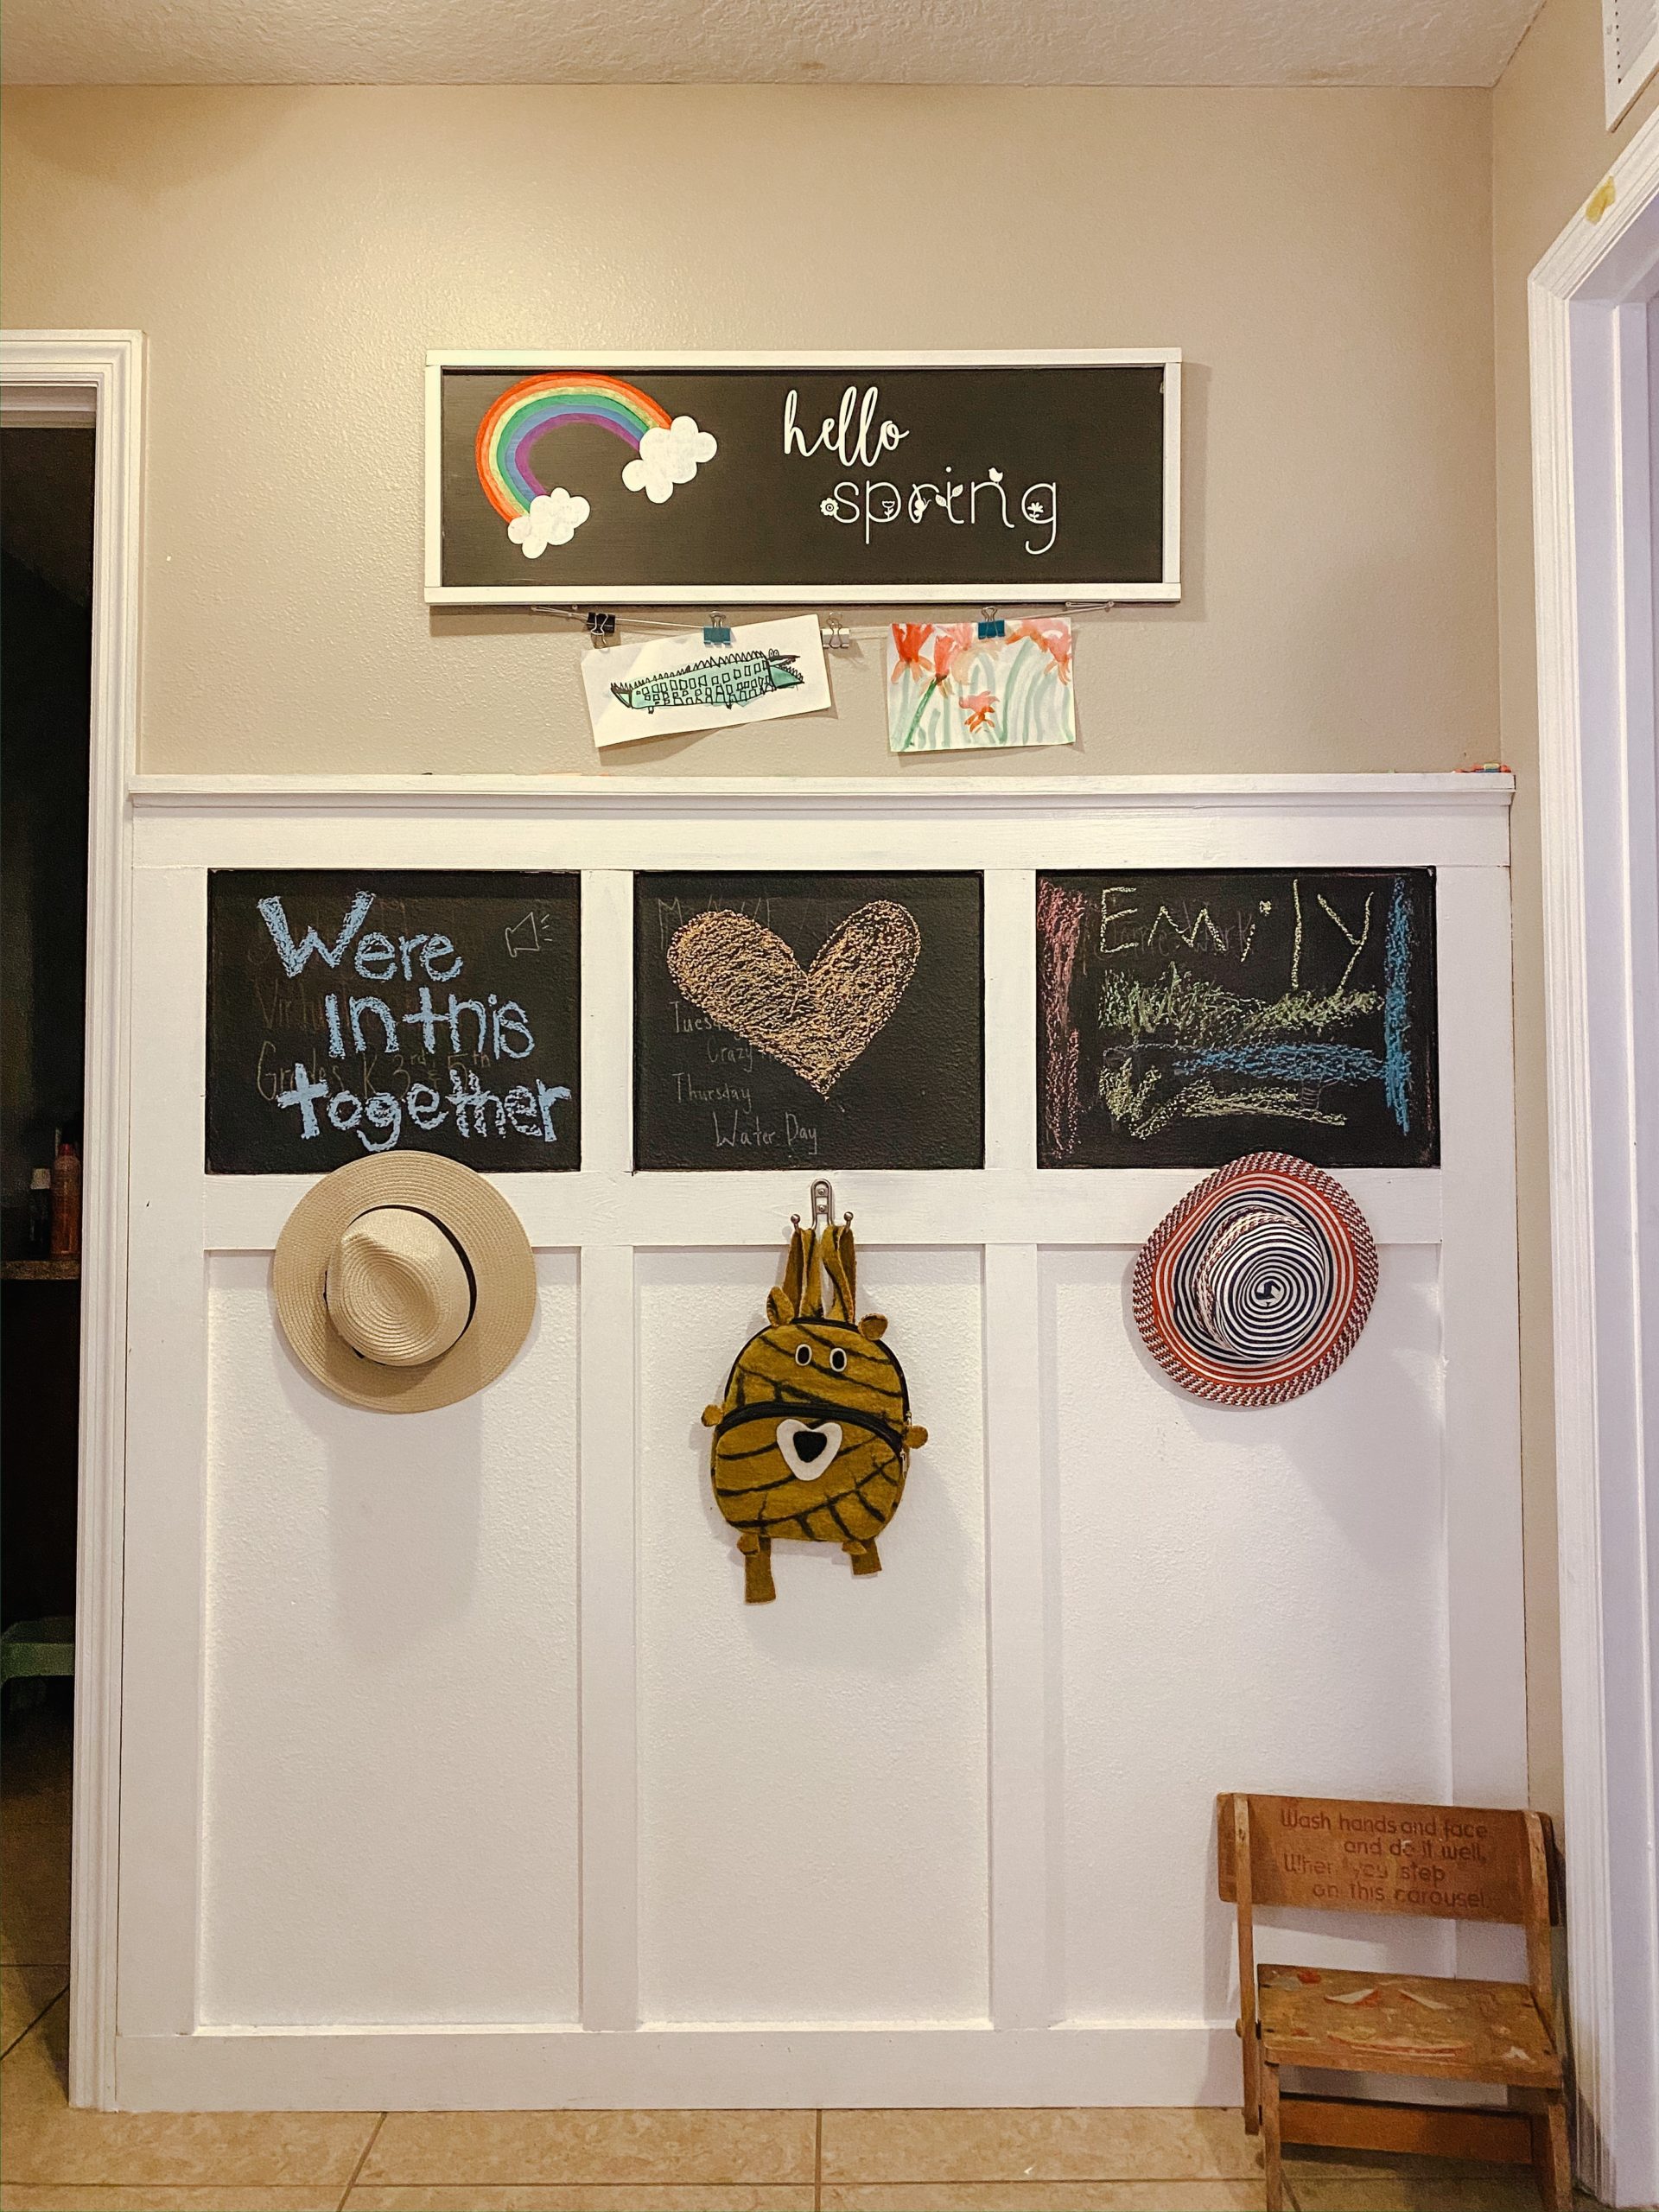
Spring is in the air and with everything going on I’ve had a lot of free time to work on a few crafts around the house. If there is one thing I love to do, it is to repurpose what I already have laying around. The inspiration for this craft actually came from my oldest son Tyler’s science fair project. He was required to make a trifold board to present his Elephant Tooth Paste to his class. Well, the project was turned in via FlipGrid ( I still think that is so cool how they have adjusted to distant learning) and we were left with this awesome Elemer’s Trifold Board. Because I hate to throw a good thing away I spent some time thinking about what I wanted to do with it and thats when I came up with the idea to make a DIY Spring Chalkboard!
Here’s what you need:
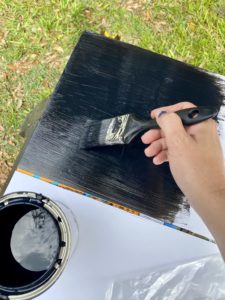
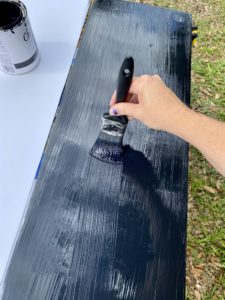
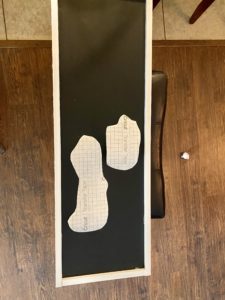
We happen have the Rustoleum Chalk paint from a pervious home project, but you can pick up a 1 Qt. from Home Depot for $12.00 or less. What is nice about this paint is that it dries really fast so you’re not waiting a long time to make your board. While you are waiting for it to quick dry you’ll want to cut the wood. I chose an already white squared wood from Home Depot. It was $0.69 a foot so I think it was under $5? But I didn’t have to paint so that saved money and time.

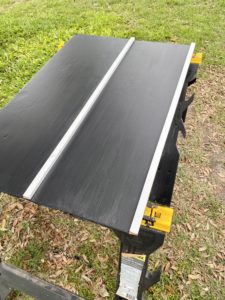
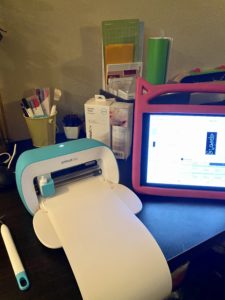
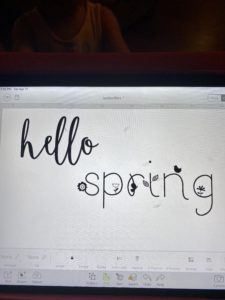
After your paint has dried and your wood is cut you’ll glue on your boarders. Next, you’ll want to let your creation loose. Here is the vinyl project for my Cricut Joy. Choose what you’d like to draw. I was torn between rainbow, flowers and garden items. I went with the rainbows because it’s Emily’s favorite.
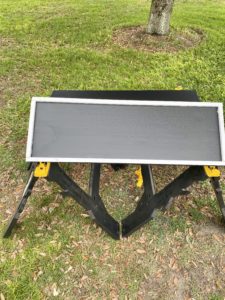

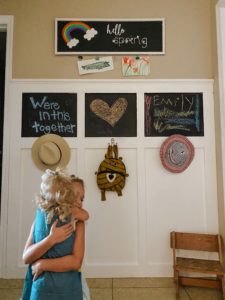
And there you have it! You can use the other side of the board to create one for another holiday or fun sign. Now head over to the next Spring Blog Train to see some other fun crafts.
Thank you all so much for reading! I can’t wait for you to see the other participating crafts! Head over to these pages to check them out and don’t forget to share your attempts with us!
Kayla
Instagram.com/kaysdailyinsight
kaysdailyinsight.com/
Doris
mommadoris.home.blog/
Instagram.com/momma_doris_
Bria
briasnyder.com/
Instagram.com/Bria.snyder
Kalah
kayandbabe.com/
Instagram.com/kayandbabe
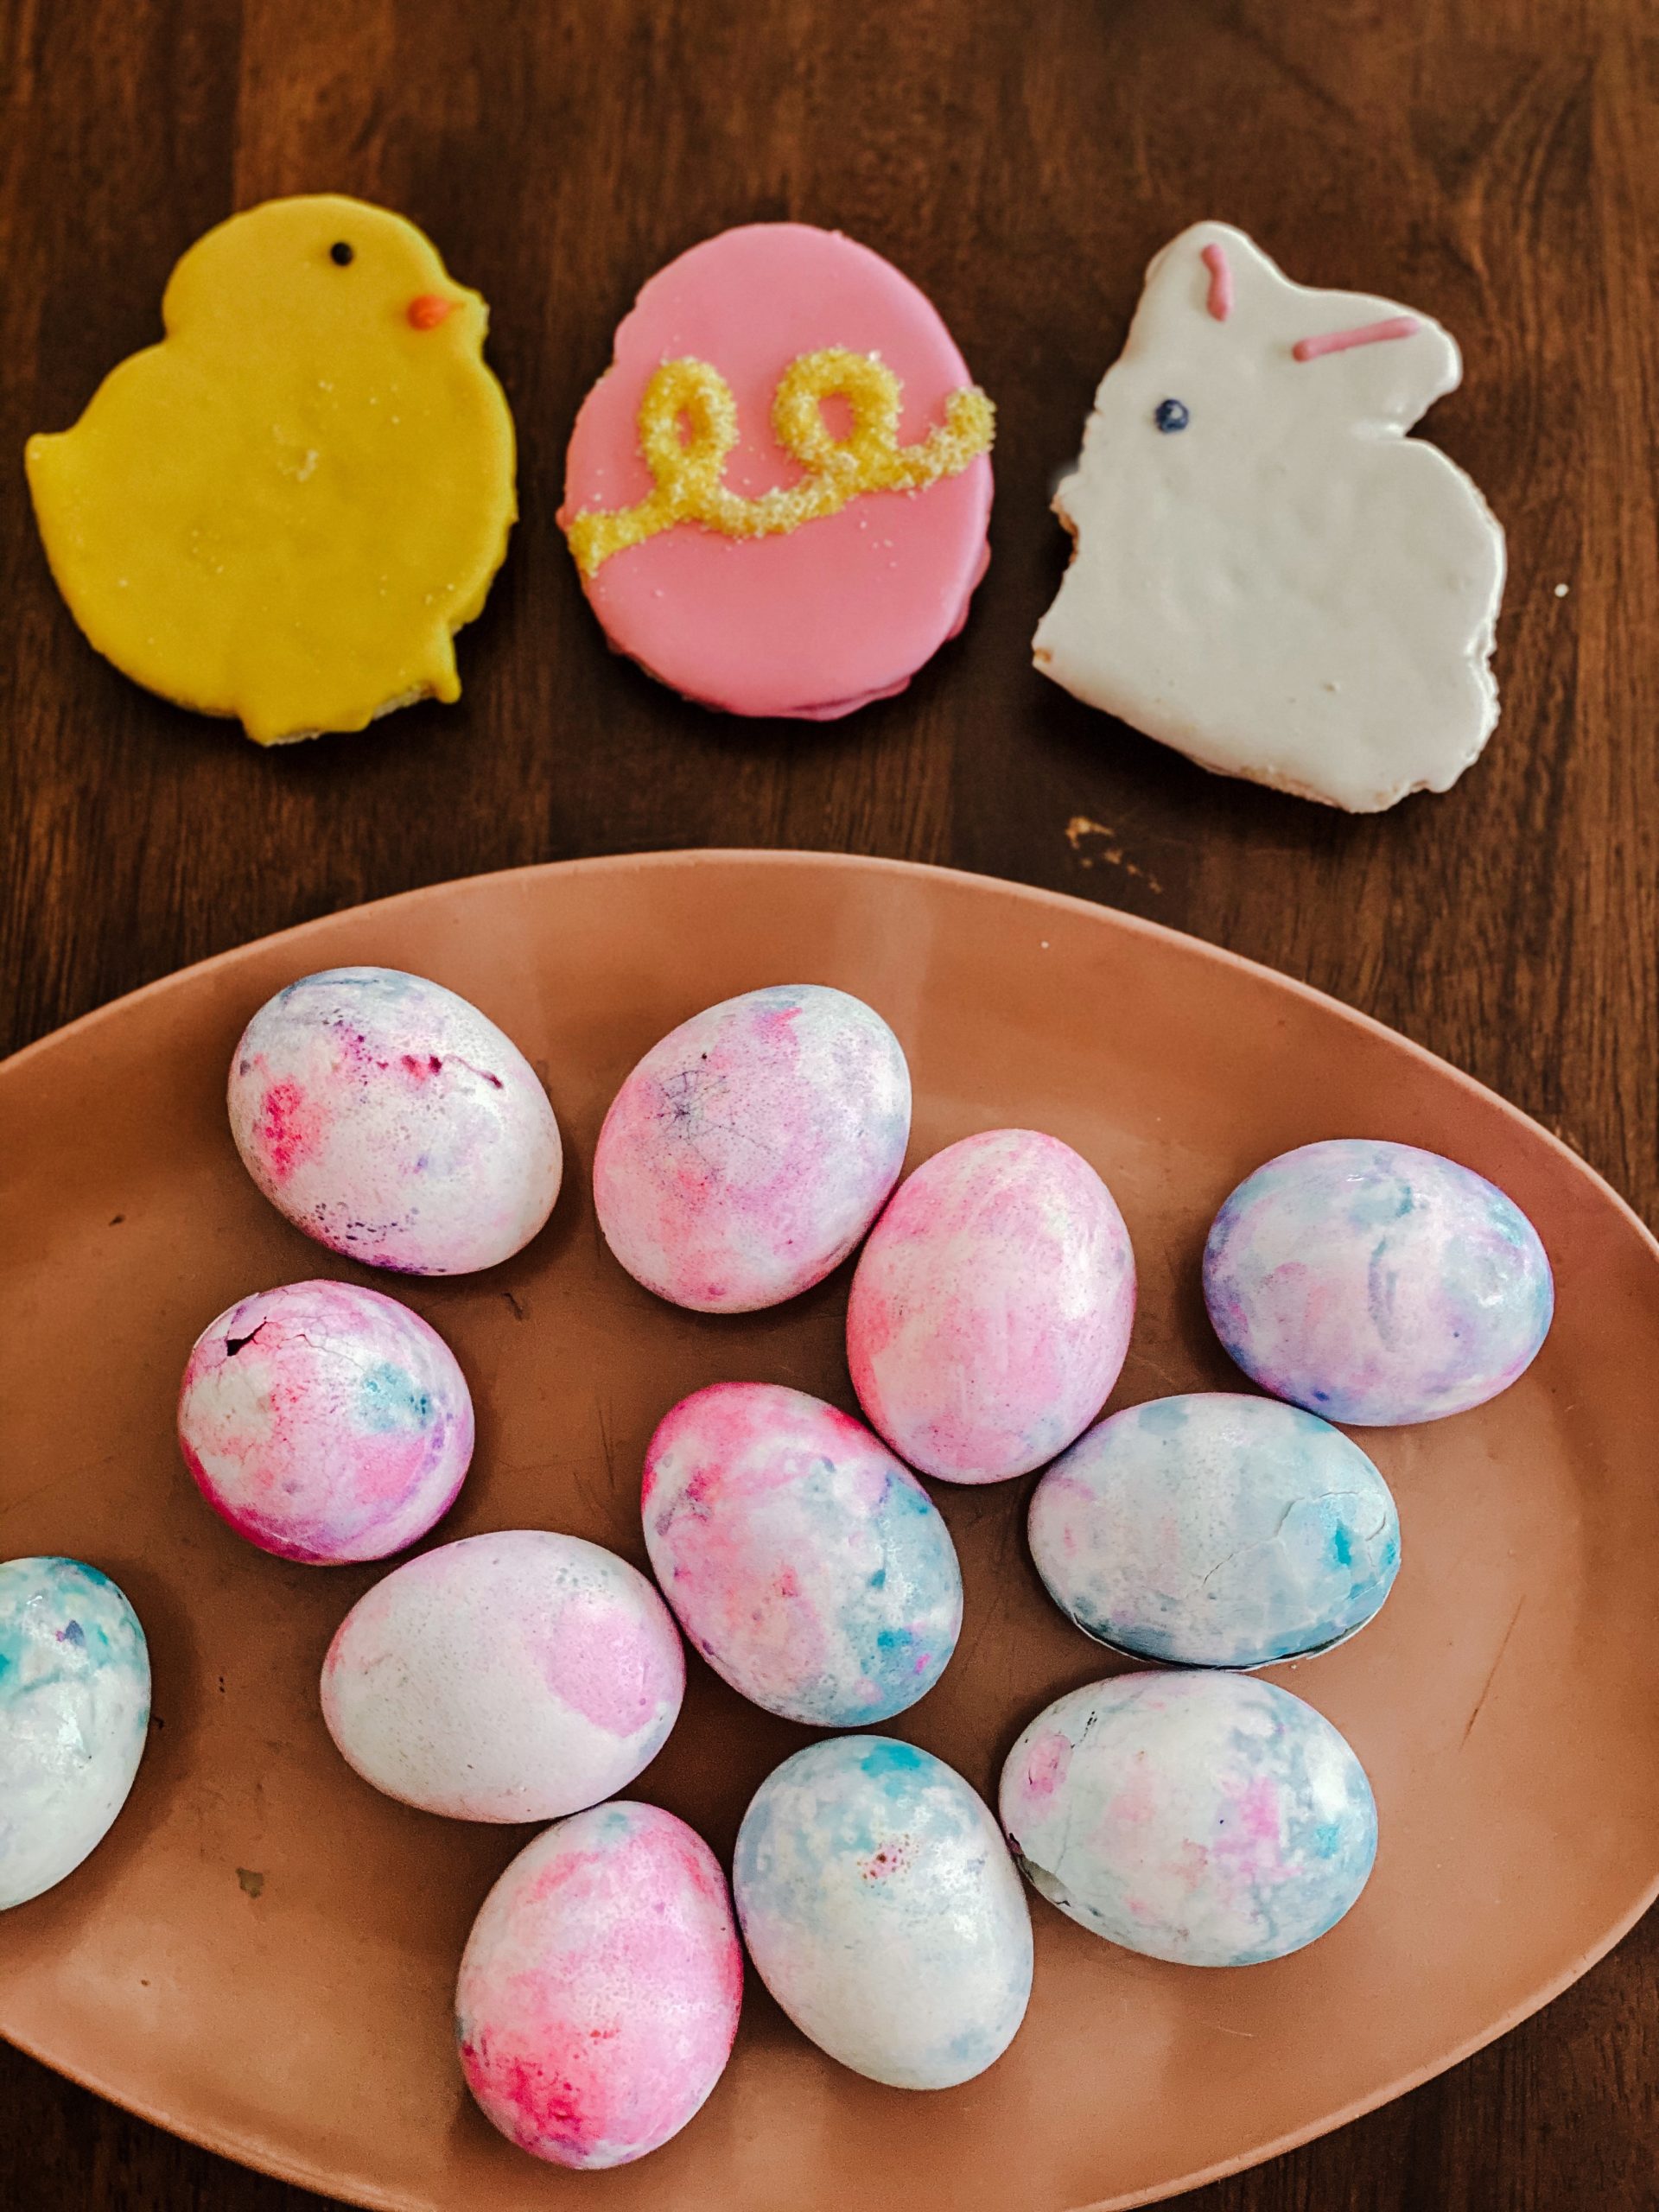
DIY Easter Eggs Easter is almost here and if your like me, you’re probably wondering where the time has gone. It’s true what they say about March 2020 being the longest month and just how …

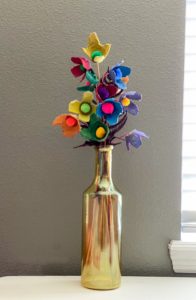
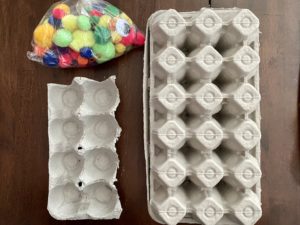
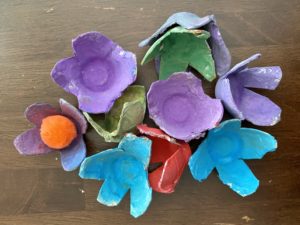
Do you ever see a package or a box of some sort and think, “I really need to hold on to this” because you know it has more to it then it was being used for? Maybe it’s just me and I’ll be honest, I am that person with one of everything. So when my local farmers market switched to paper egg cartons I started to stash a few for when we had some time for crafting. It just so happens that this past weekend I found some time for the girls and I to do a little panting and tada! I present you with our paper egg carton flowers.
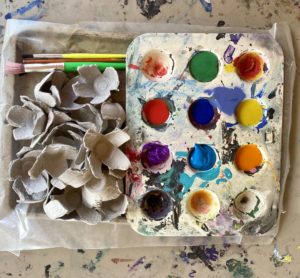
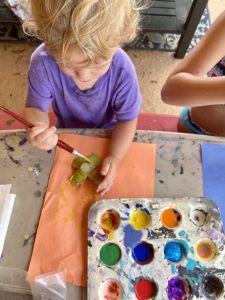
When I first started saving the cartons I really wasn’t sure what I wanted to use them for, so I did what most of us do and set out searching on pinterest. You’d be surprised of all the fun crafts that egg cartons can bring you. However, I knew there was just something else I wanted to do. After a few days of searching and finding things I kind of liked I decided to try something new. I grabbed a few supply’s I had on hand and set out to prep and paint with the girls.
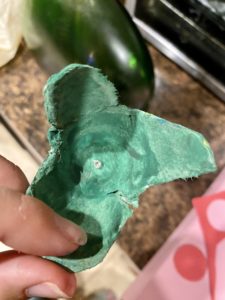
First thing you’re going to want to do is get your flowers ready. You simply take your cartons and row by row cut each piece into their own. I did find that I had to use some heavy duty scissors so make sure you have a pair on hand to make things easier. You’ll also find that your carton will vary on pedals that you can make. I had two different kinds and with one I was able to make 3 and the other allowed me to make 4. When forming your pedals be sure to cut almost down to the bottom. This is what is going to give you the availability to open your flowers to look as if they are in bloom. Once you have those cut you are ready to go.
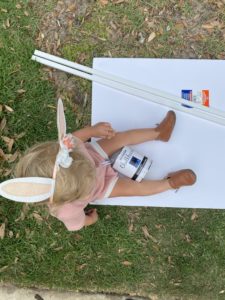
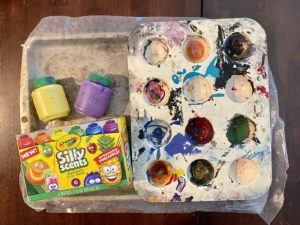
A few years ago I started to use a cake pop tray for our paint and i’ll tell you what, it has been the best paint tray! Not only can you add multiple colors at once but the dips help from getting the colors mixed and it keeps them in one place. In the past there had been many times that the boys would somehow push the paint completely off the plate or whatever I had put it on only to turn our entire area into one big canvas, so when Emily started to paint I was pretty proud of that fun mom hack.
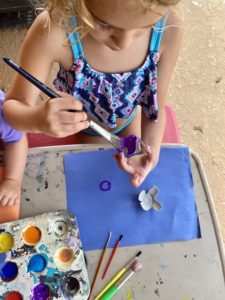
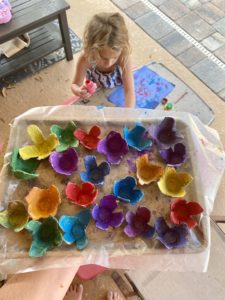
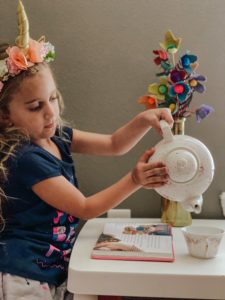
Once you have painted your flowers let them dry for about two hours. From here you can turn your flowers into whatever you like! For myself I was looking to make a bouquet that could display on the hall table. There are a few ways that you can make your stems. One, head outdoors and find some fun branches that may be laying around. Two, pick up a variety of sizes from the dollar store- you’ll just need to take off the flower provided because you only need the stem. Or three, if you’re like me and have random things laying around you can find some sort of sticks to use. I had found in my garage one of those dried out or maybe not really at all? bouquets that you would normally put in a vase that stand about 2-3 feet tall. I simply cut them to the size that I wanted and it worked out great. When adding your flower to the stem you’ll want to make a small thumbnail size hole and push the flower just in enough to that the stick barley shows a bump. After that you’ll glue in pompoms of your choice and let it dry for few hours. Had I had glue for my hot glue gun the drying process would have gone much faster, but I only had glue sticks available. Once it’s dry you are ready to display your DIY Egg Carton Flowers.
With elephant toothpaste of course! Ok, maybe not really, but that doesn’t mean making it still isn’t fun. It’s that time of year where science projects in are in the works at our local elementary school and luckily for you guys I had to document it for Tyler’s project so I was able to experience the entire thing and get some great photos!
When Tyler first mentioned his idea for the science fair I was a little weary. Elephant tooth paste, really? I’ll tell you what, this project is so cool thats why I am on here sharing with you if you have other kids looking to do something and share a passion for science.
Before we get started let me share a few helpful tips.
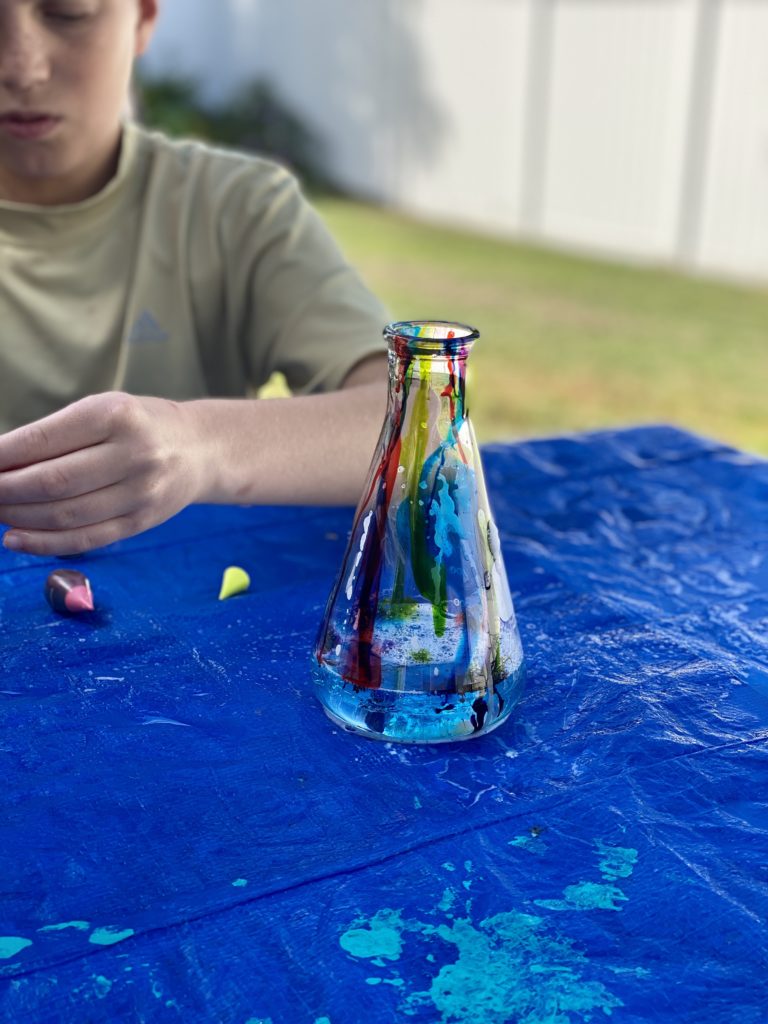
-Get a flask shaped beaker. We tried with other ones and the effect was nothing compared to the one we ended up getting last from pyrex on Amazon.
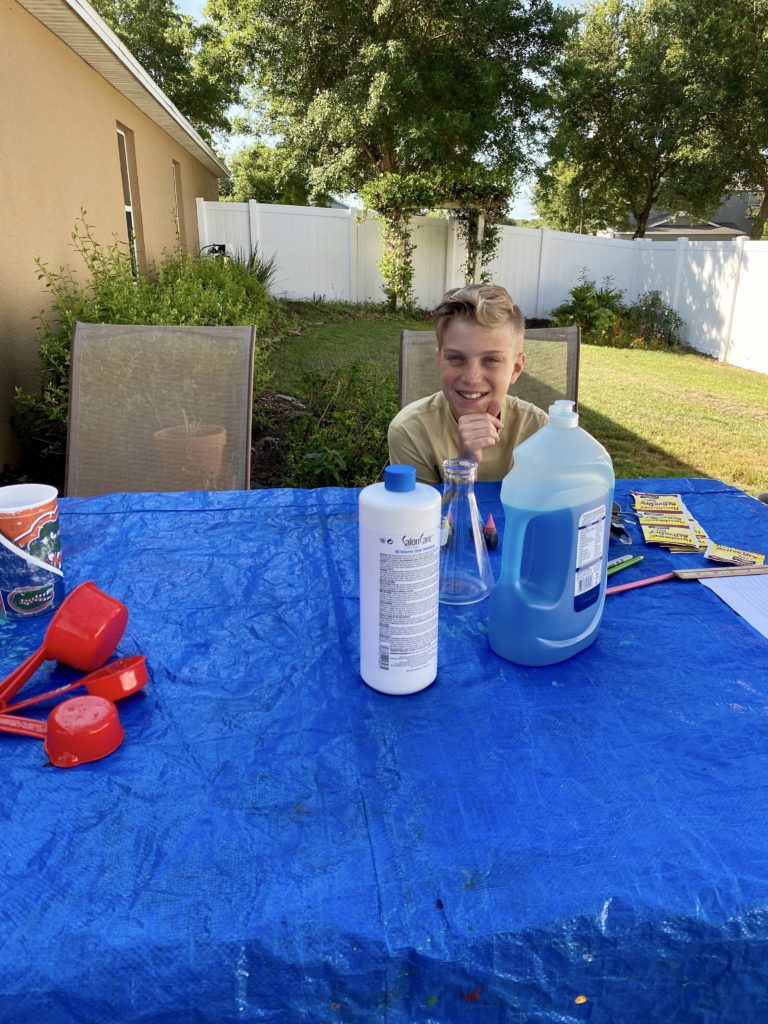
-Opt for the stronger hydrogen peroxide. I ended up finding a salon product of 40% that was cheap, came in large quantities and we could order off Amazon or pick up at our local Sallys Beauty Supply just incase we ended up needing more. We first tried the store bought stuff, but the 3% did absolutely nothing, so do yourself favor and just skip over that one lol.
-After each test trial make sure you clean out the measuring cups. I know its simple but sometimes it’s the simple things we forget.
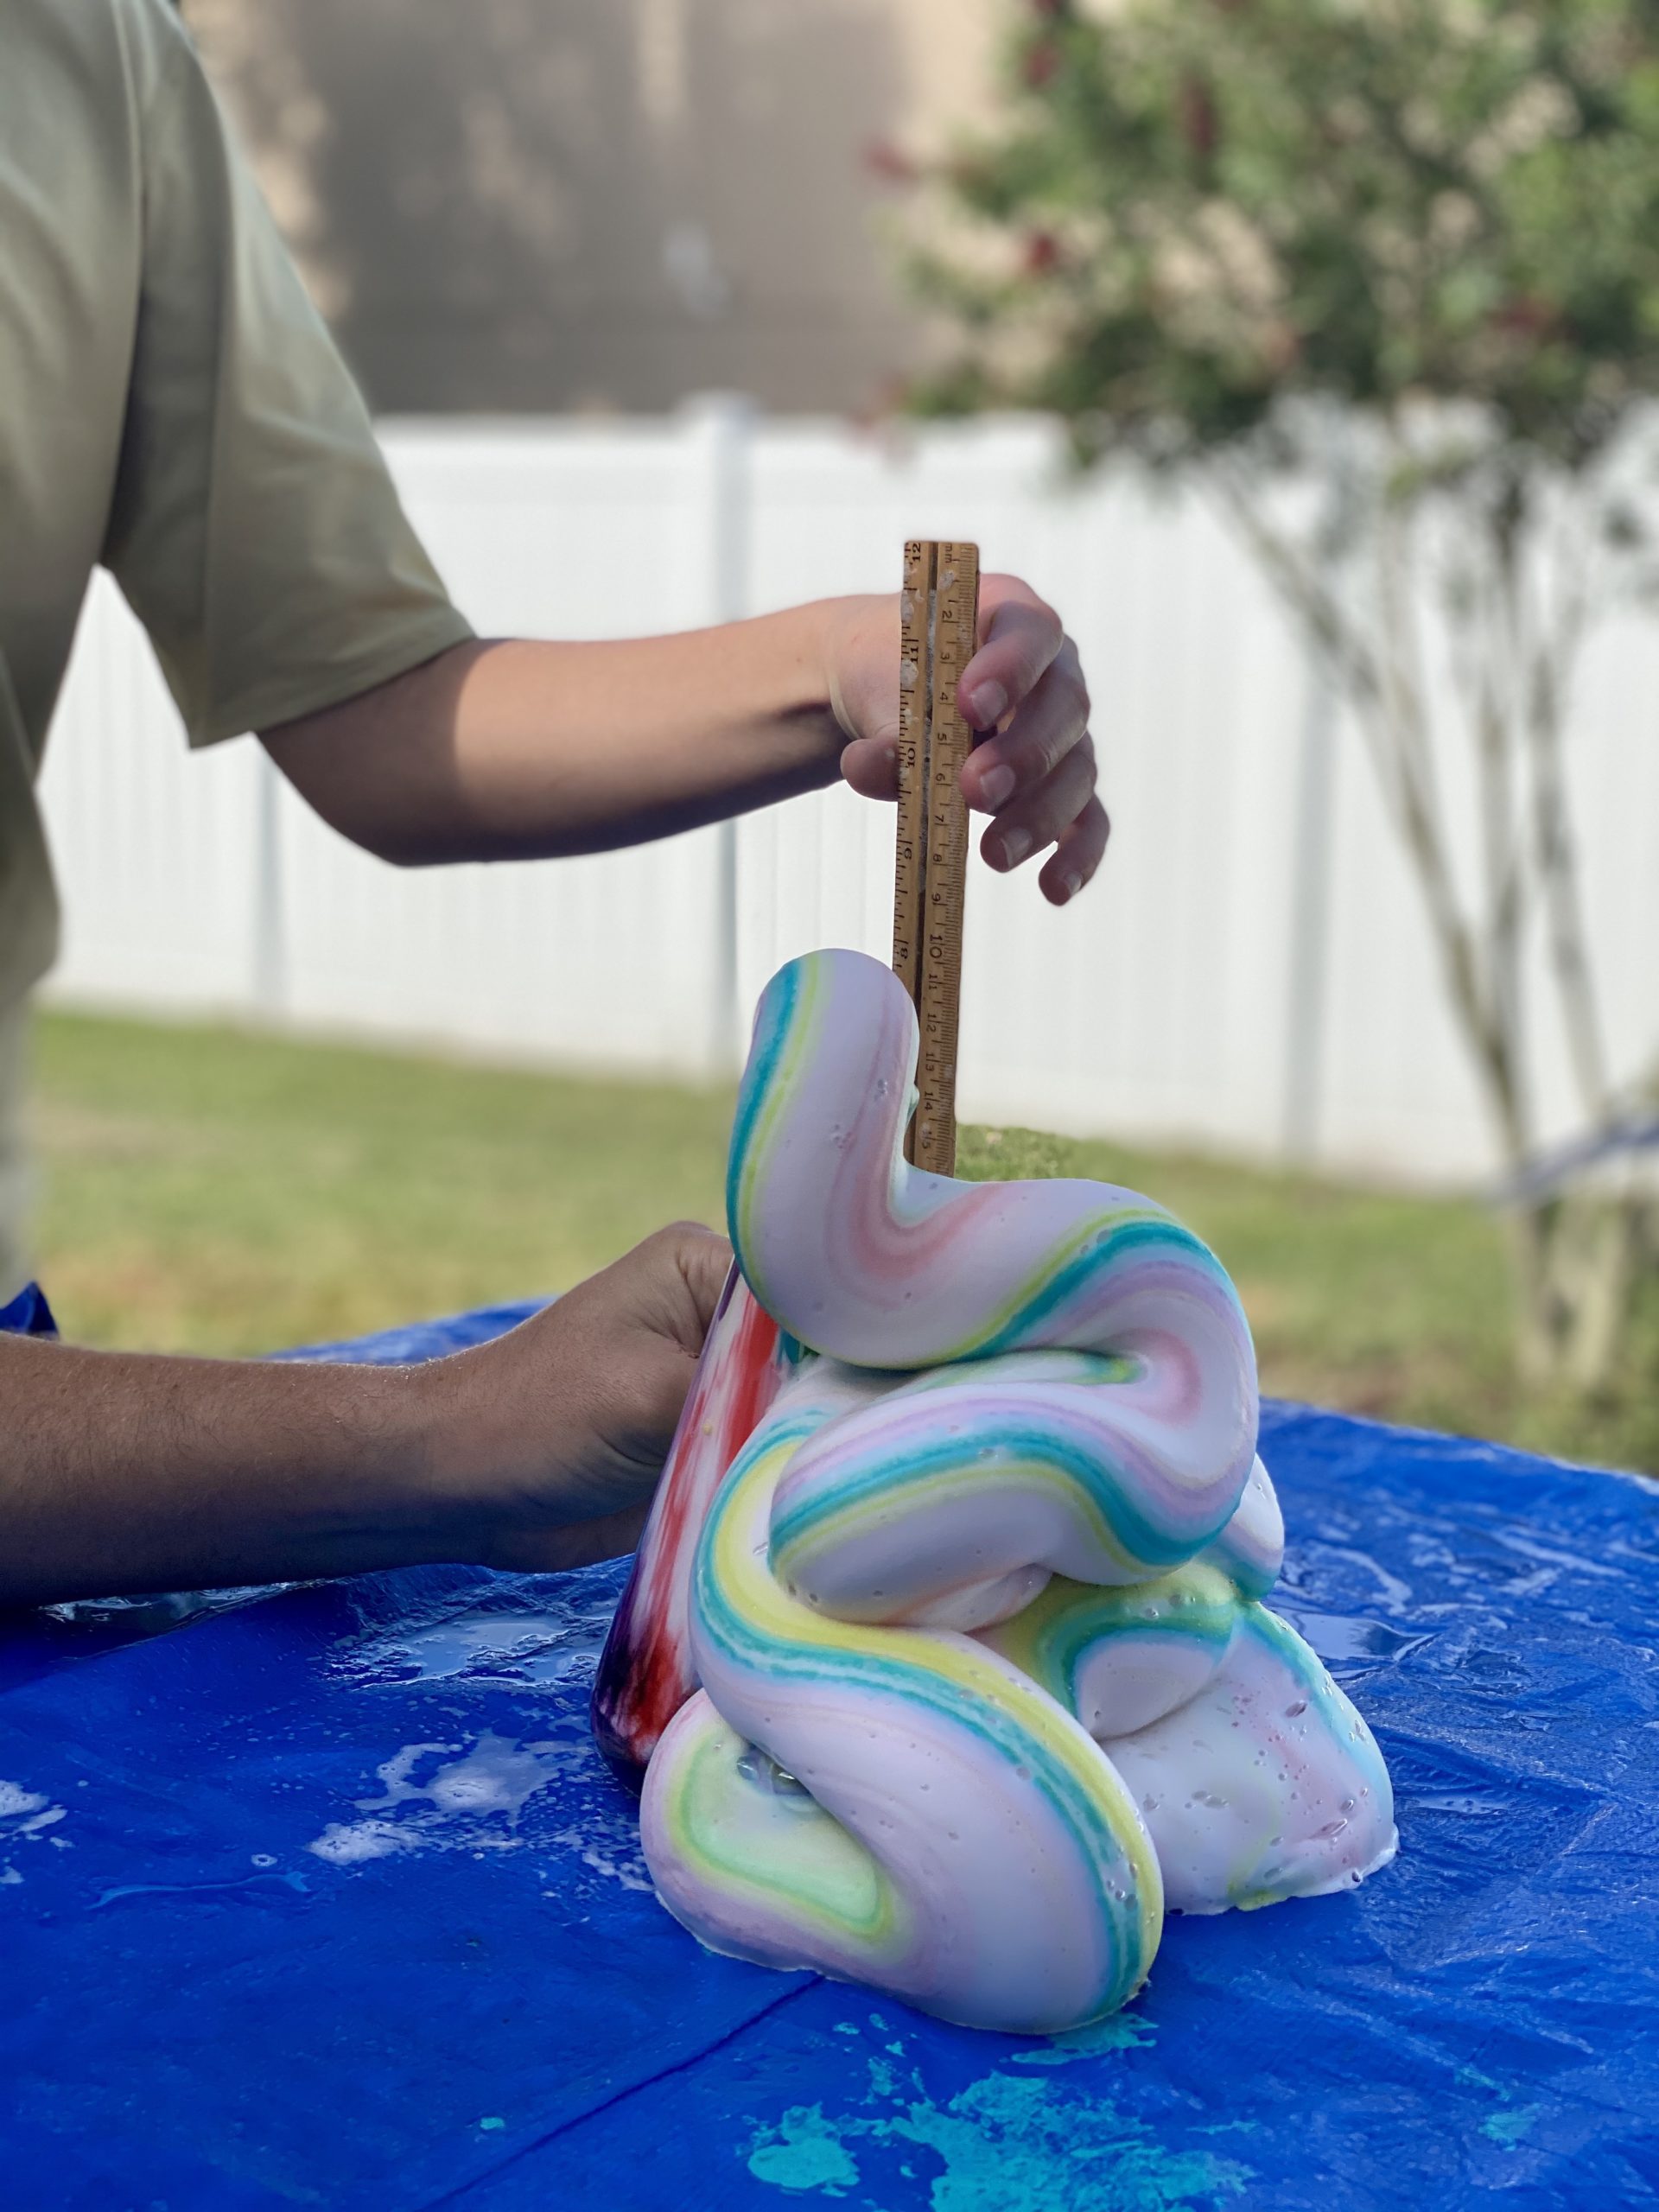
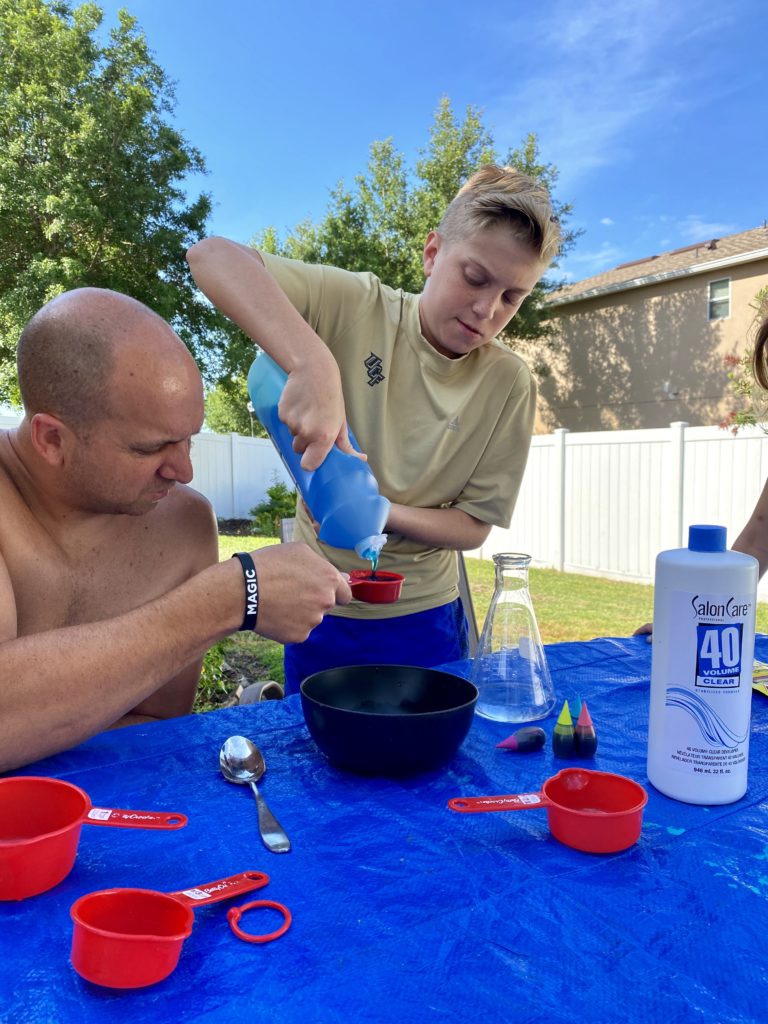
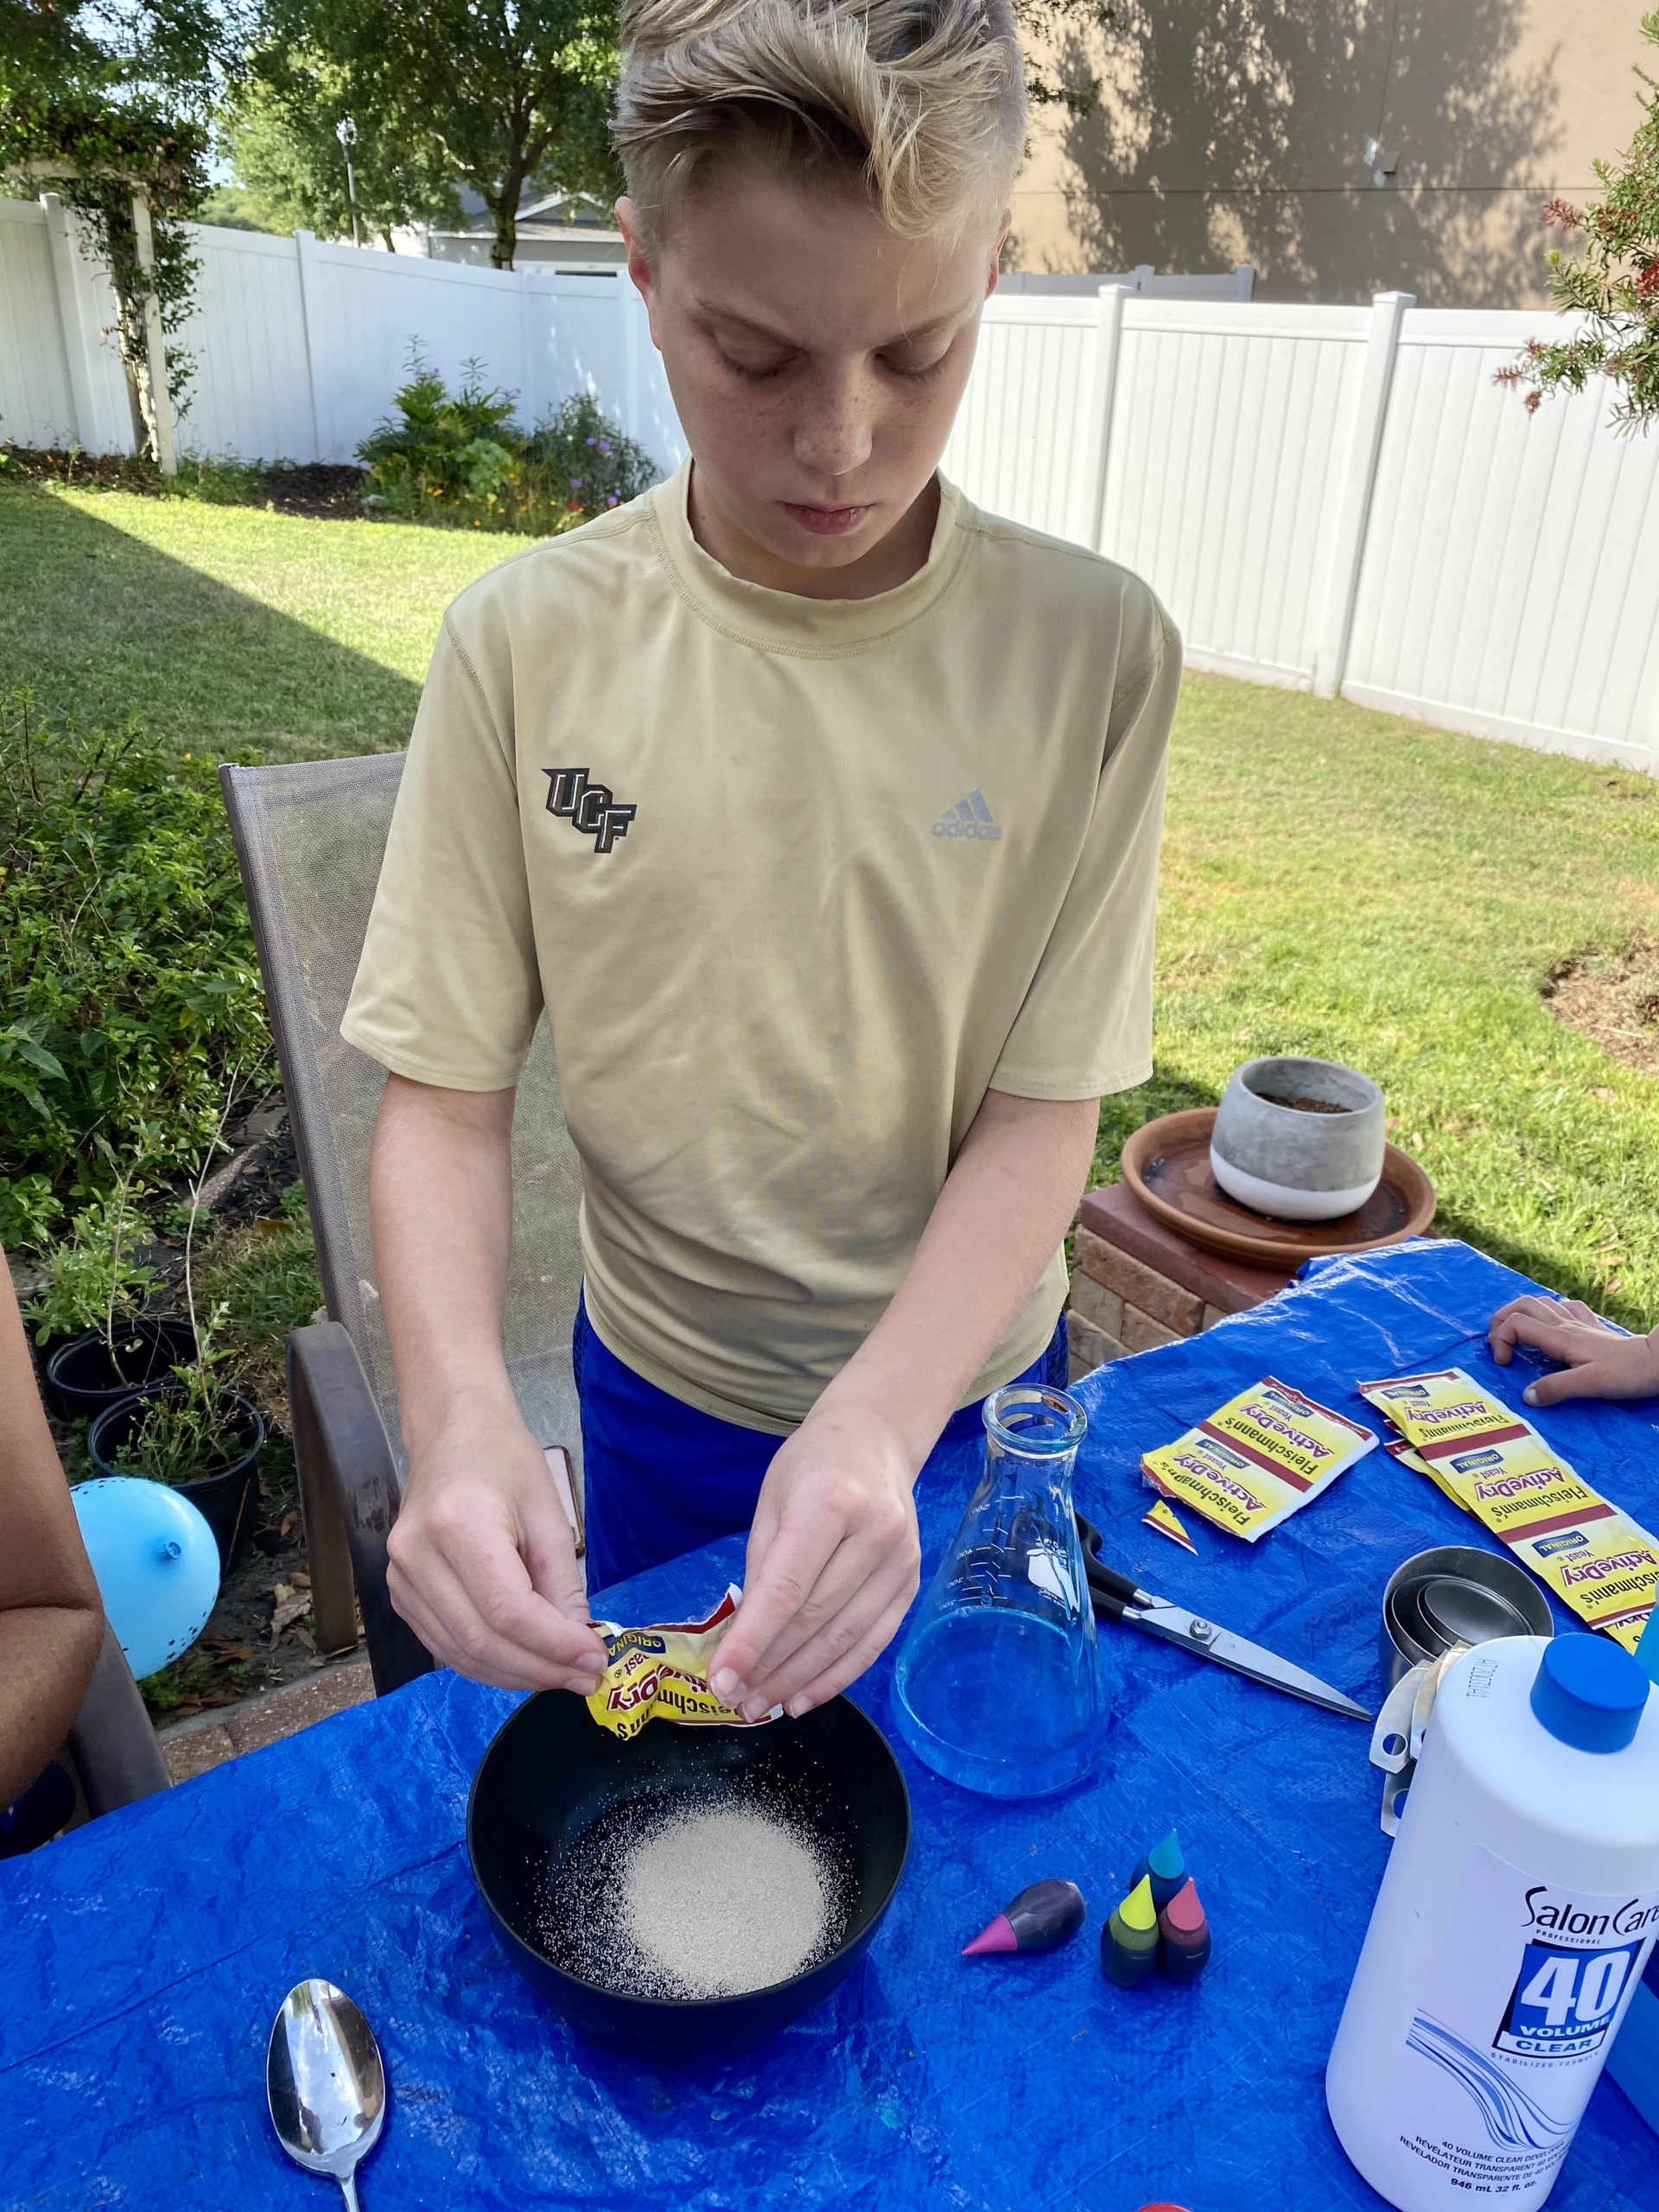
Here we go! For Tyler’s 5th grade science fair he was required to come up with an experimental project that provided real-life relevance to science content through the use of higher order-thinking while documenting and preparing a presentation for his classmates. He was given time to find exactly what he wanted and had to present his testable question to his teacher for approval. Luckily he had a great idea, after watching to many YouTube videos I’m sure lol and was approved immediately and we started our journey at home. Remember those tips I gave you, here’s why. He failed to tell me what exactly what he needed just a vague list. So I went on Amazon and got the first “science beakers” I could find. They looked great and I thought I had done a good job. I was wrong, so he asked me to order more because those were not big enough. This time I found big nice and round ones, I was positive those would work. Well, I was wrong again lol. After the 3rd attempt Tyler figure out that by showing me what he wanted would be the best help and after I learned I knew that I needed to make sure it was large enough. We ended up getting Pyrex 250ml that work perfectly. As for the yeast I had found some awesome individually wrap portions at our local Publix that turned out to be what he needed because it gave him the exact measurement for documentation purposes. Last he needed hydrogen peroxide. This was another item that he did not do so well at explaining what he needed. So being the mom that I am I went and bought 6 containers of the drug store stuff because thats what he said. After his first trial he learned quickly he needed something stronger and so we watched a few videos and found that Salon Care 40V was safe for kids and work great. I was able to order on Amazon, but just incase I wanted to make sure there was a local pick up so I confirmed with our local Sallys that they carried the product and they did.
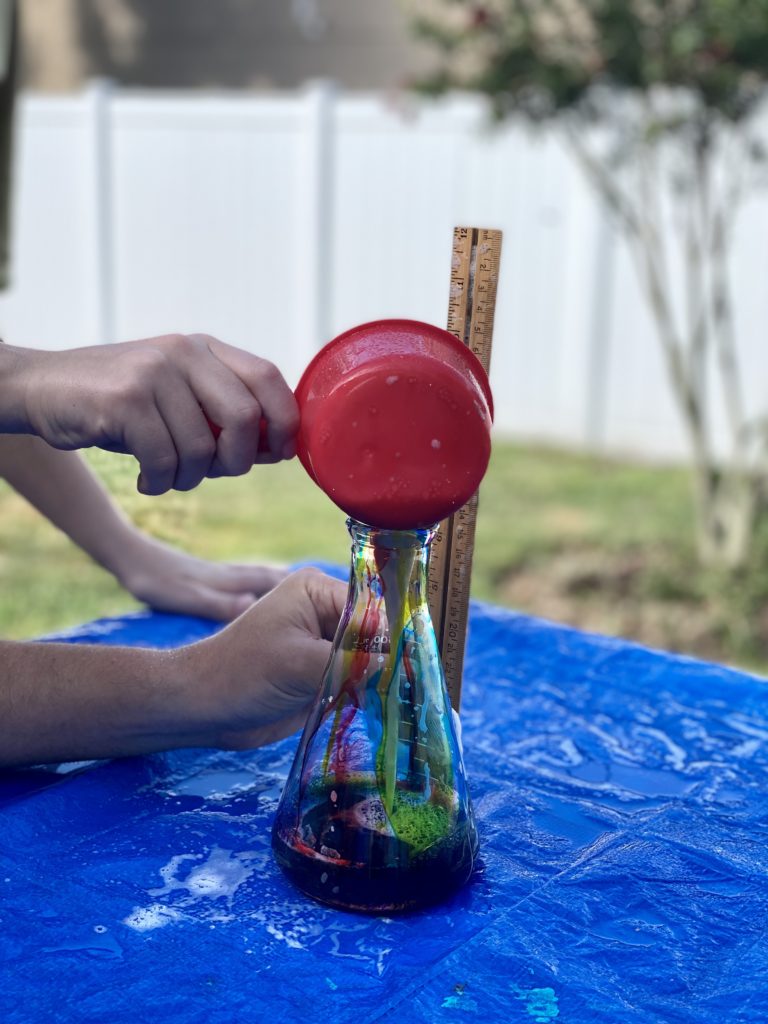
For his experiment he was required to test and observe at least three different variables so he chose to do a regular, 2x and 3x the measurements. To our surprise the didn’t change that much, but I’ll let you figure that out for yourself.
Here’s what you need,
Here’s what you do,
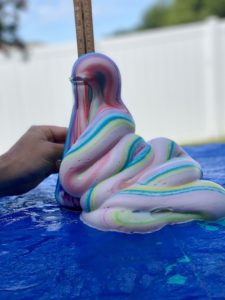
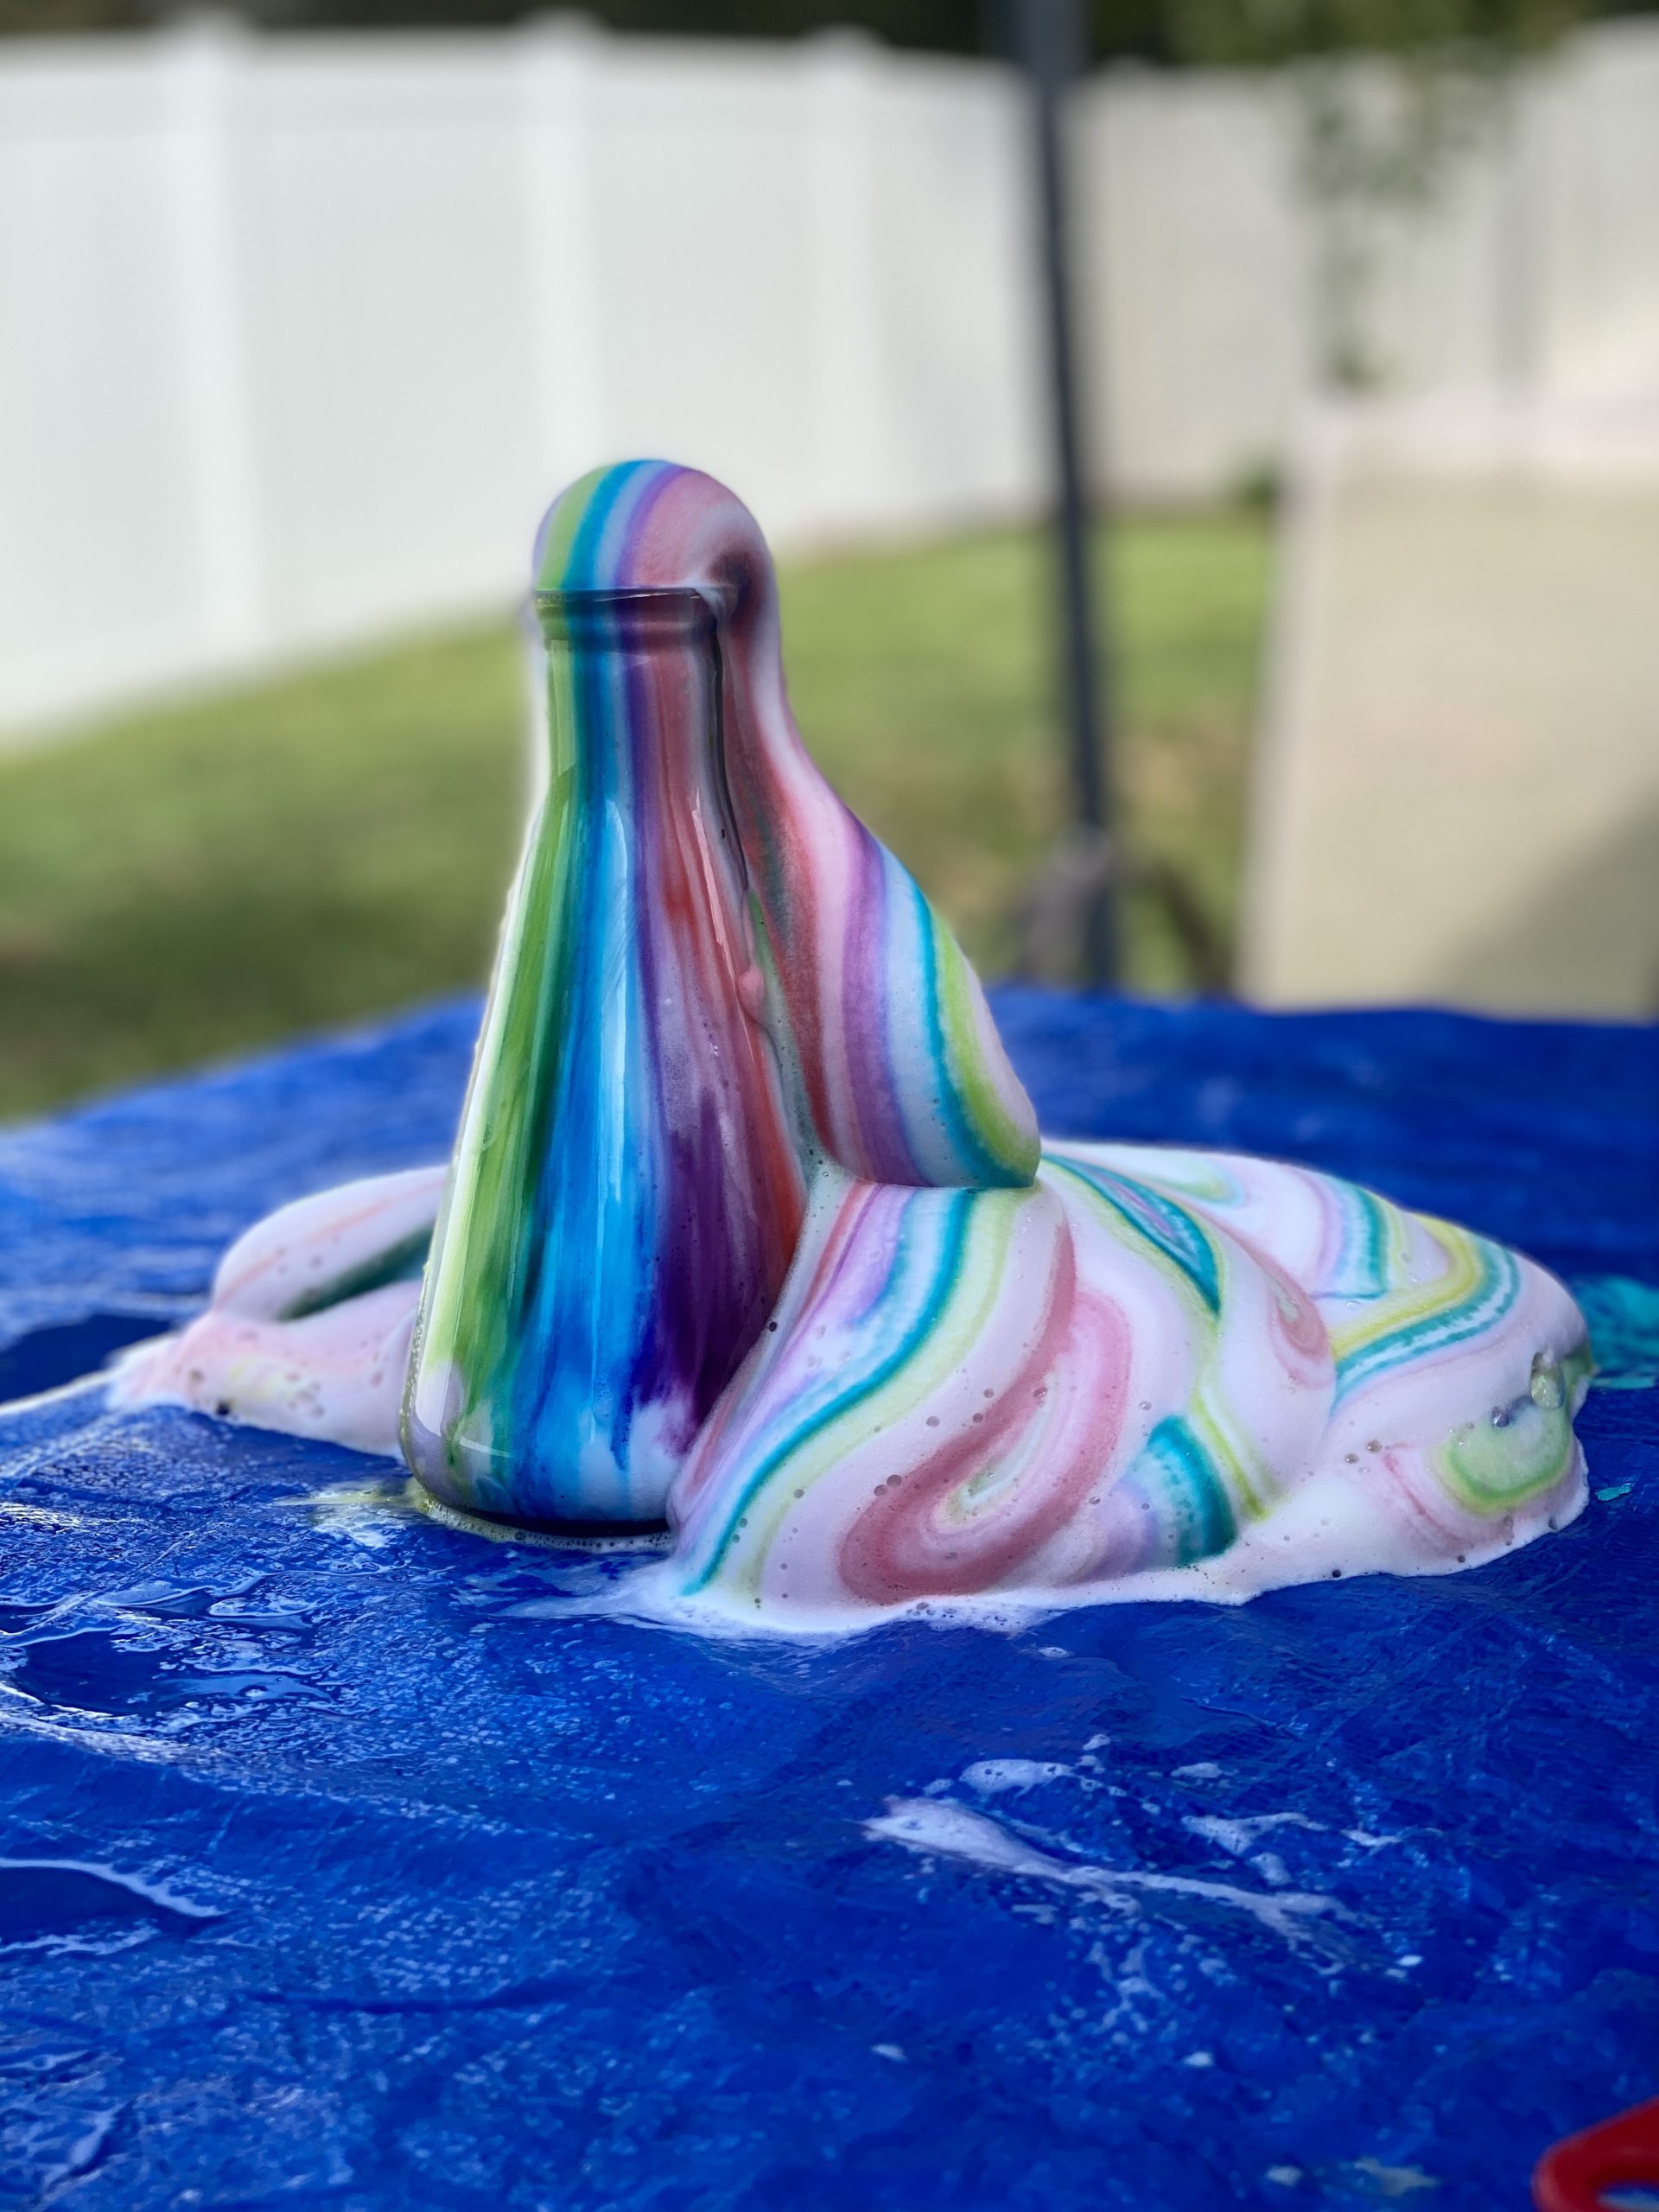
Here’s what to expect!
Here’s what you can do,

Gratitude yummi.club