DIY Easter Eggs

Easter is almost here and if your like me, you’re probably wondering where the time has gone. It’s true what they say about March 2020 being the longest month and just how fast April is. Here we’re almost into mid April and I’m still stuck on April Fools. With that being said, the Berry house is a little behind. I realized yesterday I don’t have a single Easter decoration out and I have a full bin sitting in the garage. With everything going on we did however squeeze in a little DIY easter eggs and let me tell you what – these are cool! All together it took us about 10 minutes and we were able to use things we already had.
Years ago when the boys were little we use to do a lot of shaving cream sensory. I don’t know what it is but that stuff feels so cool and now that Kadie is getting to the age where she wants to join in with big bros and sis I thought it was the perfect time to bust out the shaving cream.
So heres what you need:
- Shaving Cream
- Food Coloring
- Boil Eggs
- Water (hose)
- 1 hour-ish
Heres what you need to know- you need an InstantPot lol. No but really, I cooked a dozen eggs in less than 10 minutes and they come out perfect every time. But thats for another time.
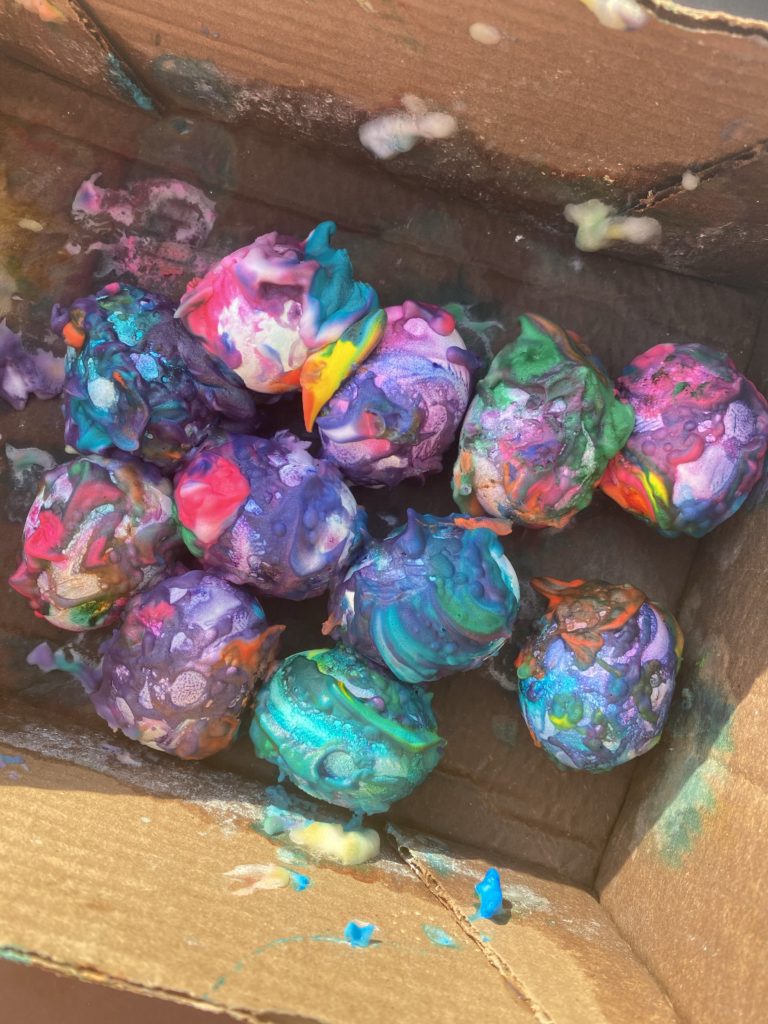
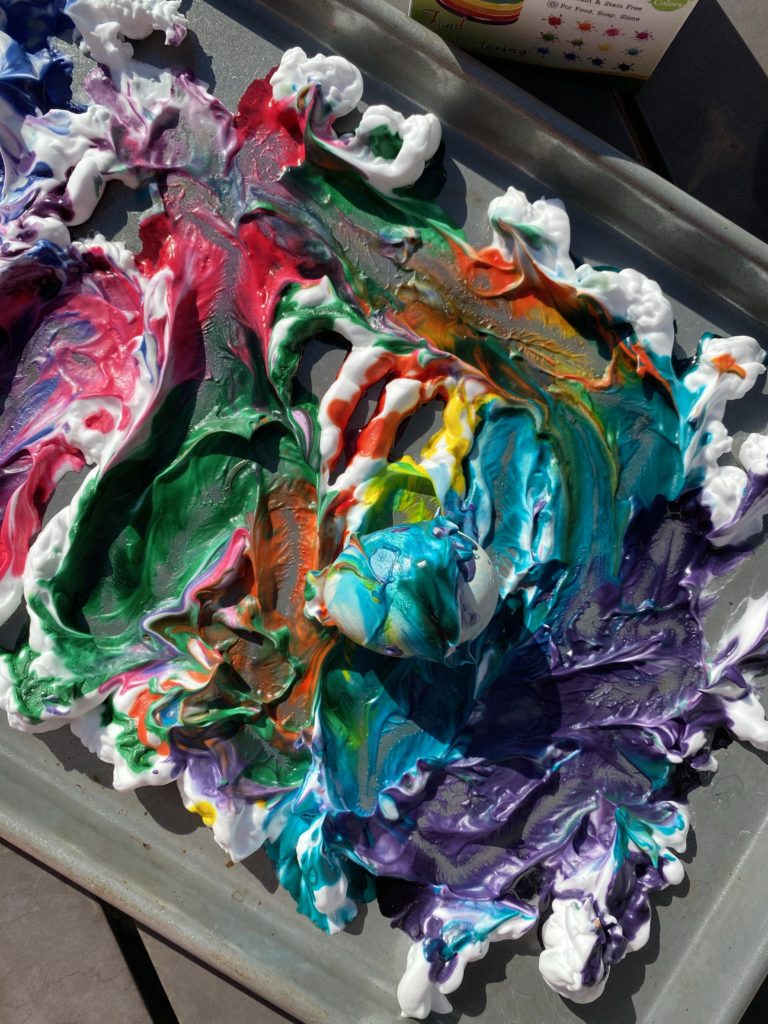
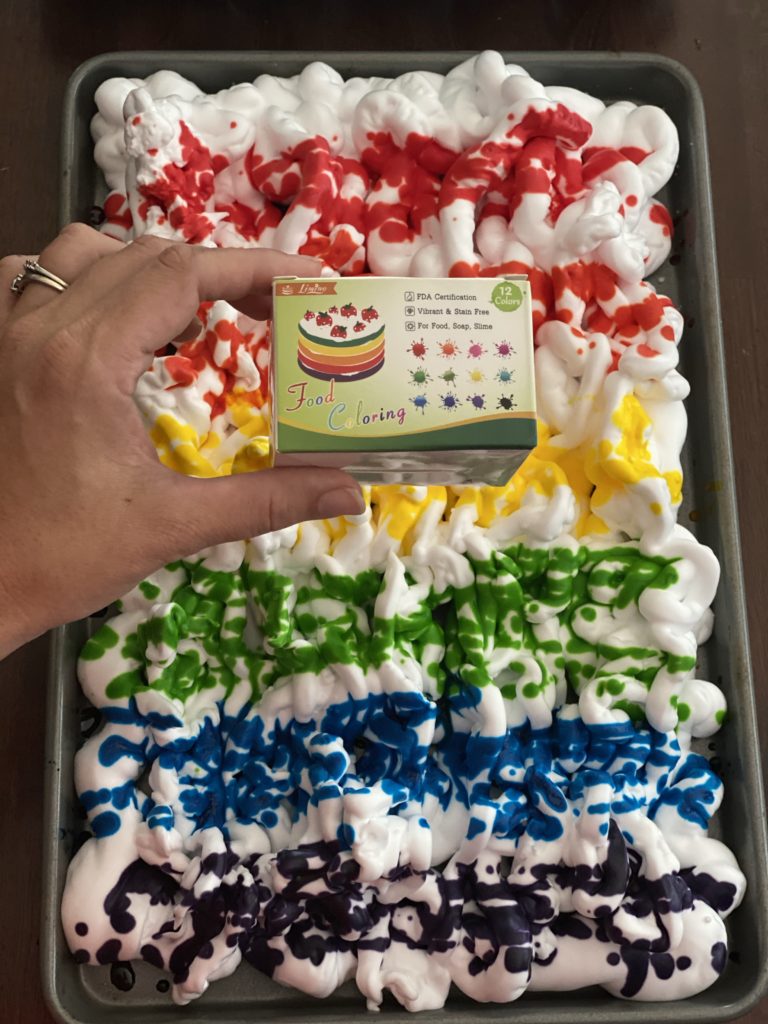
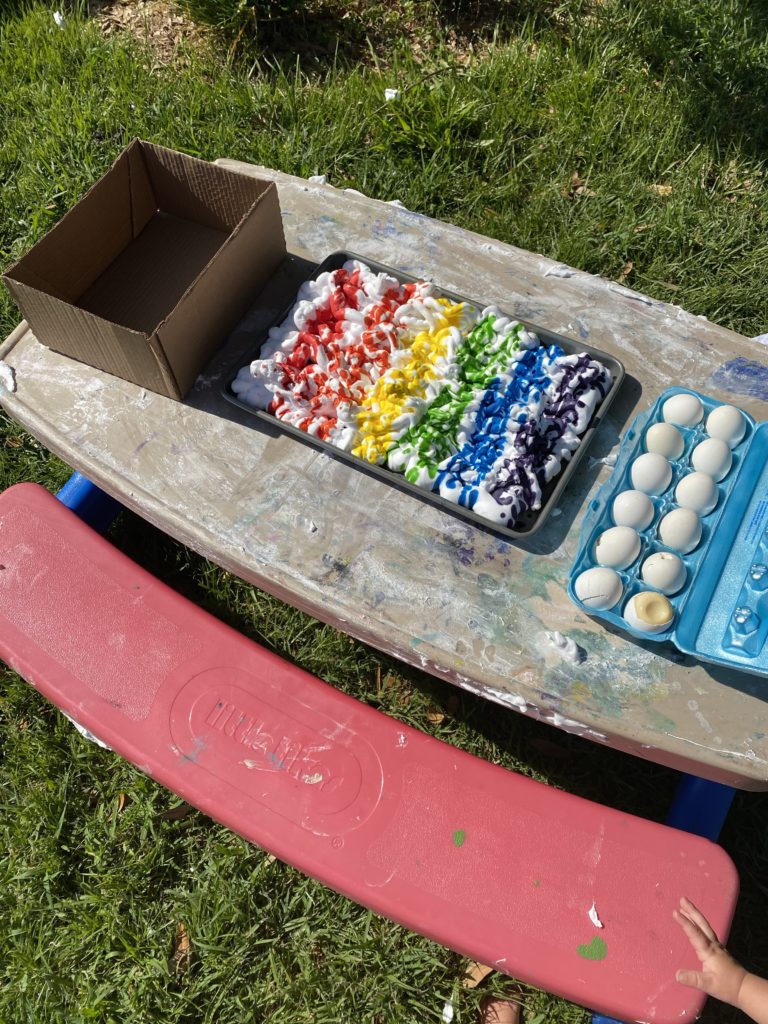
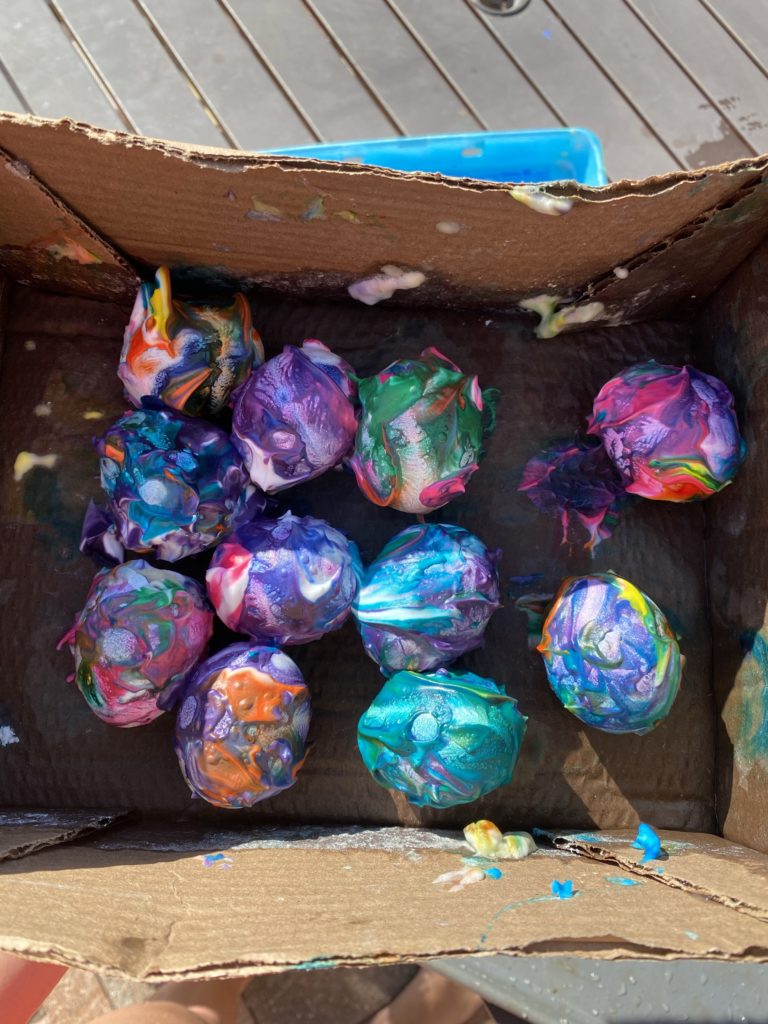
So boil up your eggs. Find either a cupcake pan or baking sheet, a little bit of shaving cream and 5-10 drops of food coloring. We actually had to do this twice because the first time we had to much shaving cream that the eggs didn’t actually dye. #pintrest fail
If you use a baking sheet like we did you can do a little more with the colors, however the cupcake holders did look like they would keep the eggs in the colors a bit easier if you’re looking for a richer dye. Either way will work though. Once you decide which pan you want to use you’ll want to put just enough shaving cream so that it ill cover your eggs. Also, depending on how vibrant want your eggs you may want to add more dye.
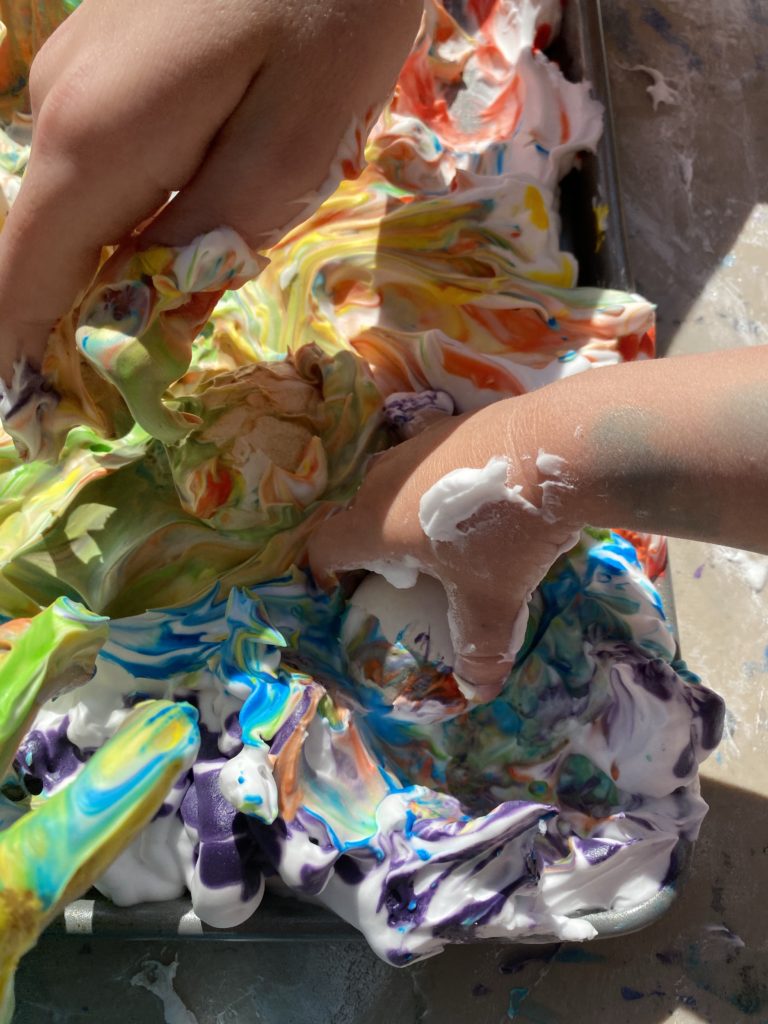
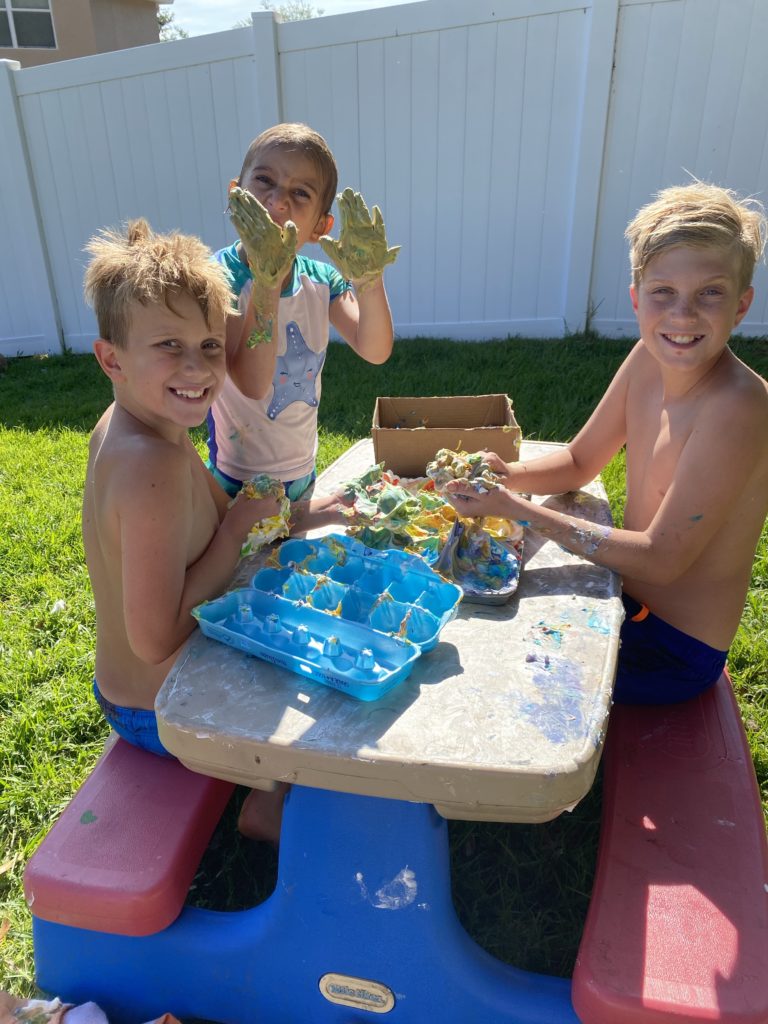
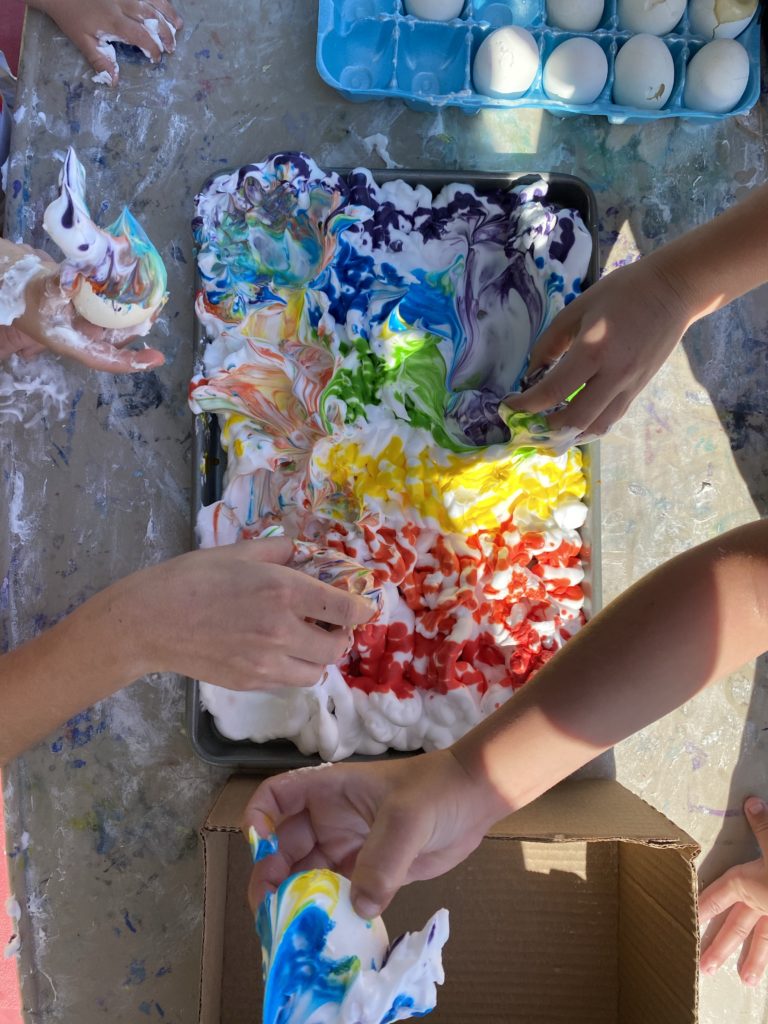
Once you’re set up let the kids have at it! I was a little nervous at first. I never really know if the labels are true when they say “non staining”, my kids manage to stain everything lol.. but these worked great. I’m pretty sure I ordered these off Amazon or Party City last year for Emily’s cake but i’d have to look it up if you can’t find them. I chose to set the kids up outside already pool ready so the clean up would be easy on my end. I wanna say the whole egg dying lasted about 5 minutes but I made sure they had plenty of sensory time prior to the eggs so that they it was easier to walk away from. They still managed to almost cover their bodies and thankfully between the hose and pool they came back inside looking cleaner than ever.
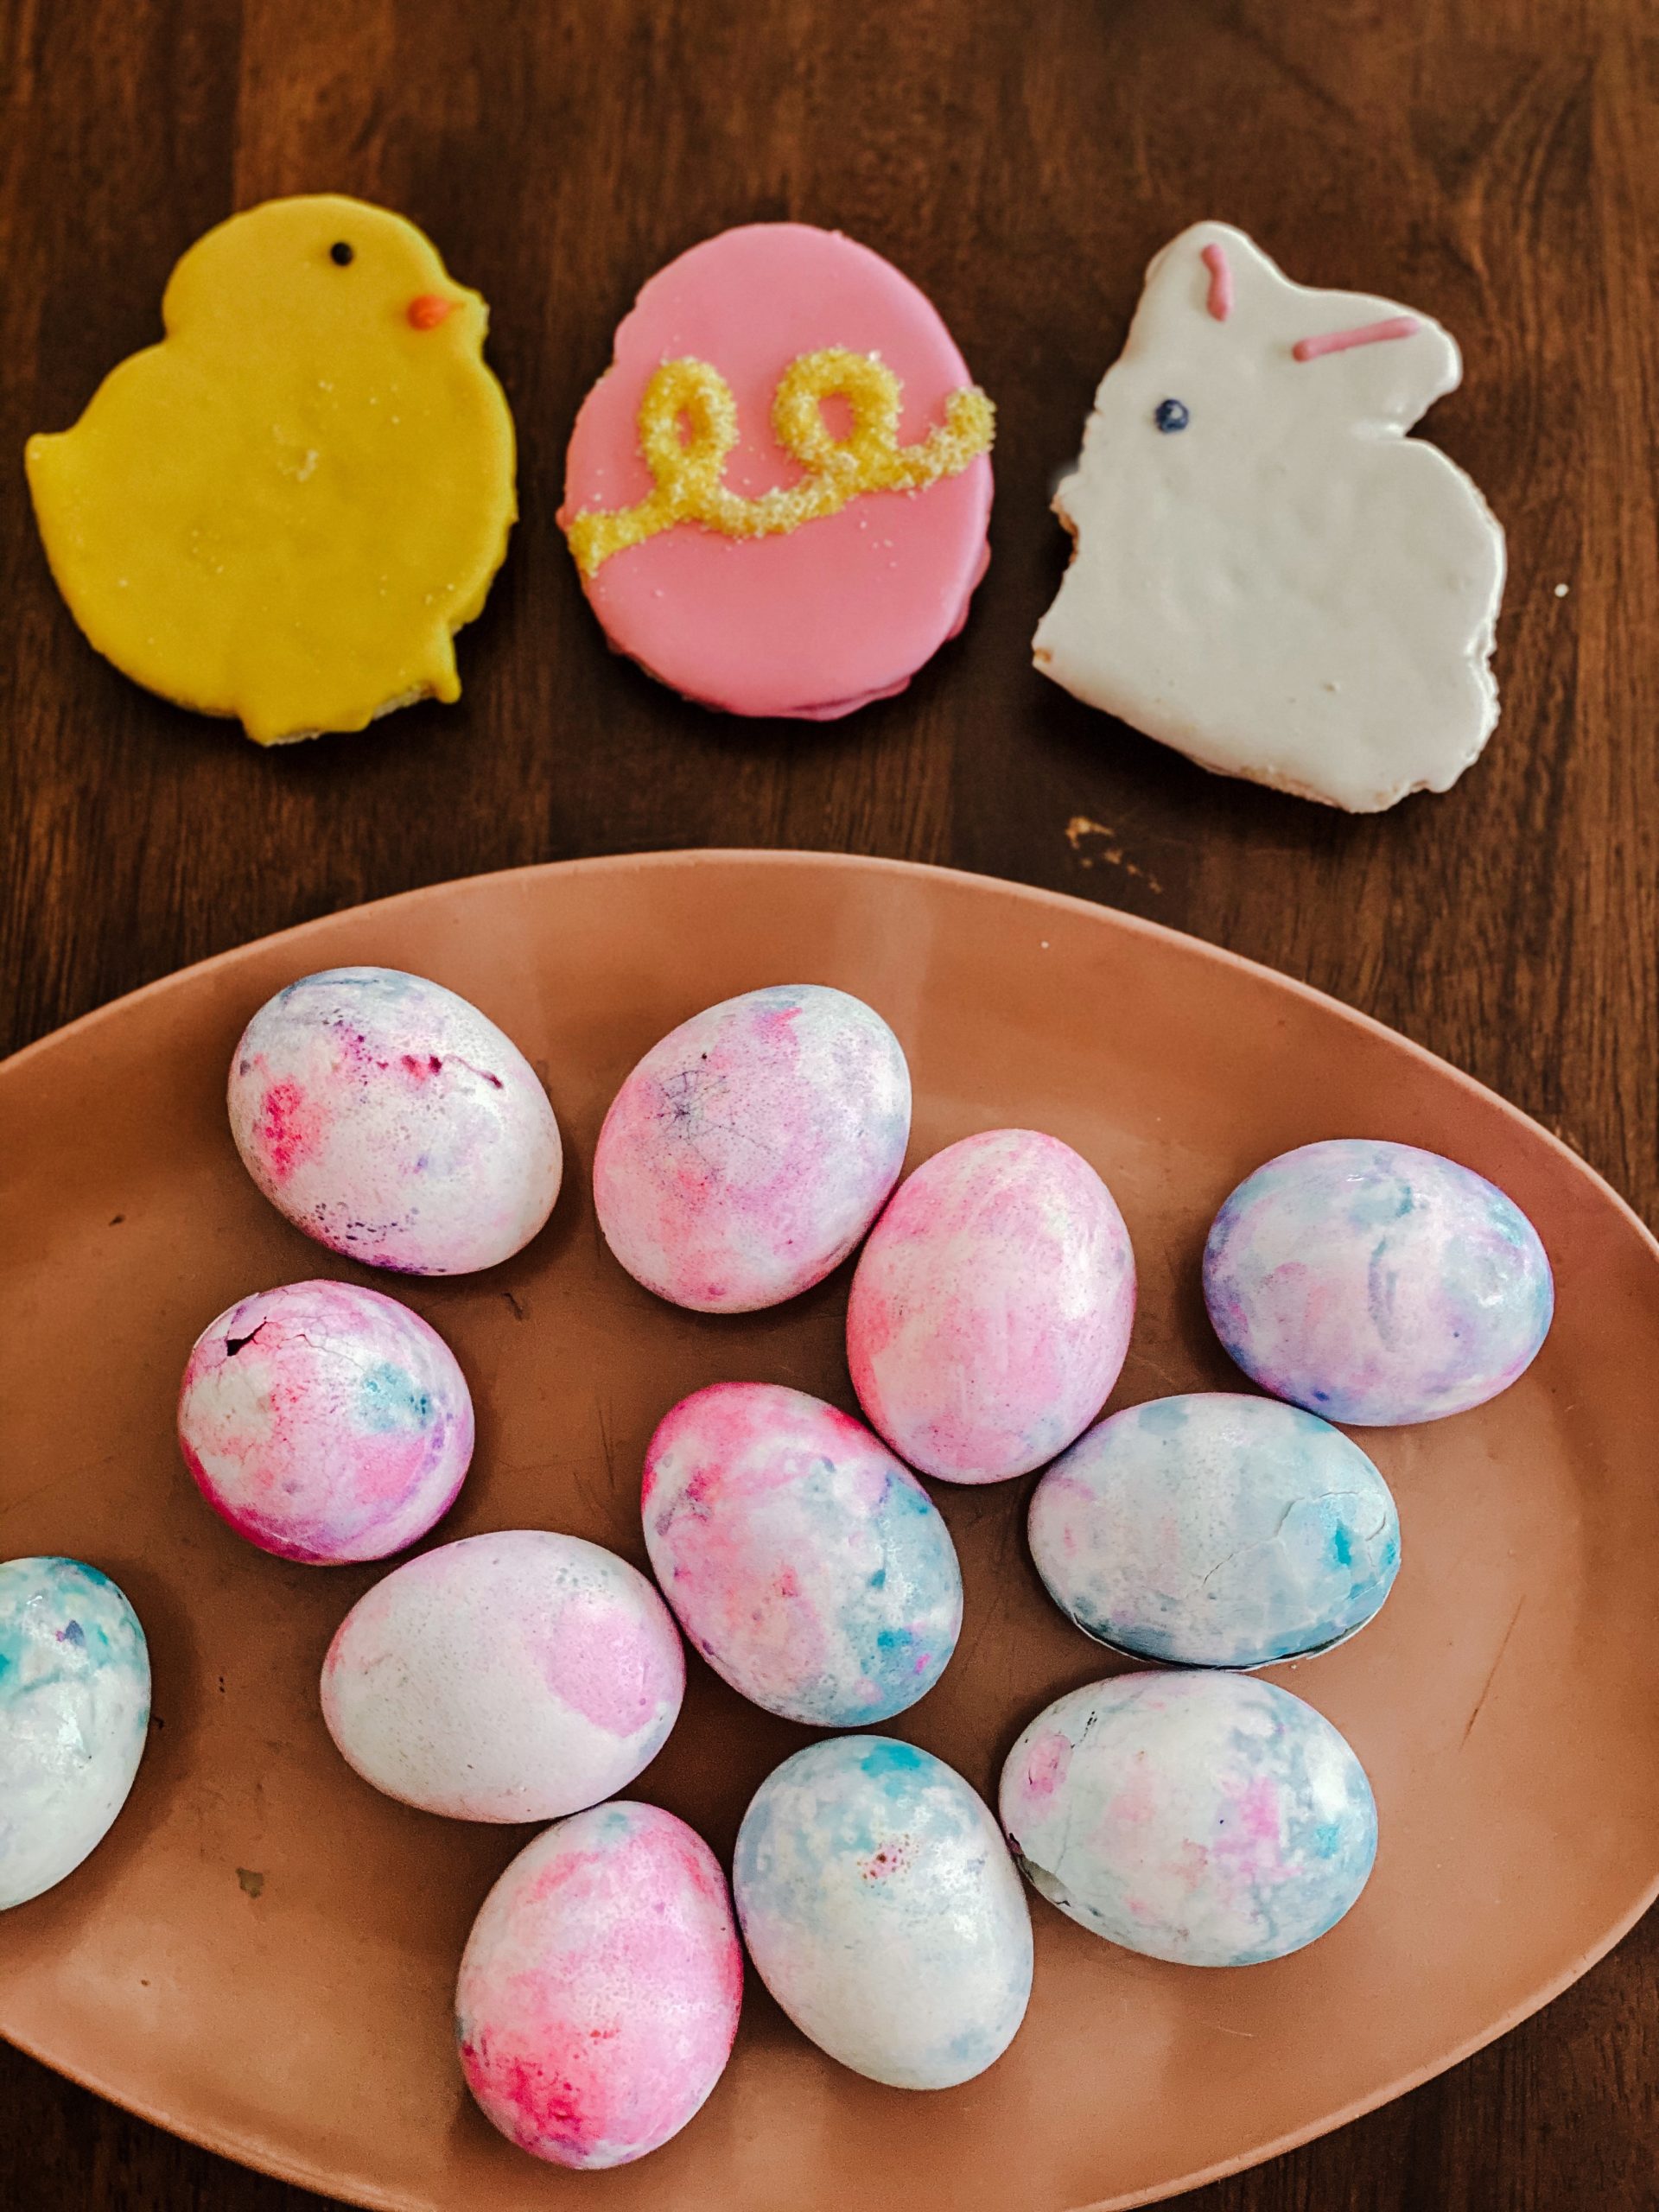
I did let the eggs sit about an hour just because the first trail didn’t go as well. I had read a few different blogs and they all suggested 10 minutes but that wasn’t cutting it for us. I wanted to ensure that they came out good without multiple tries. Once the hour was up we gave them a quick rise and ta-da! The kids loved them. While they didn’t turn out the exact colors as expected they did turn out pretty cool. Let me know if you try it and if you made any adjustments. I’ll definitely be adding this method to our egg dying rotation.