Elephant Tooth Paste, 5th Grade Science Experiment
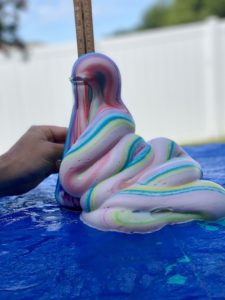
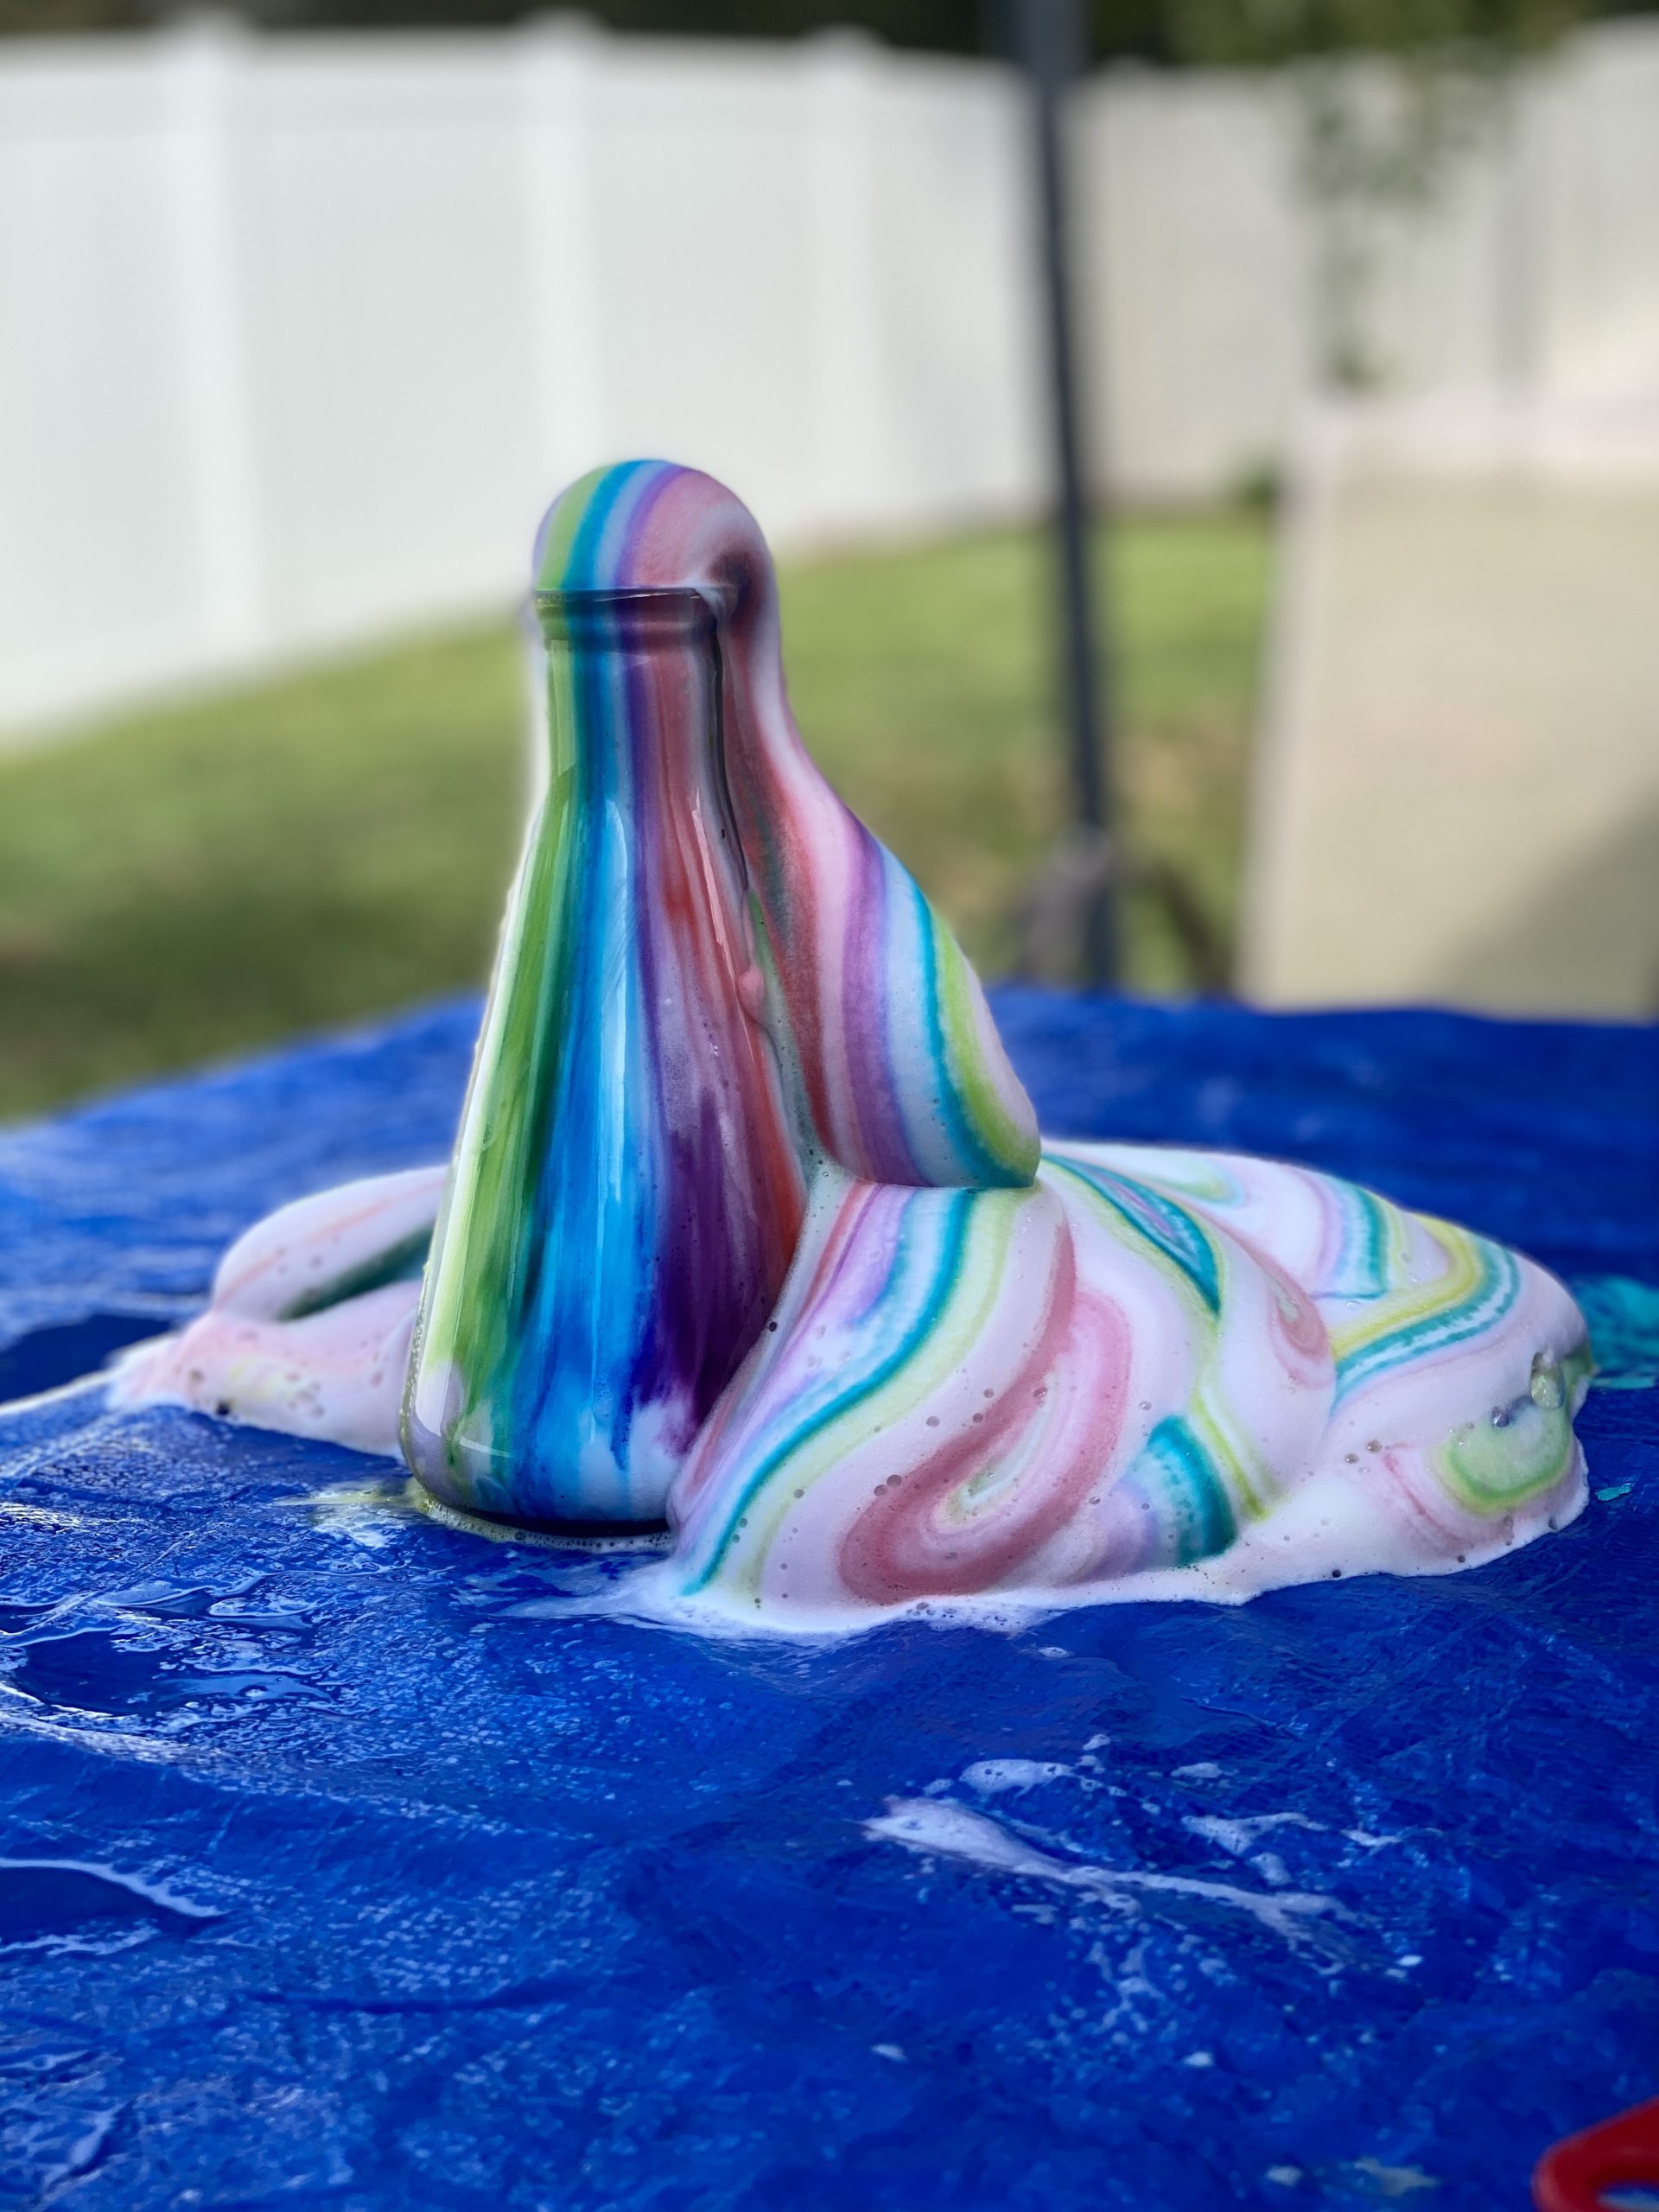
With elephant toothpaste of course! Ok, maybe not really, but that doesn’t mean making it still isn’t fun. It’s that time of year where science projects in are in the works at our local elementary school and luckily for you guys I had to document it for Tyler’s project so I was able to experience the entire thing and get some great photos!
When Tyler first mentioned his idea for the science fair I was a little weary. Elephant tooth paste, really? I’ll tell you what, this project is so cool thats why I am on here sharing with you if you have other kids looking to do something and share a passion for science.
Before we get started let me share a few helpful tips.
-Get a flask shaped beaker. We tried with other ones and the effect was nothing compared to the one we ended up getting last from pyrex on Amazon.
-Opt for the stronger hydrogen peroxide. I ended up finding a salon product of 40% that was cheap, came in large quantities and we could order off Amazon or pick up at our local Sallys Beauty Supply just incase we ended up needing more. We first tried the store bought stuff, but the 3% did absolutely nothing, so do yourself favor and just skip over that one lol.
-After each test trial make sure you clean out the measuring cups. I know its simple but sometimes it’s the simple things we forget.
Here we go! For Tyler’s 5th grade science fair he was required to come up with an experimental project that provided real-life relevance to science content through the use of higher order-thinking while documenting and preparing a presentation for his classmates. He was given time to find exactly what he wanted and had to present his testable question to his teacher for approval. Luckily he had a great idea, after watching to many YouTube videos I’m sure lol and was approved immediately and we started our journey at home. Remember those tips I gave you, here’s why. He failed to tell me what exactly what he needed just a vague list. So I went on Amazon and got the first “science beakers” I could find. They looked great and I thought I had done a good job. I was wrong, so he asked me to order more because those were not big enough. This time I found big nice and round ones, I was positive those would work. Well, I was wrong again lol. After the 3rd attempt Tyler figure out that by showing me what he wanted would be the best help and after I learned I knew that I needed to make sure it was large enough. We ended up getting Pyrex 250ml that work perfectly. As for the yeast I had found some awesome individually wrap portions at our local Publix that turned out to be what he needed because it gave him the exact measurement for documentation purposes. Last he needed hydrogen peroxide. This was another item that he did not do so well at explaining what he needed. So being the mom that I am I went and bought 6 containers of the drug store stuff because thats what he said. After his first trial he learned quickly he needed something stronger and so we watched a few videos and found that Salon Care 40V was safe for kids and work great. I was able to order on Amazon, but just incase I wanted to make sure there was a local pick up so I confirmed with our local Sallys that they carried the product and they did.
For his experiment he was required to test and observe at least three different variables so he chose to do a regular, 2x and 3x the measurements. To our surprise the didn’t change that much, but I’ll let you figure that out for yourself.
Here’s what you need,
- 1/2 cup of Hydrogen Peroxide (Salon Care 40 volume CLEAR!)
- 1 packet of Fleischmann’s Active Yeast, mixed with 1/4 cup warm water
- 1/4 cup of dish soap
- Food Color add as much or as little as you like
- 250ml Flask Beaker
- Measuring cups
- Table with cover
Here’s what you do,
- Step 1, add peroxide to beaker
- Step 2, add dish soap to beaker
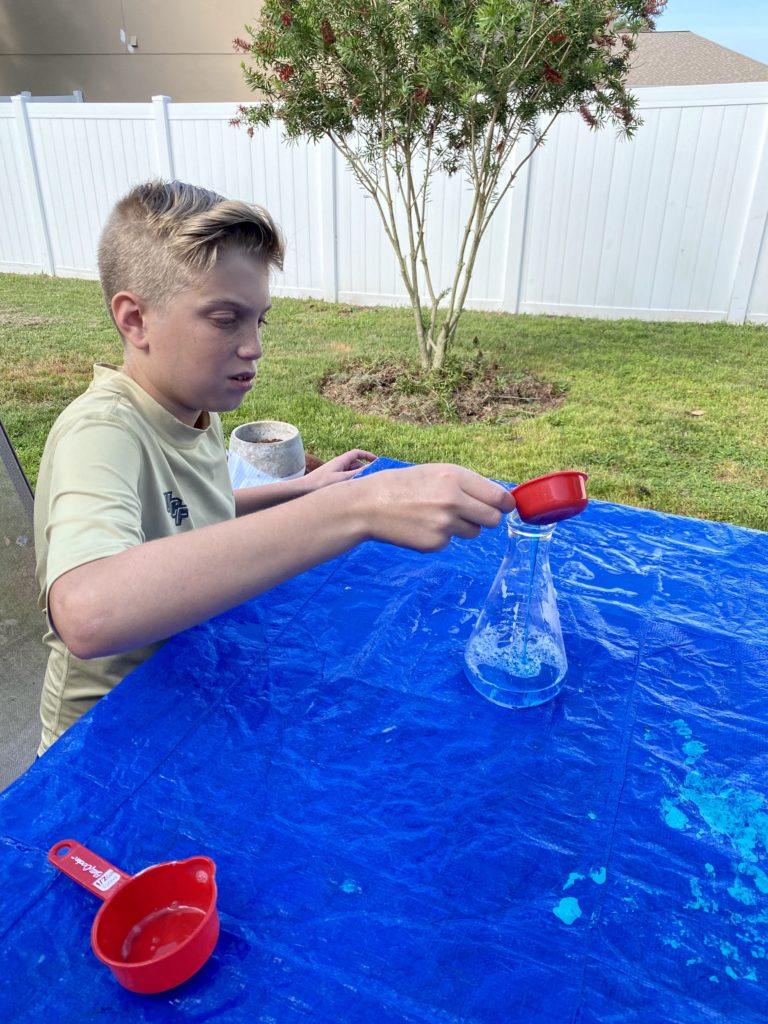
- Step 3, mix warm water with yeast
- Step 4, add yeast mixture to beaker
Here’s what to expect!
- A natural reaction of the hydrogen peroxide and yeast is to evaporate but by adding the soap the evaporation is able to be captured thus giving you elephant tooth paste! Cool isn’t?
- WARNING! It’s going to be hot. Let the mixture sit for at least a minute before touching
Here’s what you can do,
- Measure the hight of your tooth paste
- Double and even triple your measurements to see how big they can go
- Add more food coloring to the tooth paste to make fun designs
-
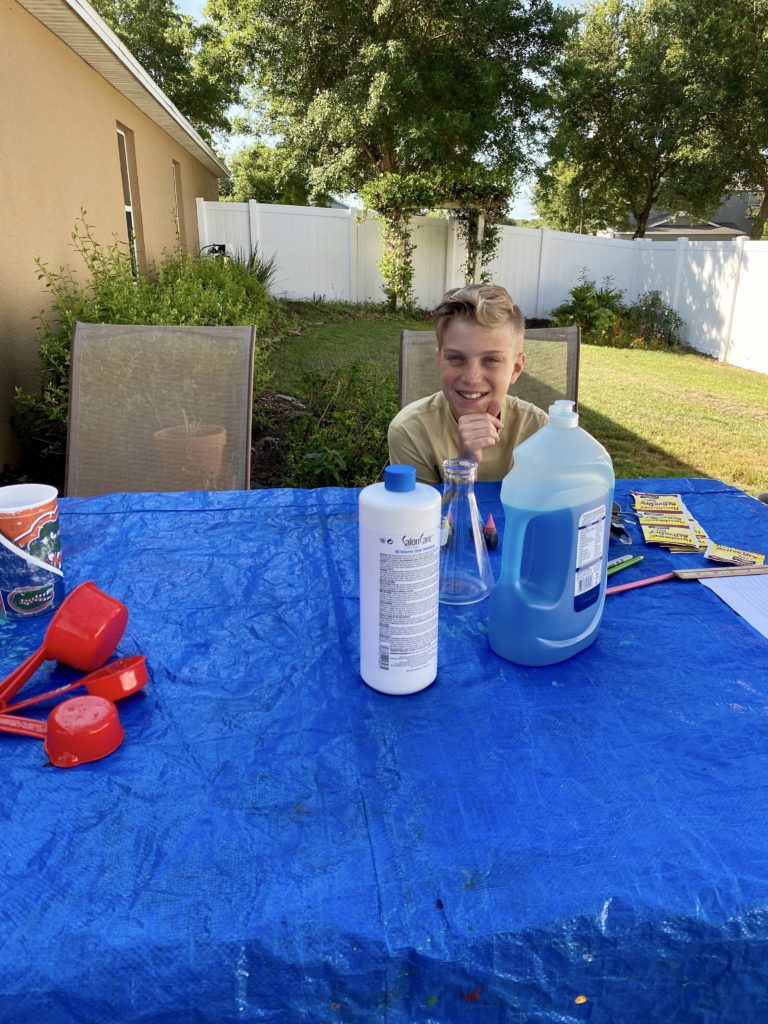
Have all ingredients & tool ready -
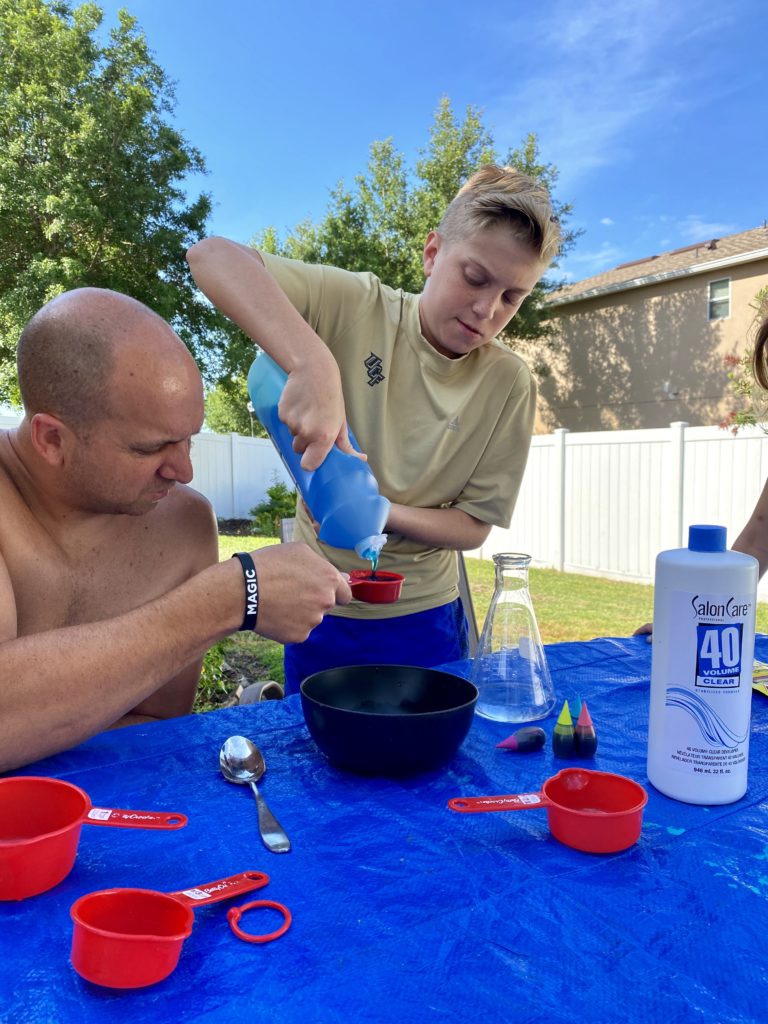
Add peroxide to beaker -
Add dish soap to beaker -
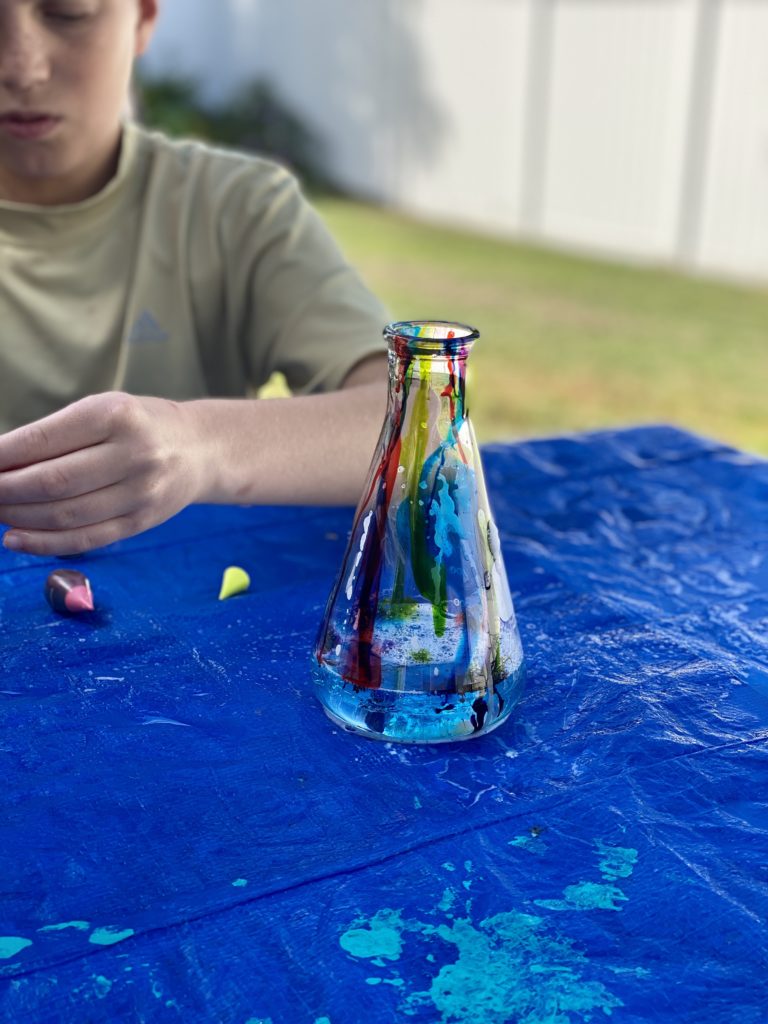
Add food coloring -
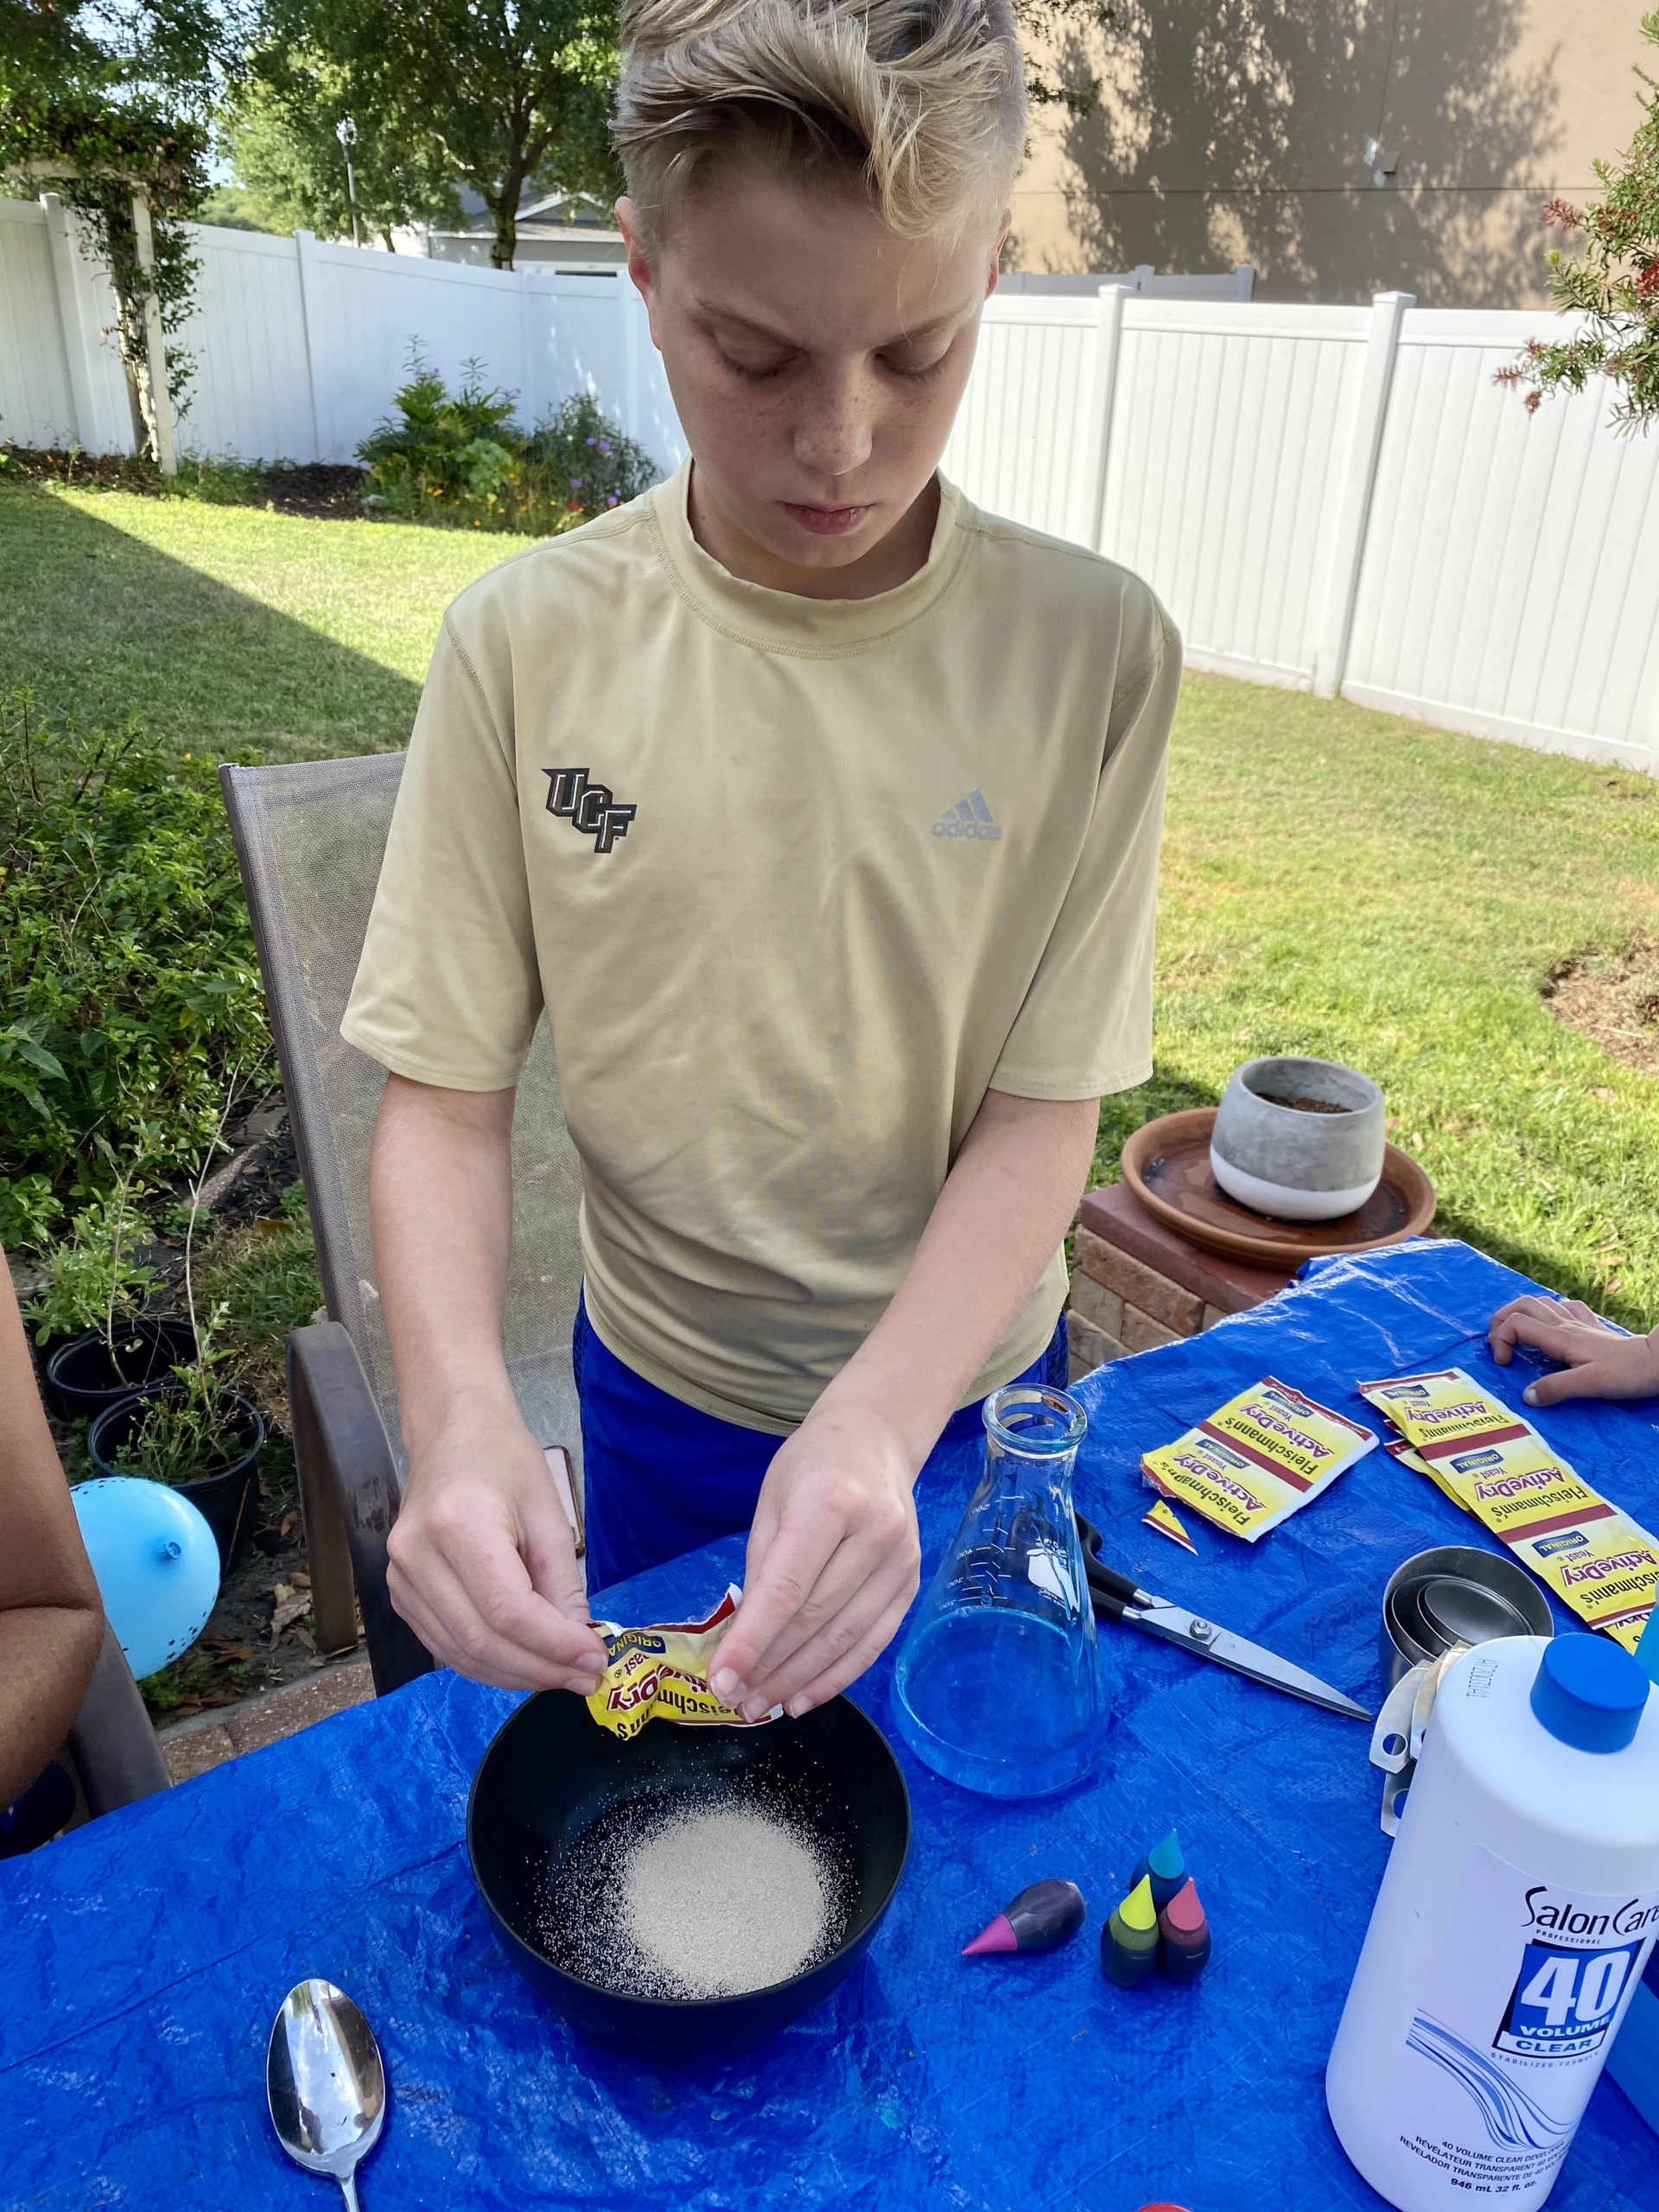
Mix warm water with active yeast -
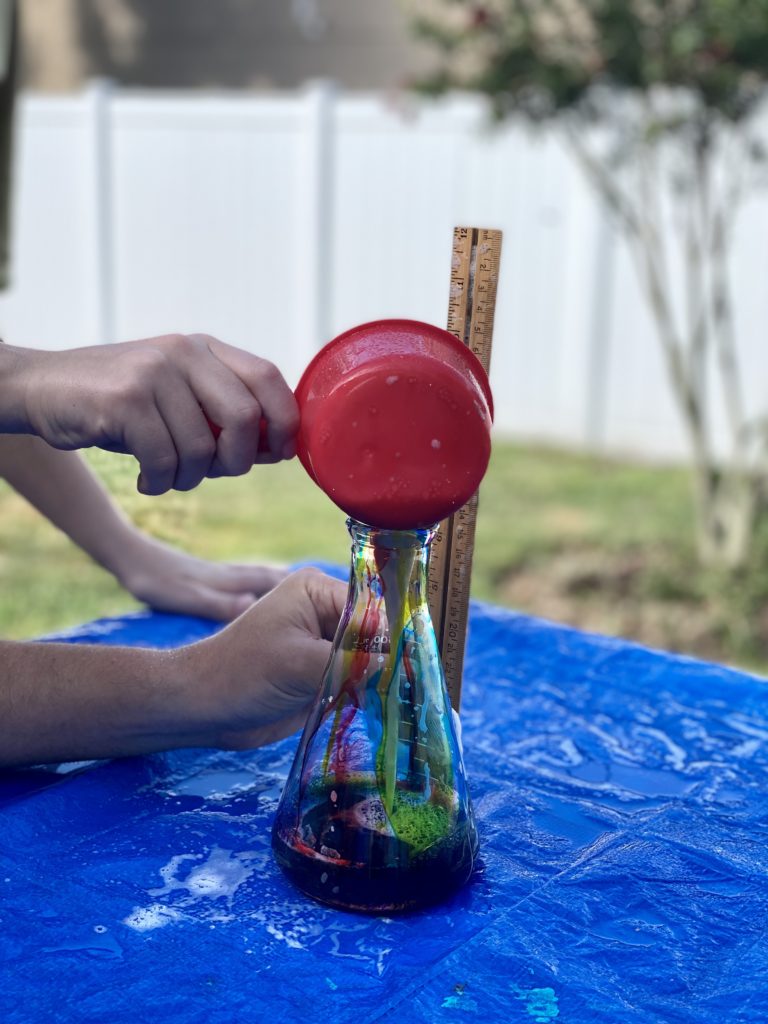
Add yeast to beaker -
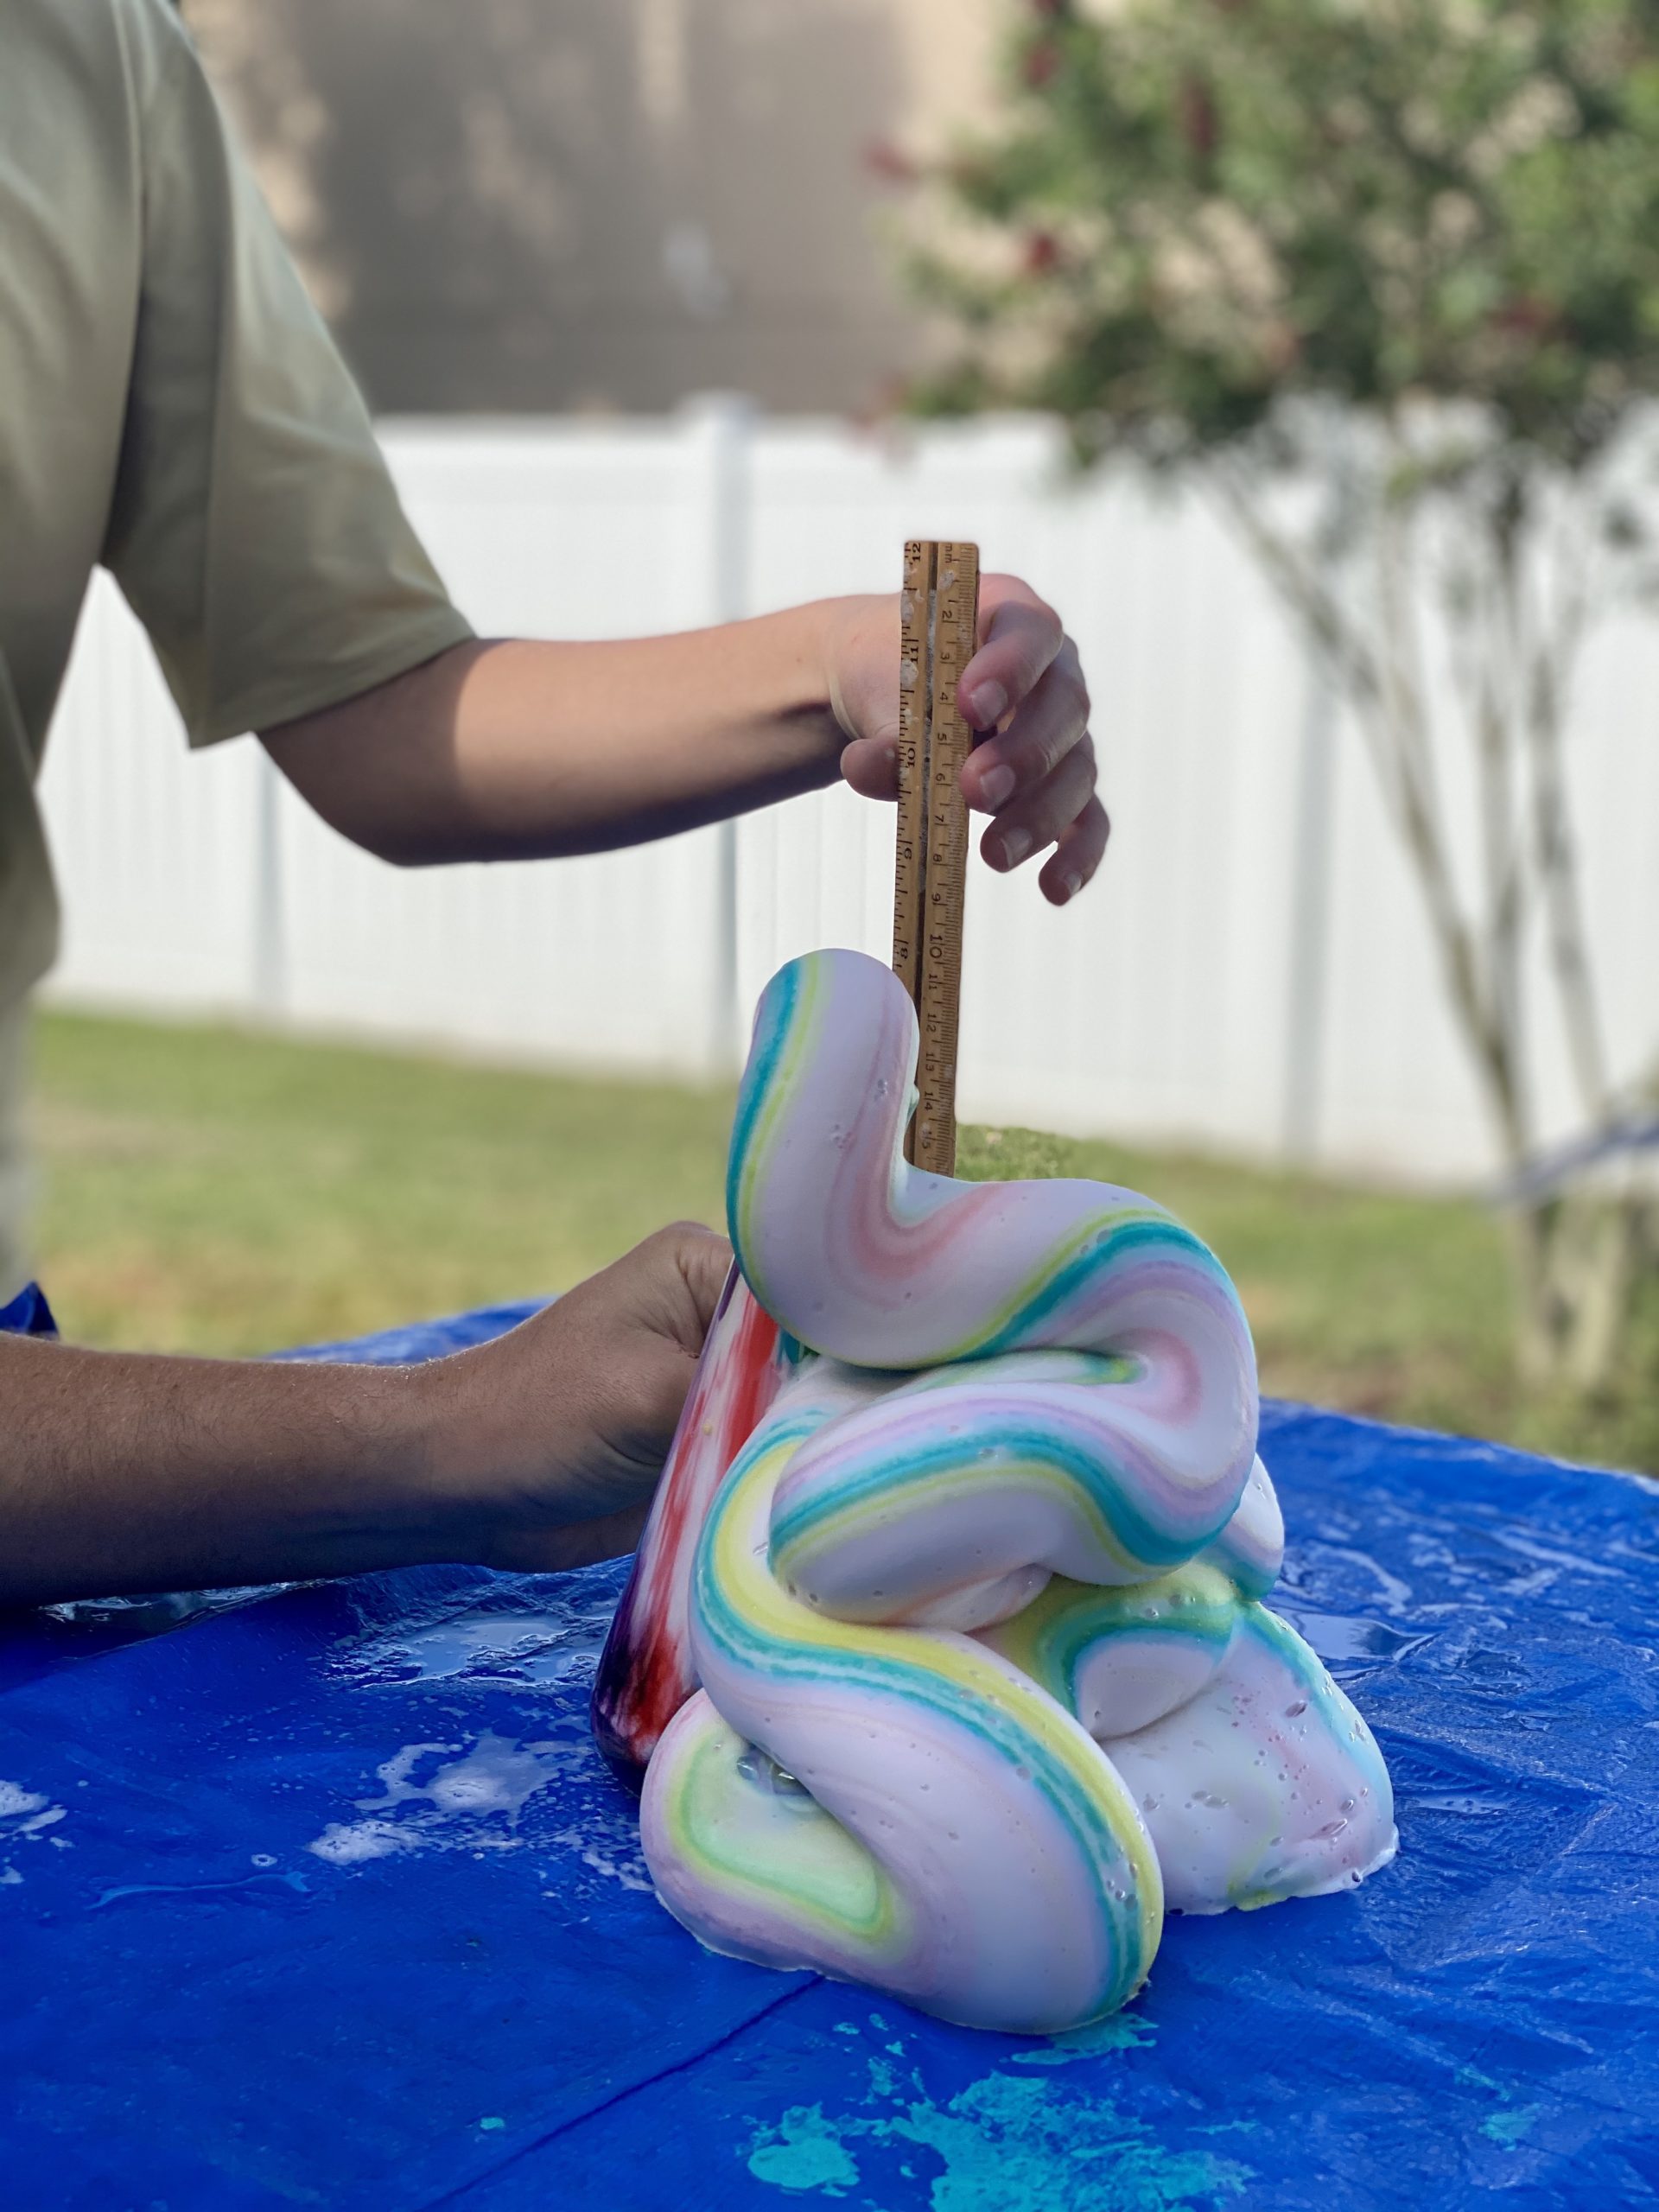
Watch the science work! -



2 Comments
Brianna S
March 25, 2020 at 1:34 pmOmg this looks so fun! I might do this for the kids
$20 or Less DIY Spring Chalkboard | Mamallama.llama on the weekly
April 14, 2020 at 12:55 pm[…] How Does an Elephant Brush His Teeth? […]