
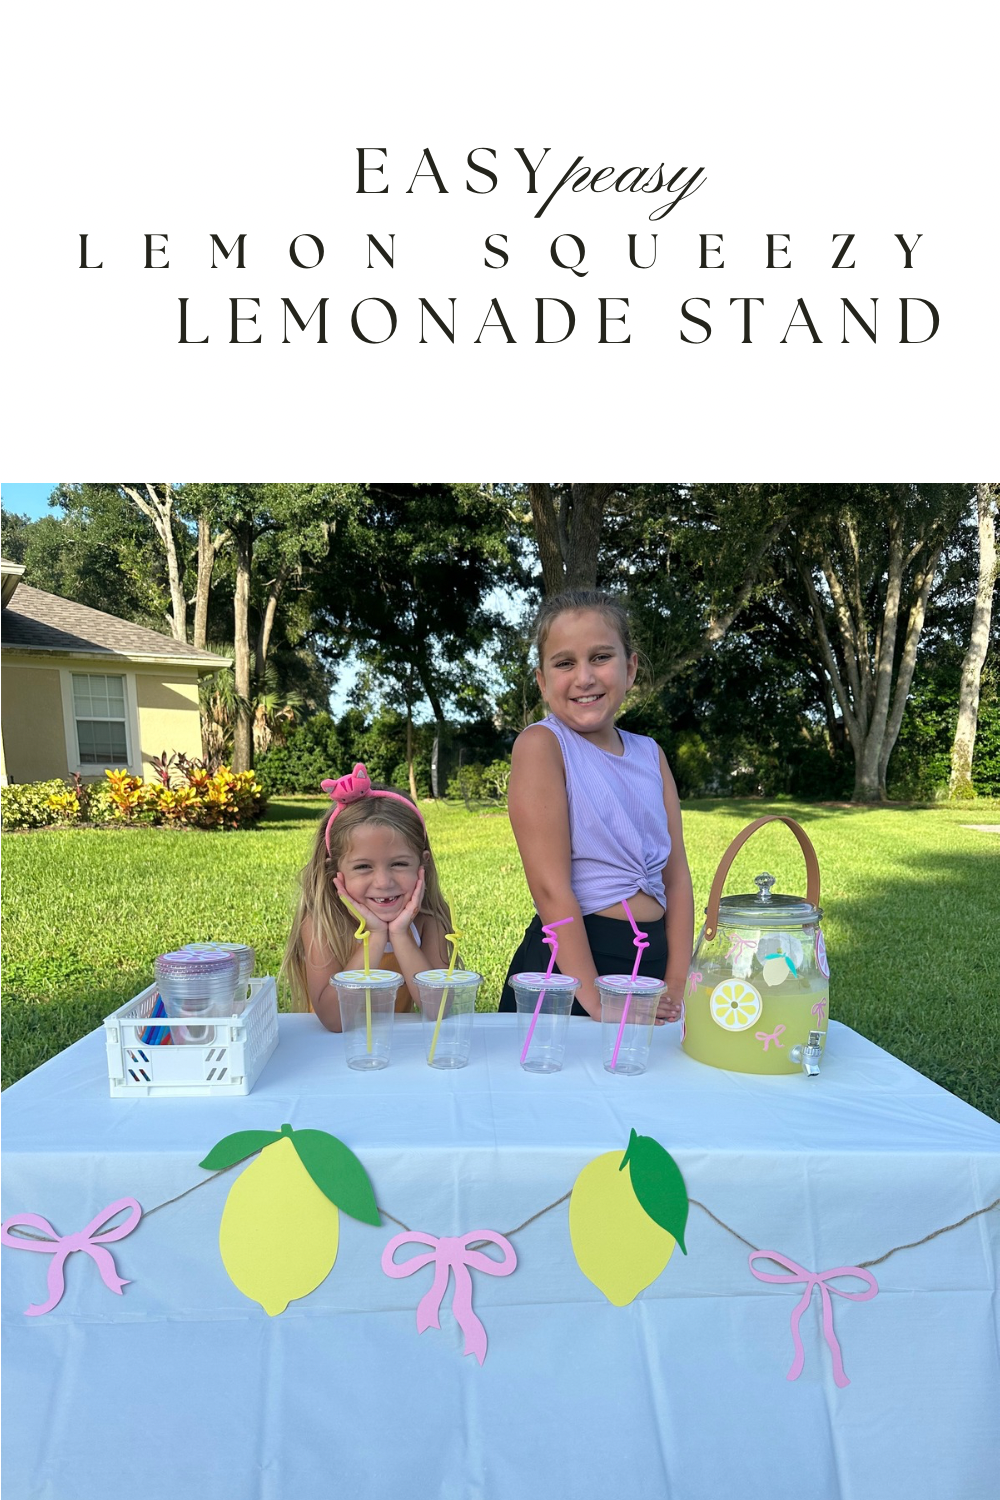
The weather is right and the kids are looking to earn some of their own money and what better way then to have their very own lemonade stand. It’s a low cost to set up and the with my easy to make Cricut designs they will look like a pro in no time.

DIY Lemonade Stand
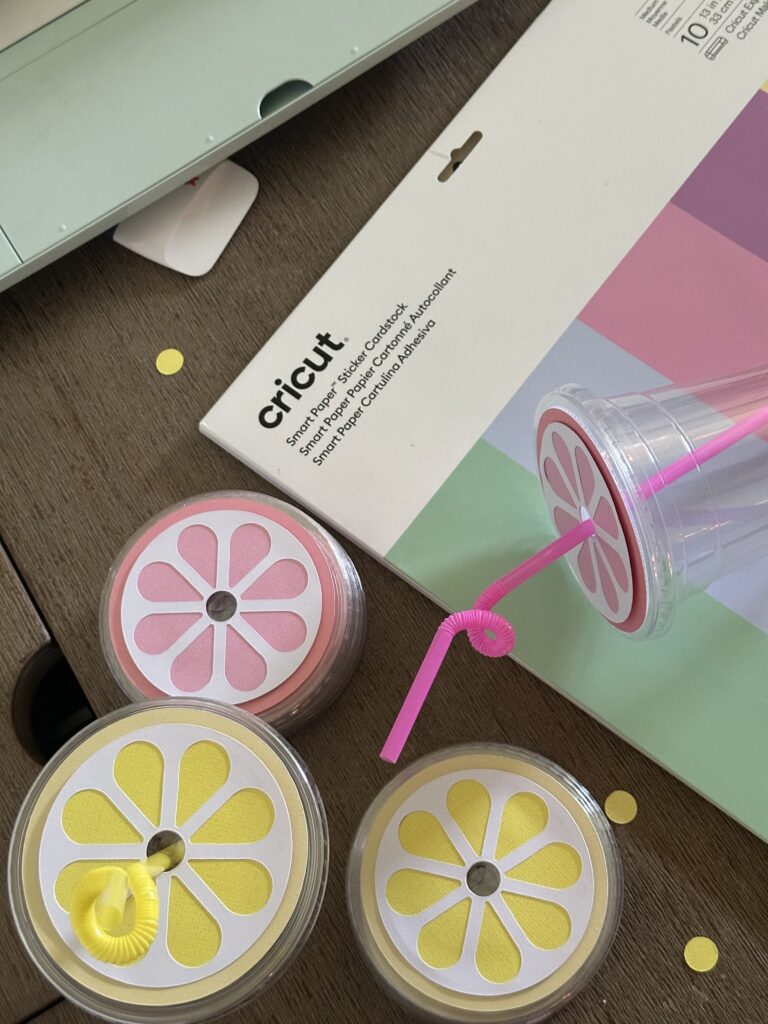
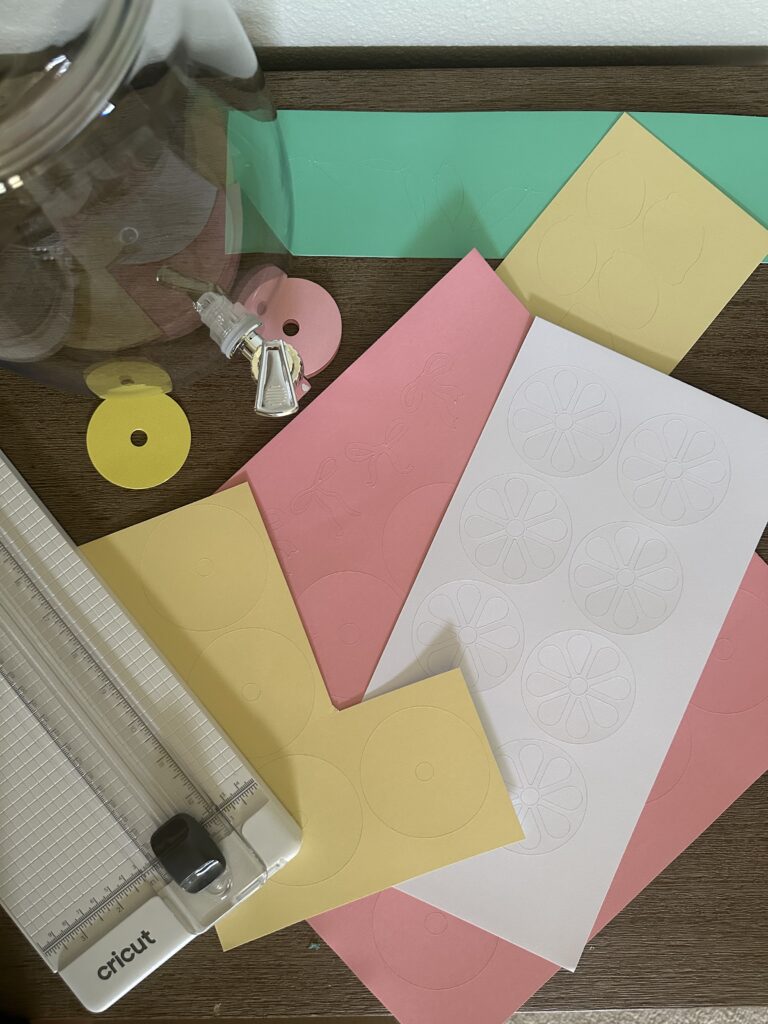
Did you know that Cricut has Cardstock Sticker Paper? That’s right! Not only do they have it in the cutest colors but it’s also one of my favorite new finds. It’s easy to work with, it sticks to most surfaces and made this project user friendly for all.
Supply List:
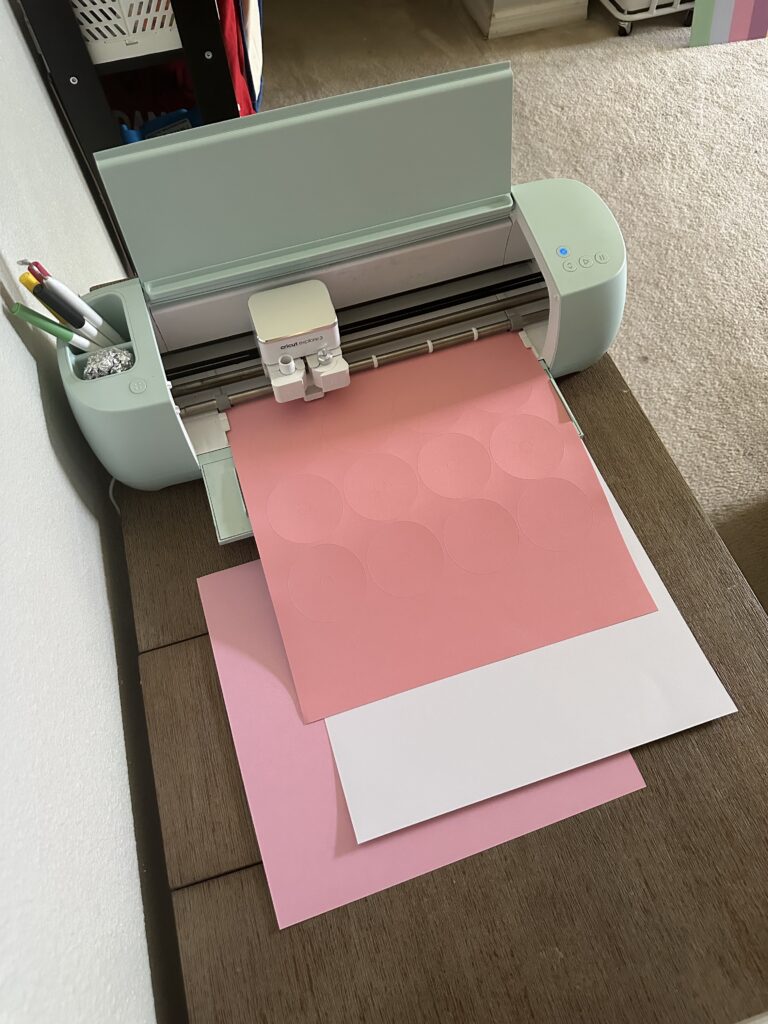
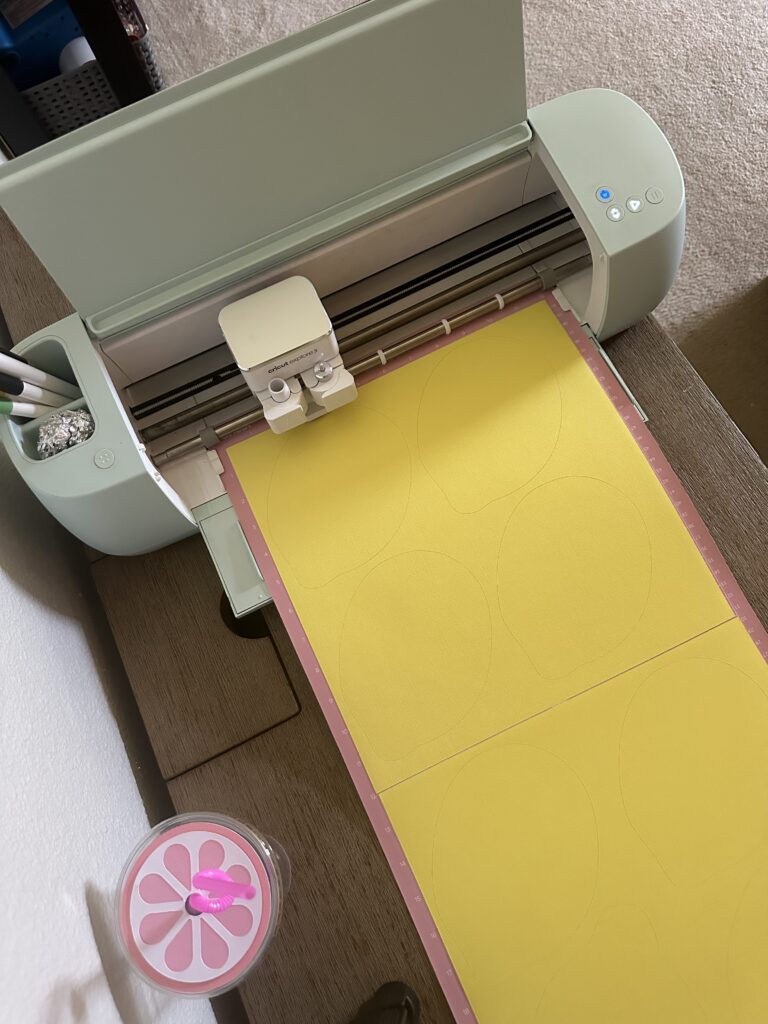
- Cricut Explore 3
- Cricut Smart Paper Sticker Cardstock
- Cricut Cardstock
- Glue stick
- Twine
- Hot glue gun
- Disposable cups with lids
- 1 gallon drink dispenser
- Lemonade
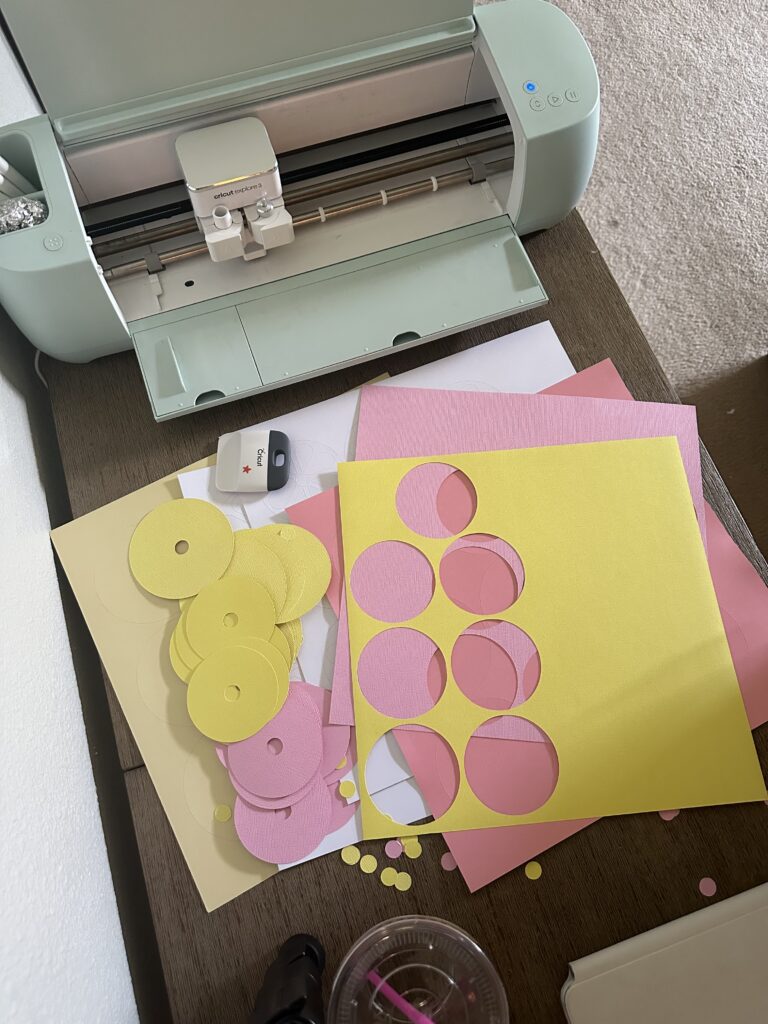
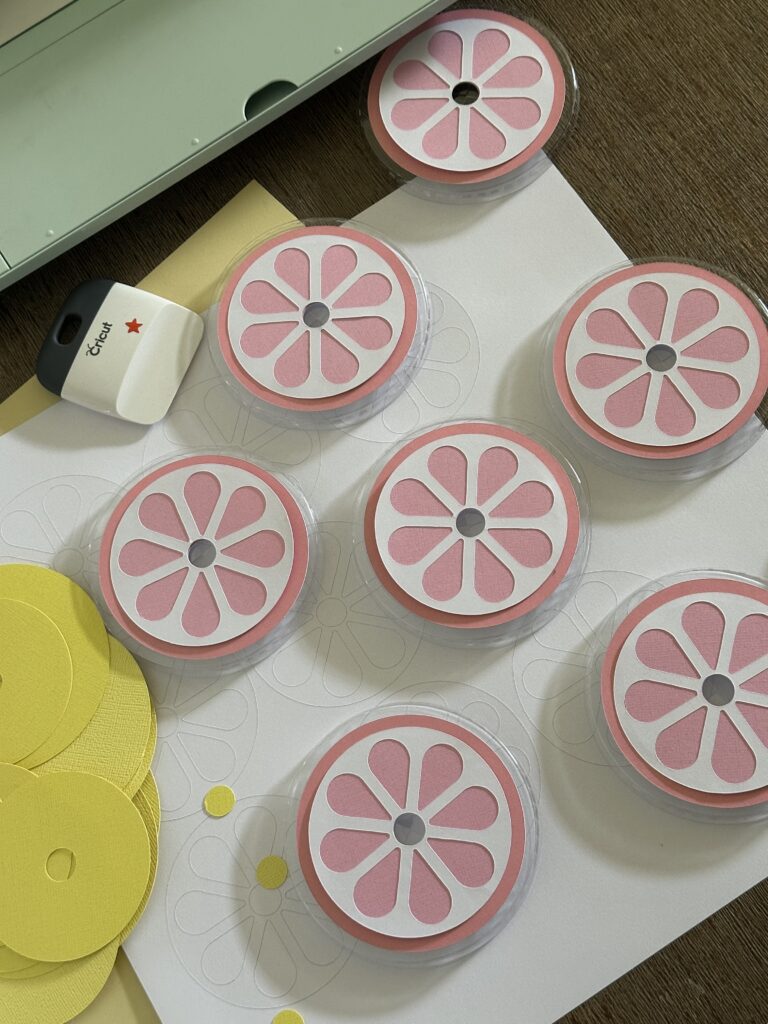
Lemonade Cups
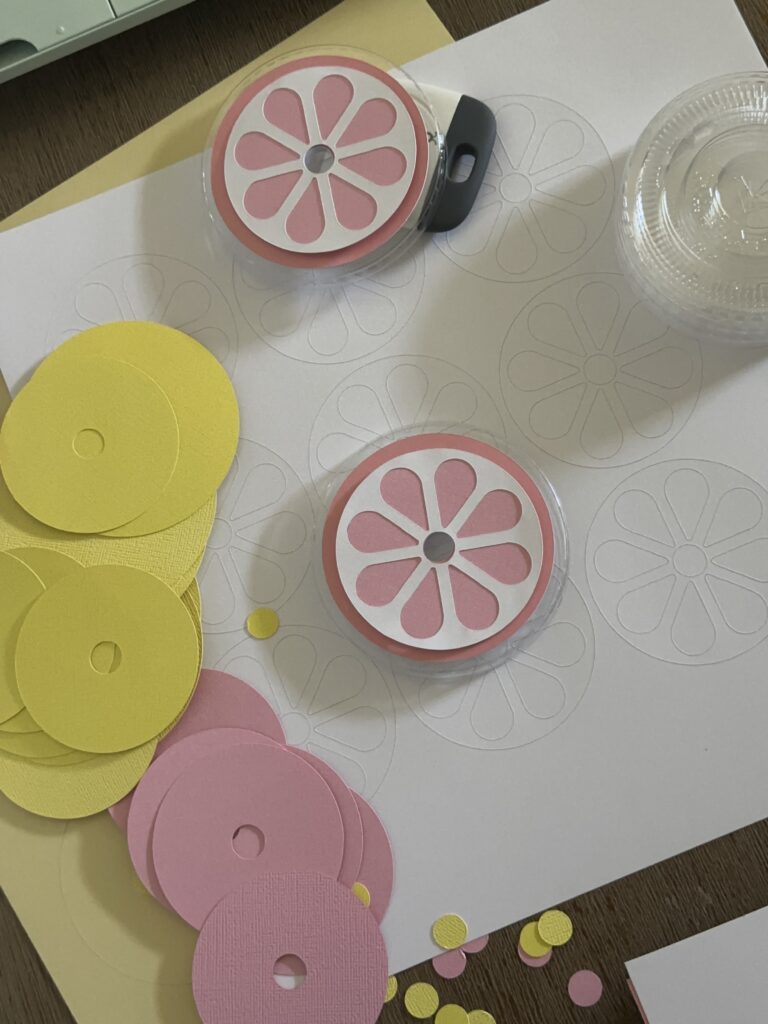
My absolute favorite part about the lemonade stand are these adorable lemonade cups. They are so easy to make I can not imagine not adding them from here on out.
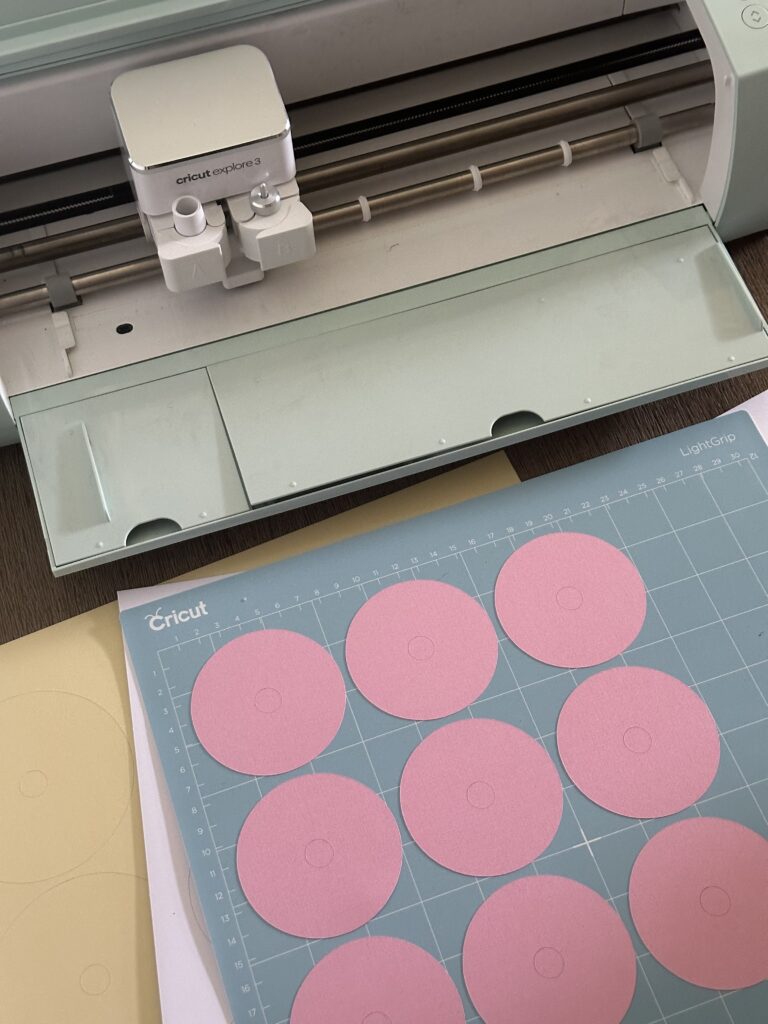
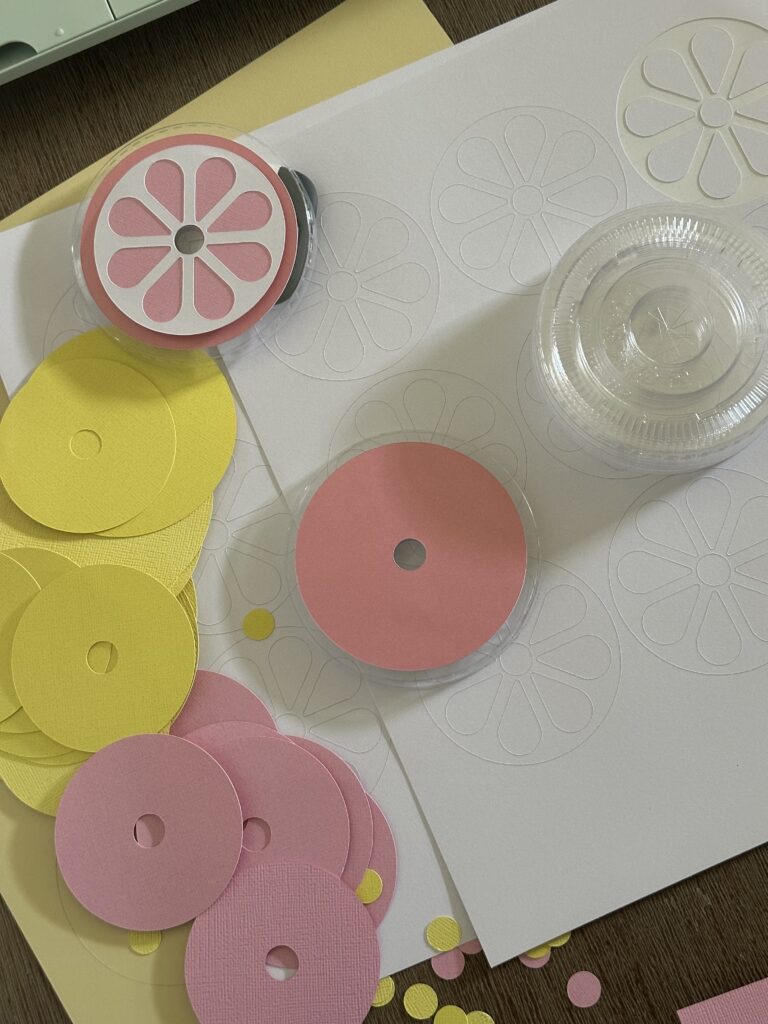
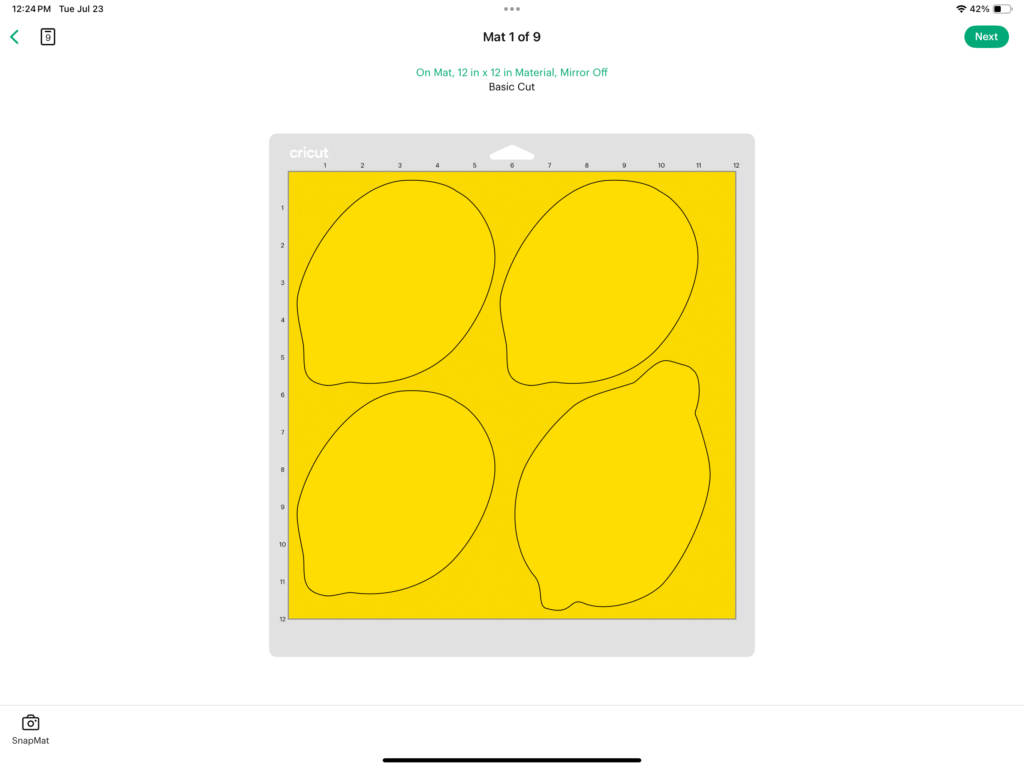
For this project you will need your disposable cups, Cricut Smart Paper Sticker Cardstock, Cricut Cardstock and glue stick and this Cricut Design Space file.
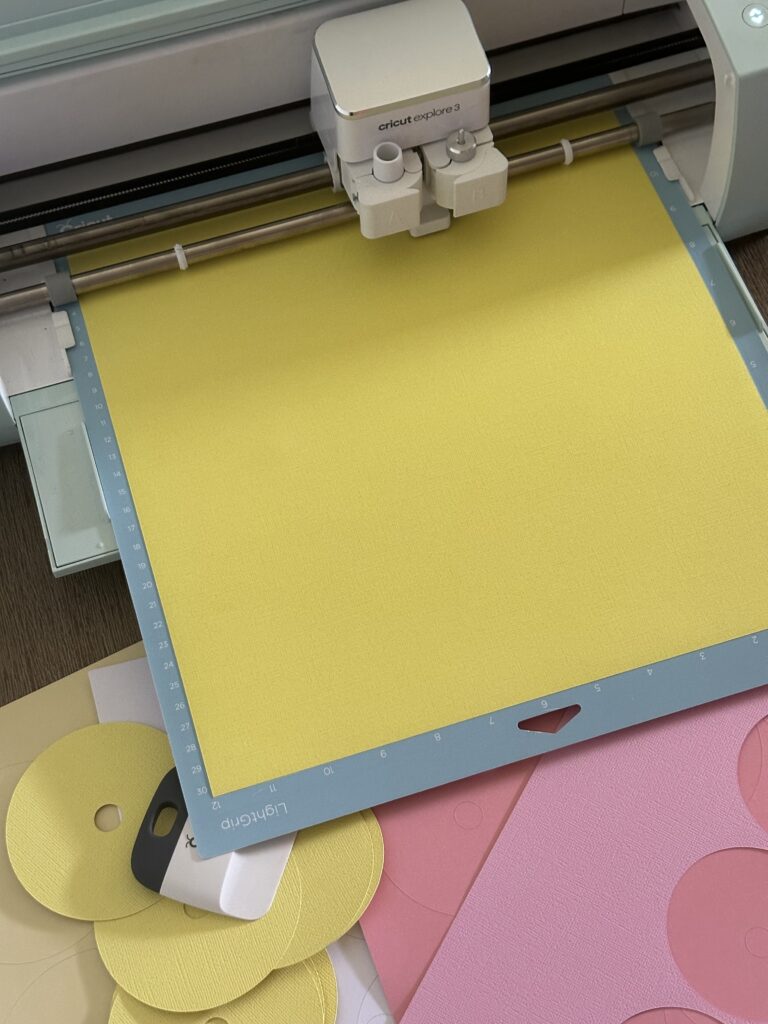
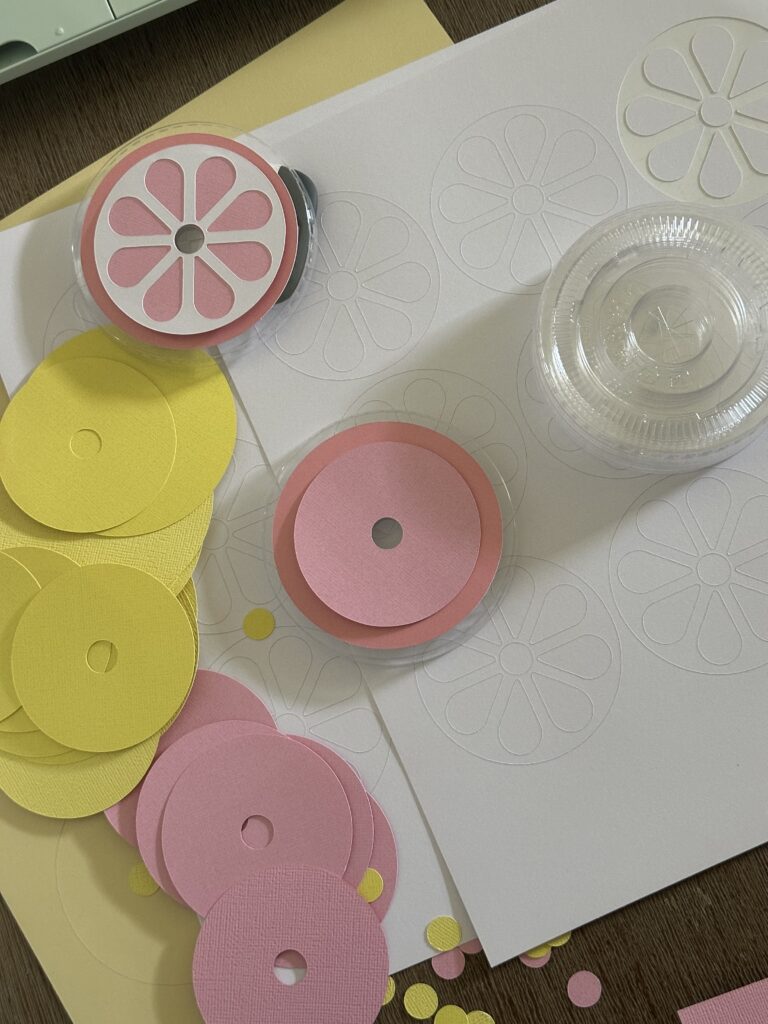
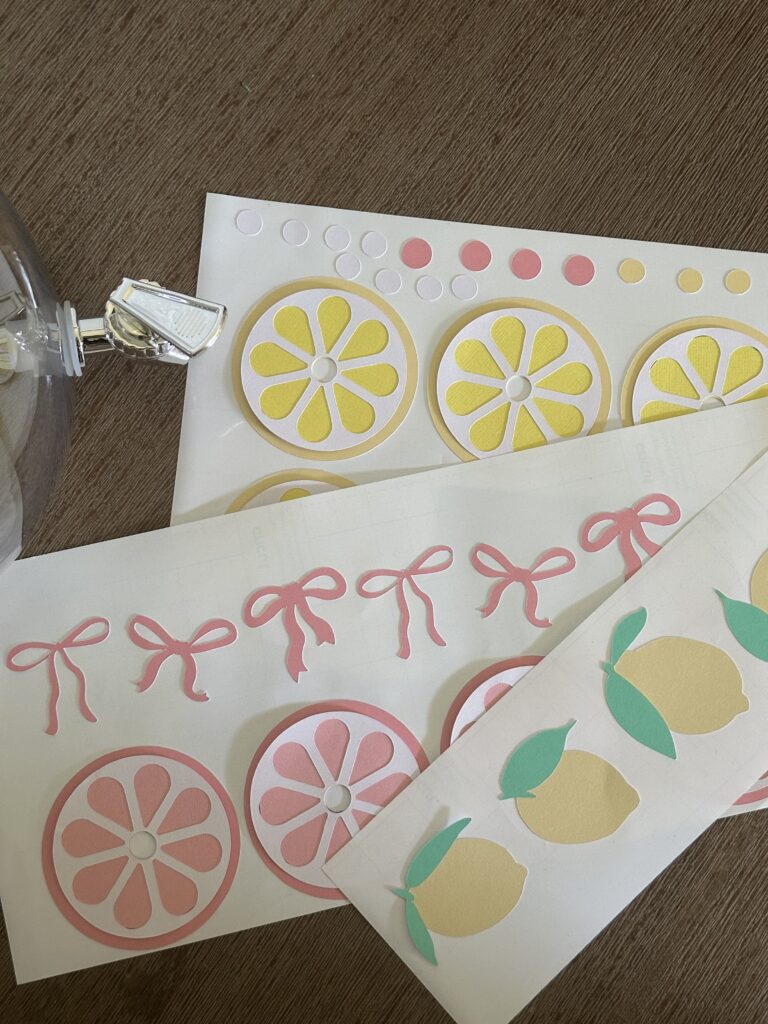
Cut each design according to the file. You will layer as followed- Cardstock Sticker Paper, Cardstock and then Cardstock Sticker Paper on top. Be sure to use the lighter color as your inner color to have the color pop and resemble a lemon. Because the top layer (white) overlaps just a tad you will need to add some glue with the glue stick to bond the inner Cardstock to the bottom Cardstock Sticker Paper layer.
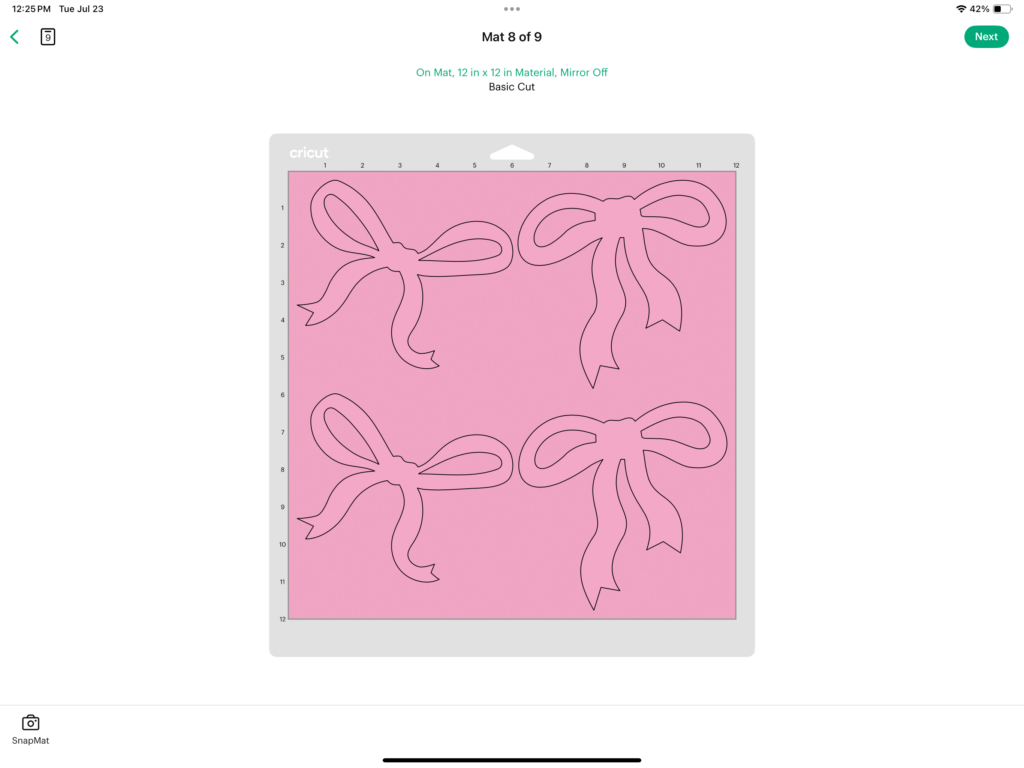
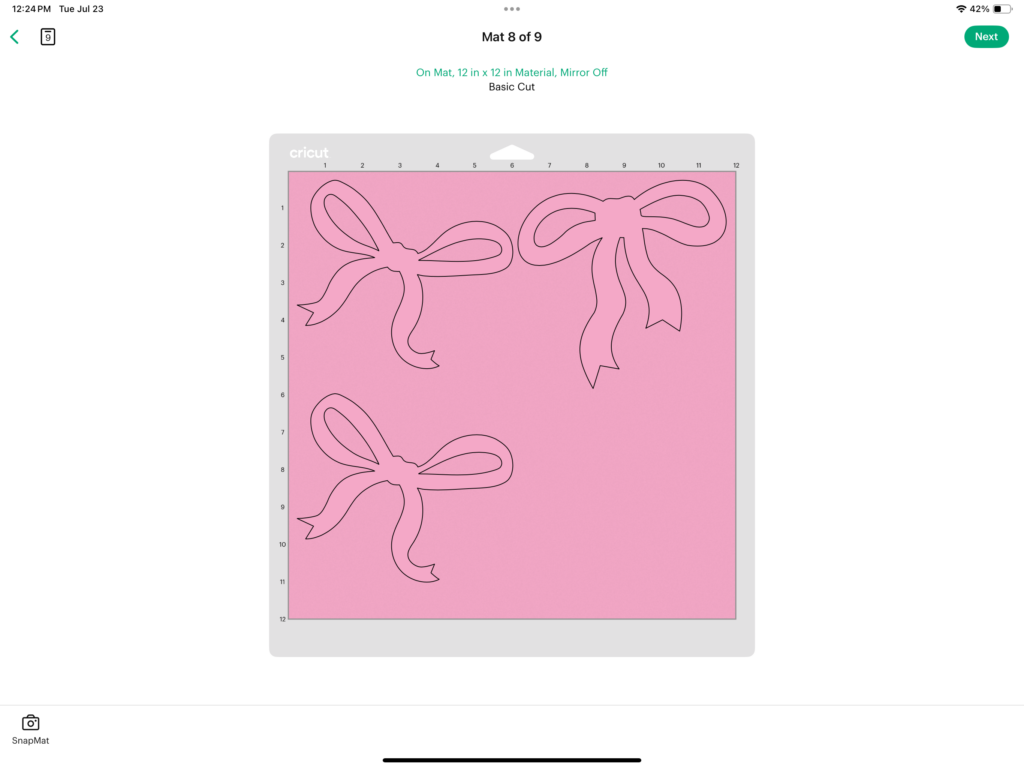
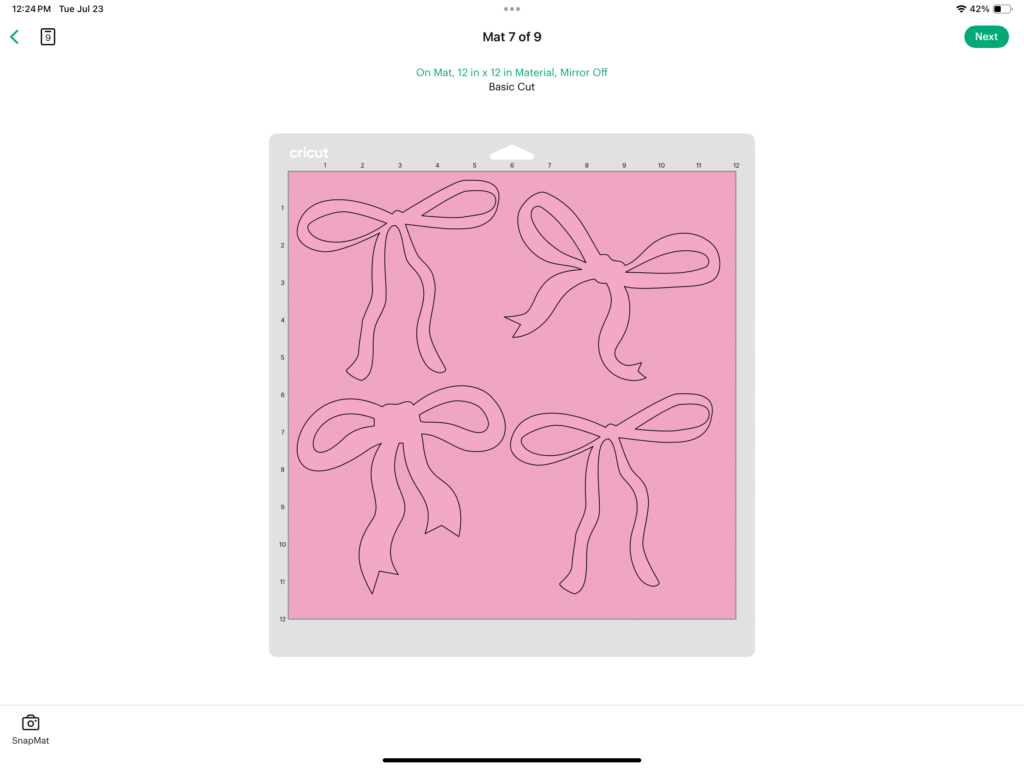
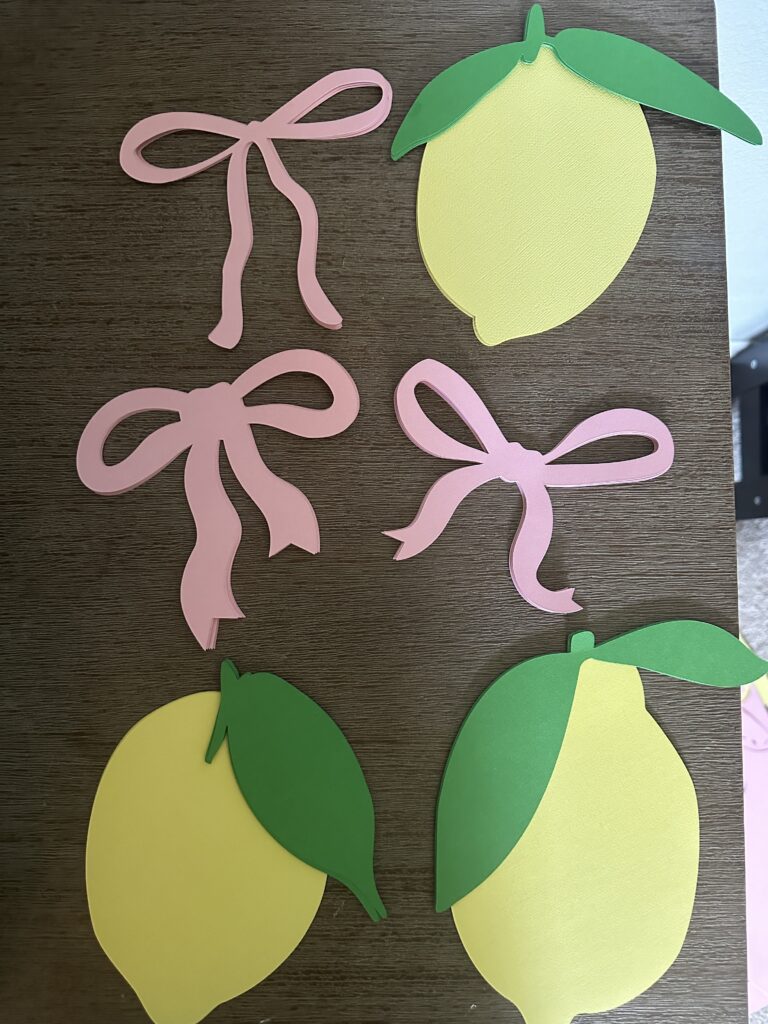
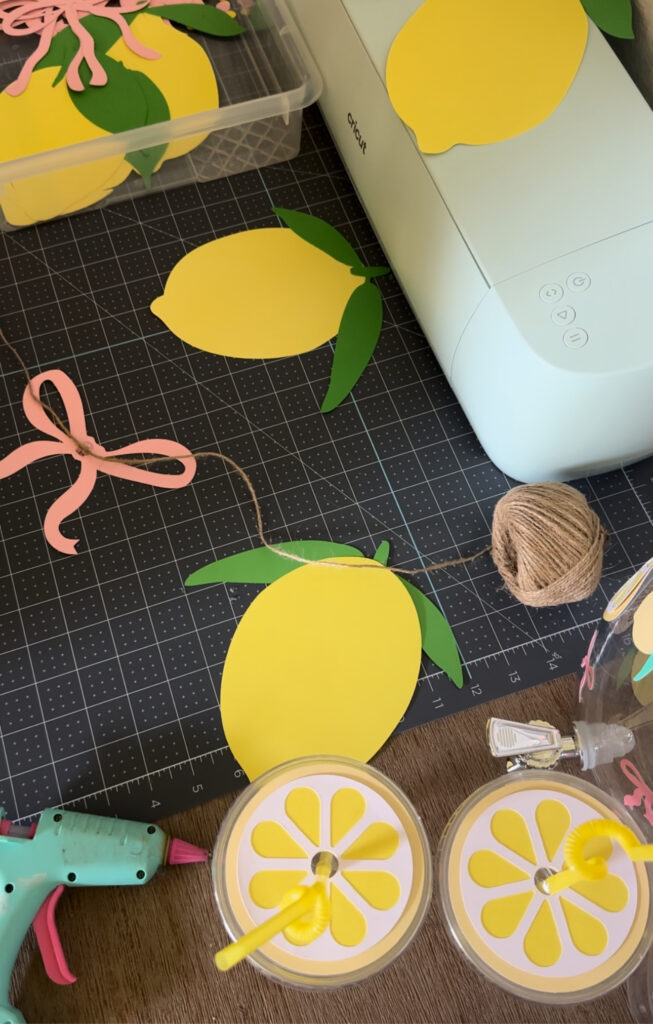
Lemons & Bows Garland
If there is one trend that I absolutely love it is the ribbon bows! They are so cute and can literally be added to anything! For example, our lemonade stand garland.
For this project you will need:
Easy to follow steps:
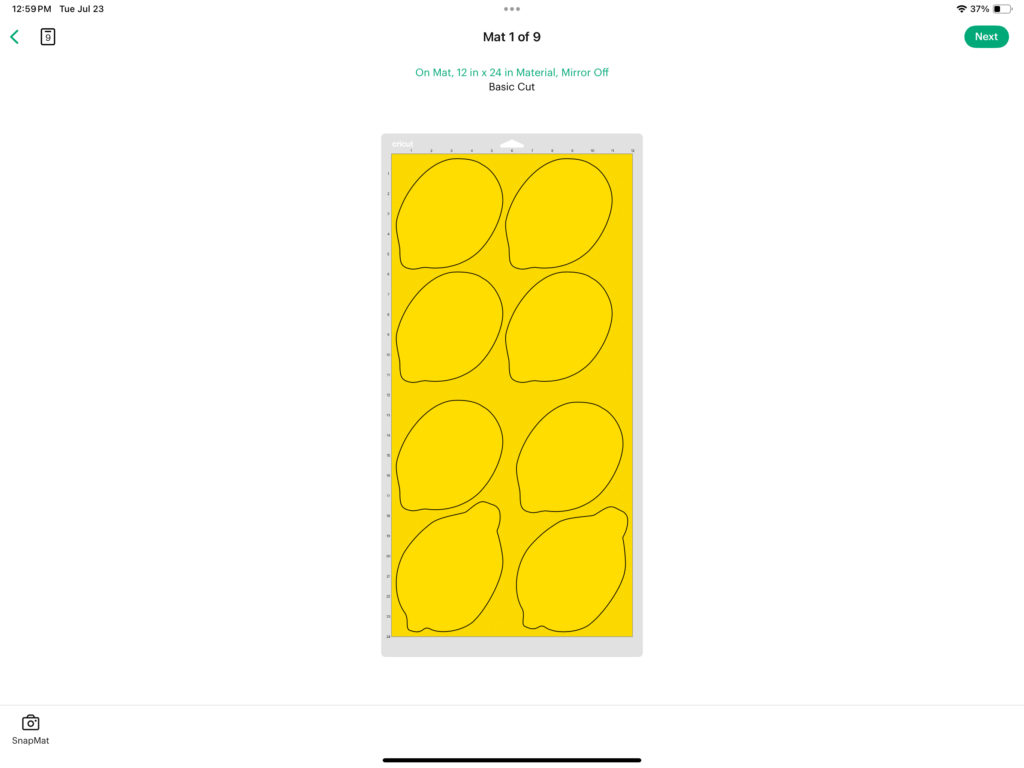
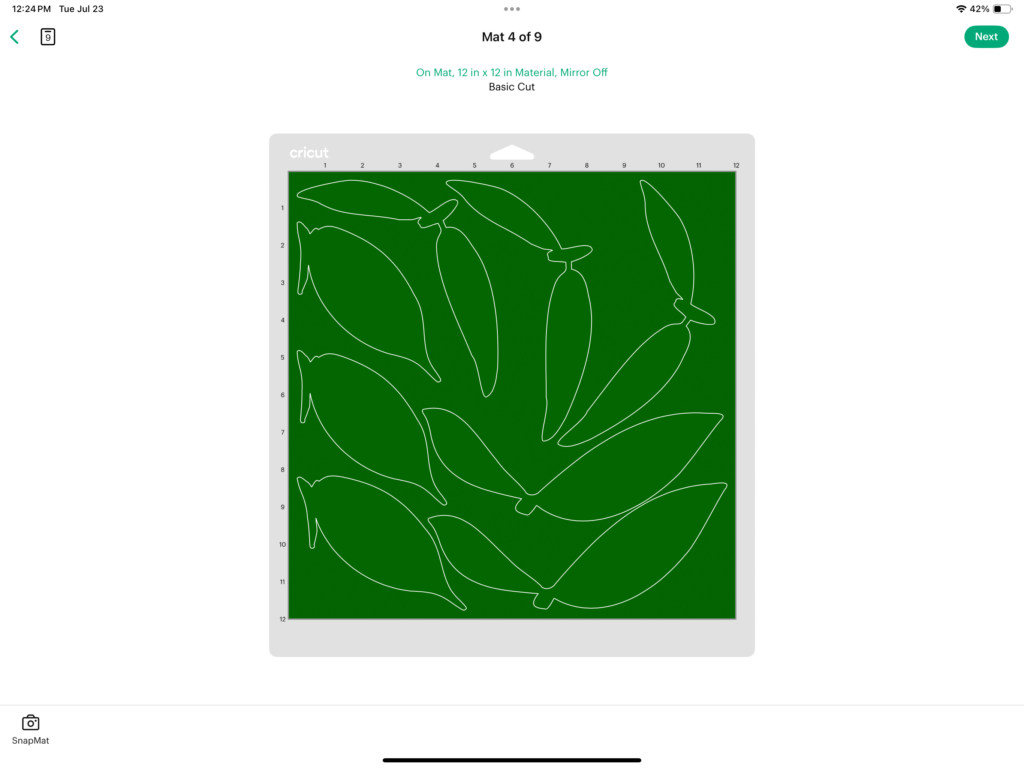
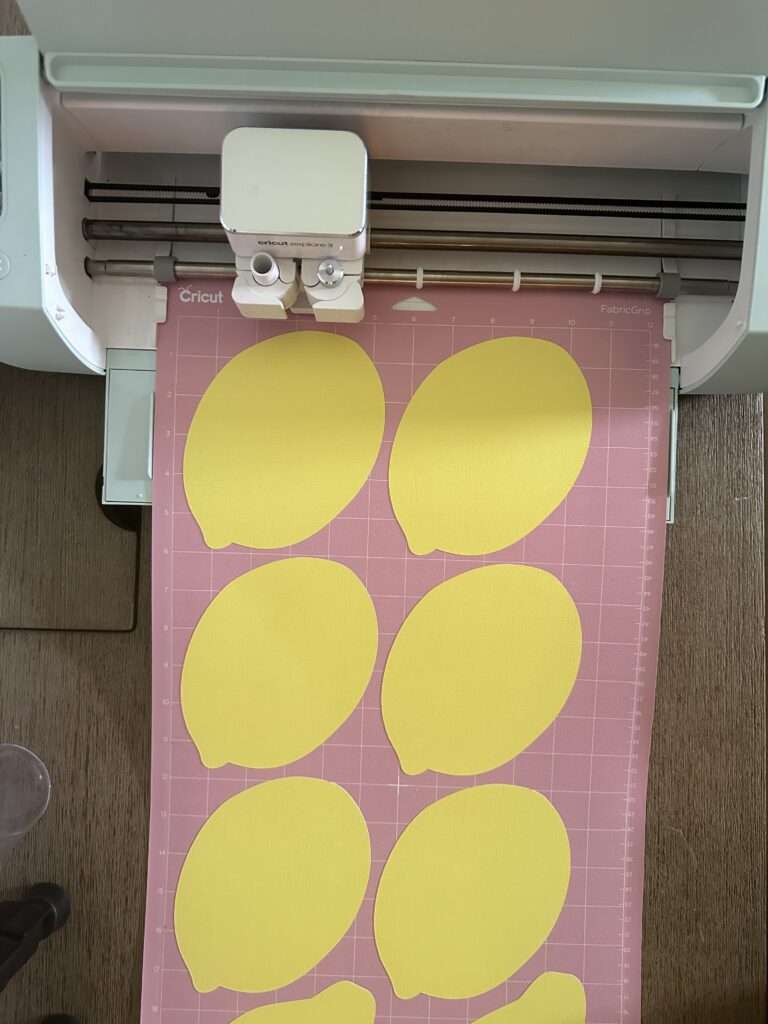
- Cut Cardstock according to Design Space File
- Cut twine to size for your table. I used a 4ft table for reference that used 4 lemons and 3 bows
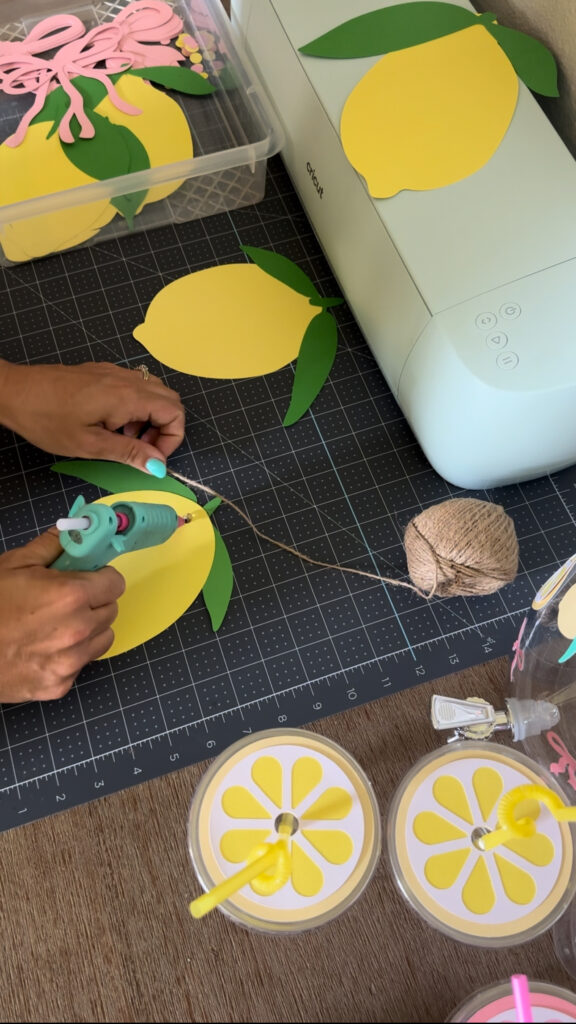
- Warm your hot glue gun and assemble lemons according to design
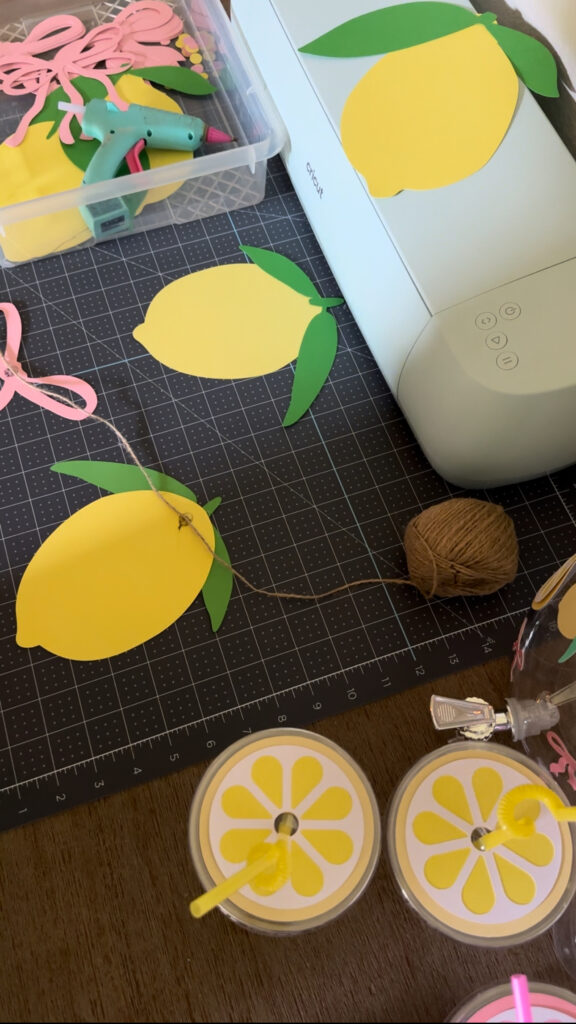
- Once the lemons are complete assemble your garland
- Flip each design over and place twine higher on the bow/lemon to be glued
- Place one dot of hot glue on cardstock
- While holding the twine tight place into hot glue and hold for 5-10 seconds for glue to adhere to twine
- Wait 30-45 seconds or until the glue is hard and move to the next bow/lemon
Once your garland is complete and ready to go you can add it to your tablecloth. If you are using a plastic tablecloth I highly recommend using glue dots to secure the garland. They are gentle on the cardstock and tablecloth.
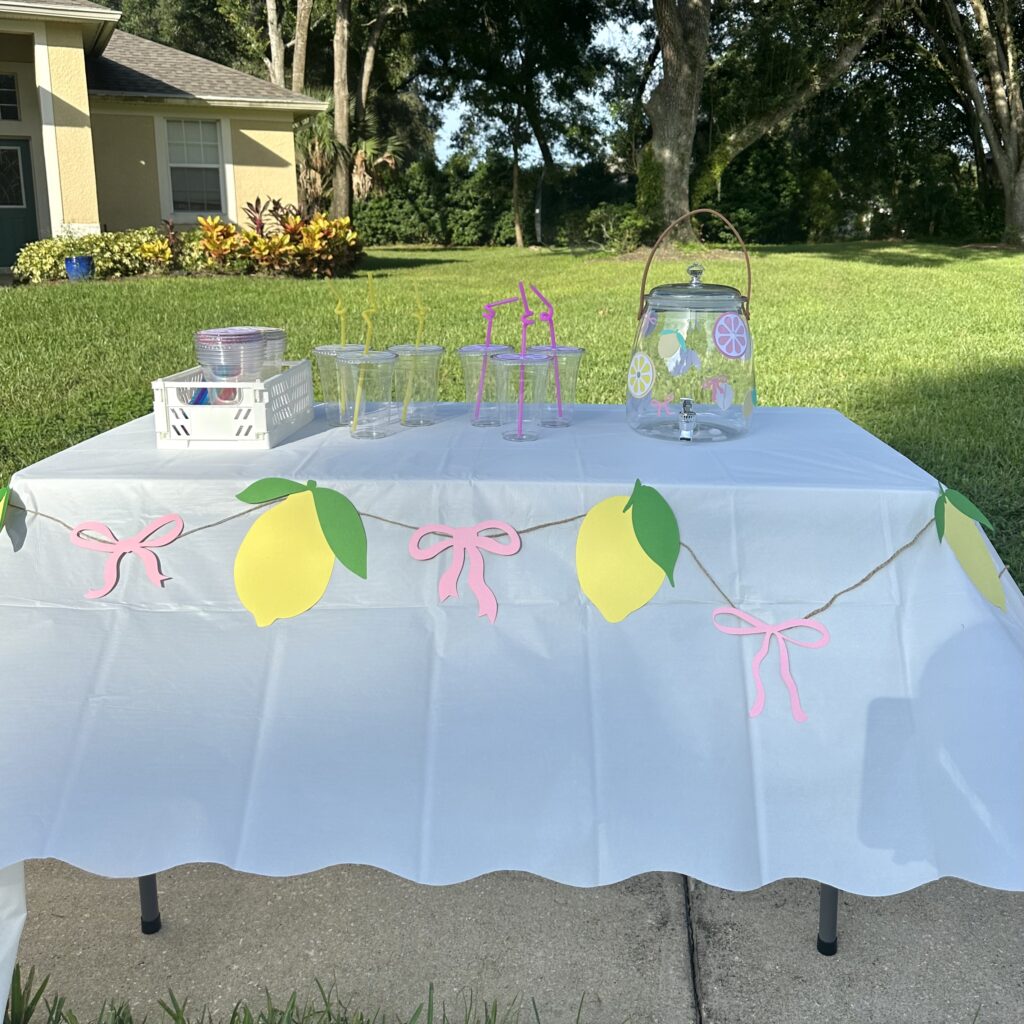
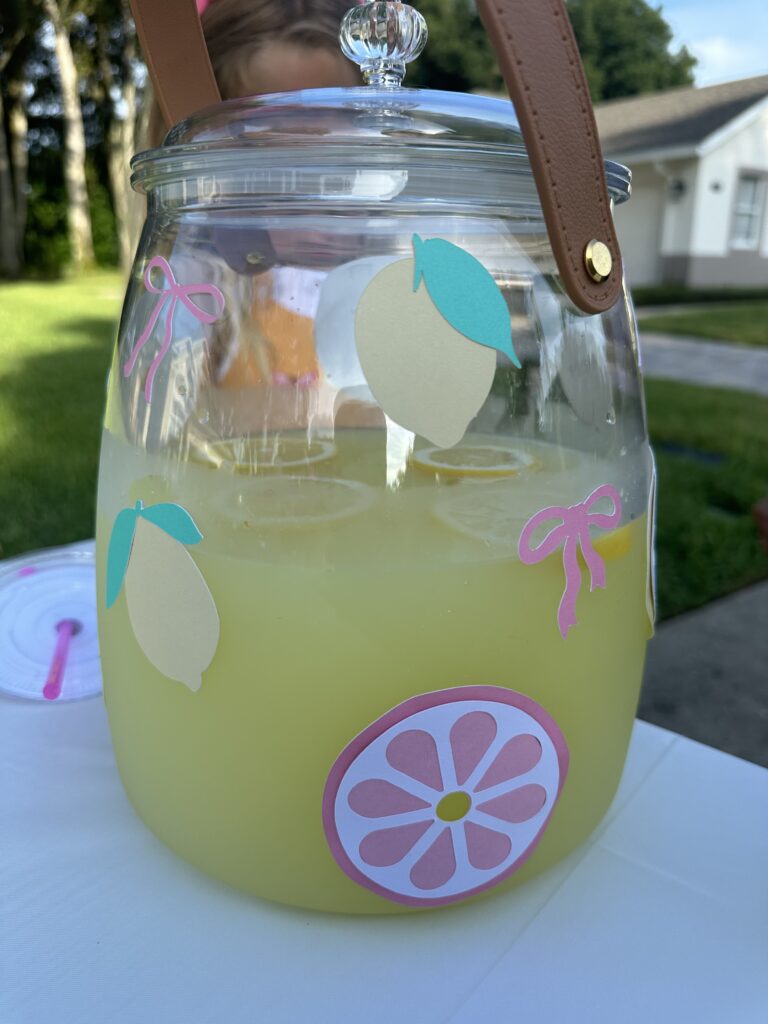
Lemonade Stand Dispenser
Do you have a dispenser you love to you but don’t want to commit to one design? Then you need to use the Cricut Smart Paper Sticker Cardstock to decorate from here on out. It’s easy to you, every design you can imagine is available and when you are ready to change it out all you have to do is remove the sticker cardstock.
Just as the other designs you will want to follow the Cricut Design Space File and apply each design to your dispenser. You will repeat the lemons and bows in a smaller size.
I used all Cricut Smart Paper Sticker Cardstock with the exception of the cardstock for the lemon inner layer. This made the project easy to attach to the dispenser.
If you loved this idea then make sure to check out my other Cricut crafts!


[…] […]