Let me start by saying YOU CAN DO THIS!! I was very intimidated when I first started looking at all of the DIY Butterfly Piñata and after I started I kicked myself in the butt for not starting it before. It look me around 3 hours from start to finish.
What you need
- You can purchase most items here
- Cardboard box
- Heavy duty scissors
- Masking tape
- Hot glue & hot glue gun
- Spray glue
- Streamers
- Card stock
- Pipe cleaners
How to make your DIY Butterfly Piñata
When picking out a box for your DIY Butterfly Piñata I recommend getting a sturdy one just because it will be easier to put together but if can’t find one that’s ok too! It might actually help and I’ll tell you why later on.
Part 1: Cut and prep cardboard
- Find a box that has enough cardboard that will go on the front, back and around the frame. You can use multiple boxes.
- I did a free draw for the butterfly but I did see where others printed their design. I would guess they did smaller ones. Butterflies are easy for the most part so you shouldn’t have a problem. Remember you are going to be covering it so nobody will see how many tries it takes to get it drawn how you like it.
- Once you cut your first side trace the outline on the other so they are as similar as you can get them
- Set aside even width strips long enough to go around the frame. It’s ok if they are in pieces, you can glue them together and be just as good.
Part 2: Connecting the frames
- Starting it is a little tricky but once you get about 5 inches done it’s easy breezy from there to connect your DIY Butterfly Piñata.
- Start with the top, this is going to. Be the most difficult party so you need all of the room you can to play with.
- I used my spray glue bottle to soften the cardboard to make it mold better for me. You can use anything that is round with a 1-2 inch diameter
- To start I used tape. It seemed to help the most with keeping the form and then when I was ready to attach it to the frame I placed hot glue on and pressed into it.
- You’ll want to go around doing 3-4 inches at a time so if you need to fix anything you can in parts.
- If the cardboard hangs over a tad that’s ok! You are going to cover it so it can not be be seen
Make sure you read below!
- IMPORTANT leave 3-4 inches not glued on the bottom. This will be where you are going to make the trap.
- Making the trap– one the left side you are going to secure the rim on both sides and on the right side you will need to have a overhang at least 3 inches to push inside after you stuff it. Because you are not gluing the bottom you want it long enough to keep together.
- BEFORE you glue you trap add you ribbon. Simply make tie your pieces together to make a thicker knot and place the strings in the hole and pull down
- ALSO make sure you add you string you are using to hang before connecting the other side. I make that mistake so I use a ribbon that had a small wire to help form it to come back up so I could tie it.
- I recommend tying it under so that you don’t see the knot.
- Once you have one part connected the next is very easy. Simply put hot glue on the rim and add the other frame
- Secure the out parts with tape and start with your streamers
Let’s decorate our DIY Butterfly Piñata!
- I read a few different ways and they either said tissue paper or streamers. When looking at both options in hand streamers looked much easier and I think they were.
- The streamers are the perfect length so that right there makes it easier!
- You will want to start with smaller pieces. The long they are the harder it gets. I had 3 rows when it was all said and done.
- If I hand the time I would have ordered these scissors! It makes the cuts even and overall faster. I waited until last minute so I didn’t order them but I found them on Temu a few weeks later and grabbed them then. (I did not see the one there when writing this to link them)
- I picked up the spray glue from the dollar tree. It took 2.5 to do front, back and sides. I recommend getting 4 simply because you don’t want to not have it. This method is the easiest way to go!
- From there you cover all the way around.
- For the edges I started in the middle and went to the bottom middle and then did the same the other way all the way to the trap
- I made the layers very close. You want to make sure it looks full and colorful
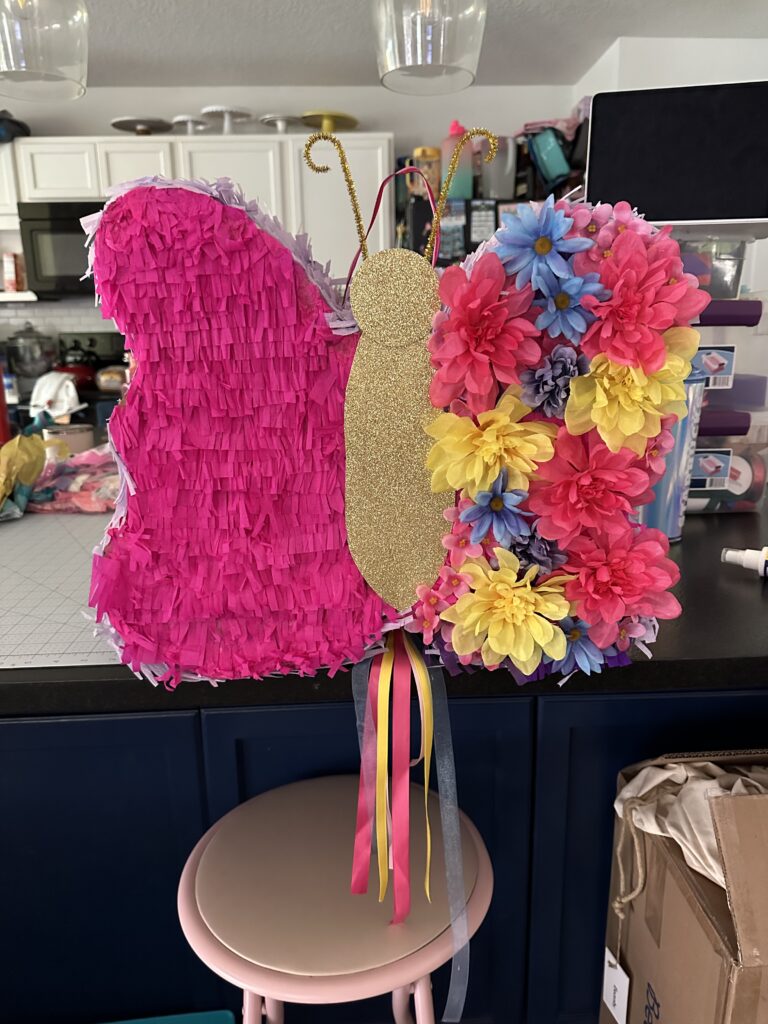
Final touches
I found a design similar to the one I created and I loved it so much but there wasn’t a link to purchase so that’s what lead me to make my own.
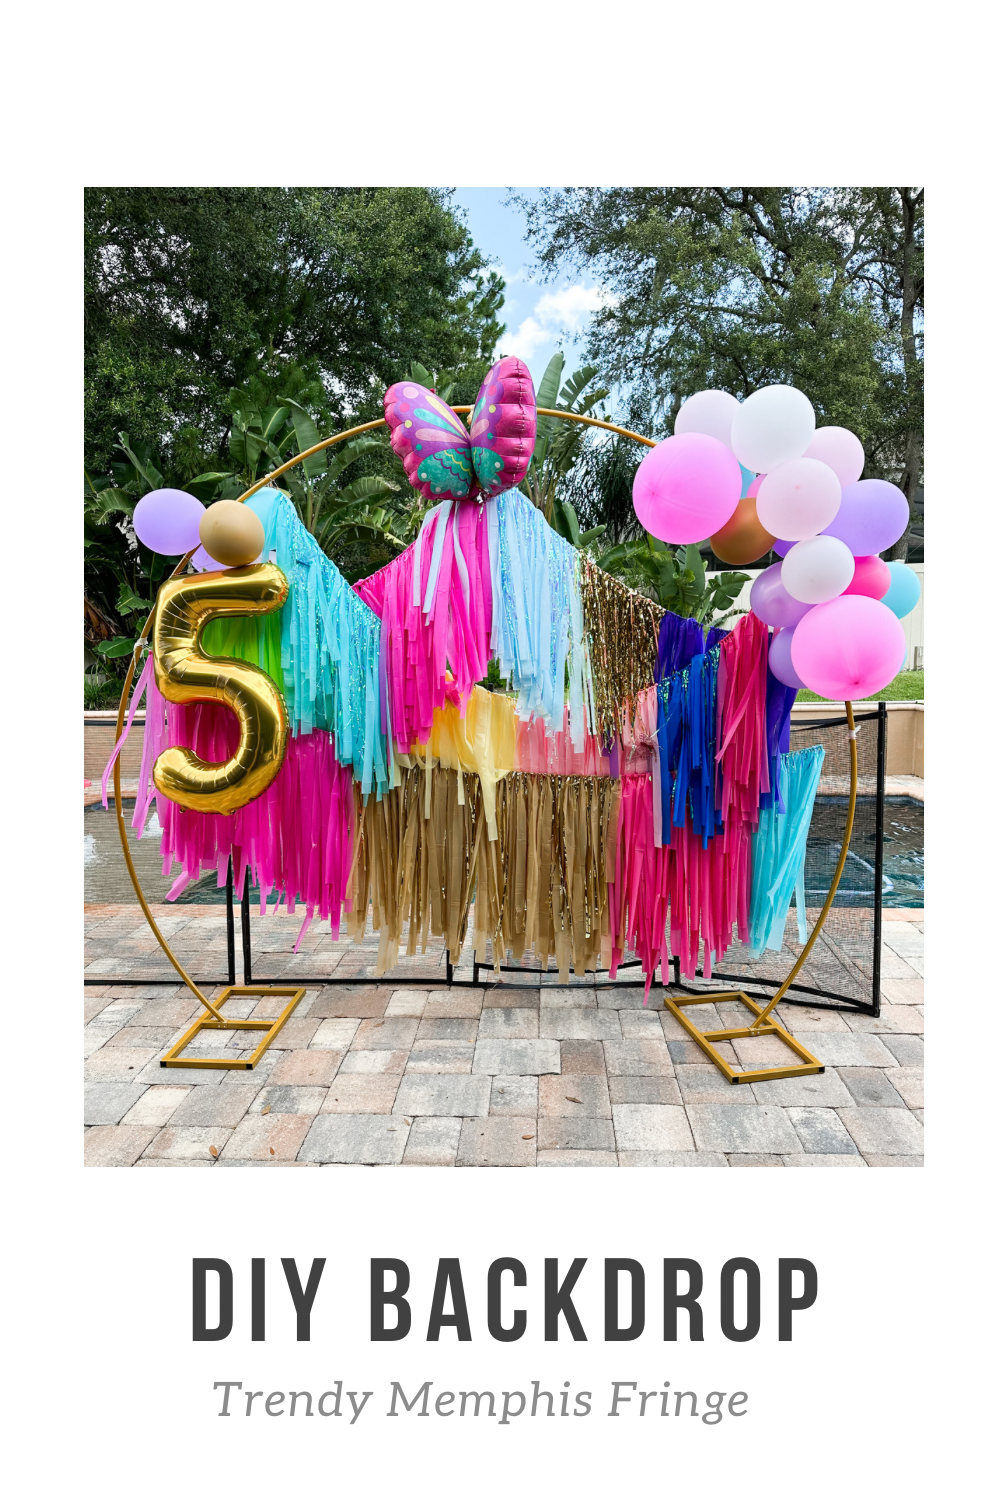
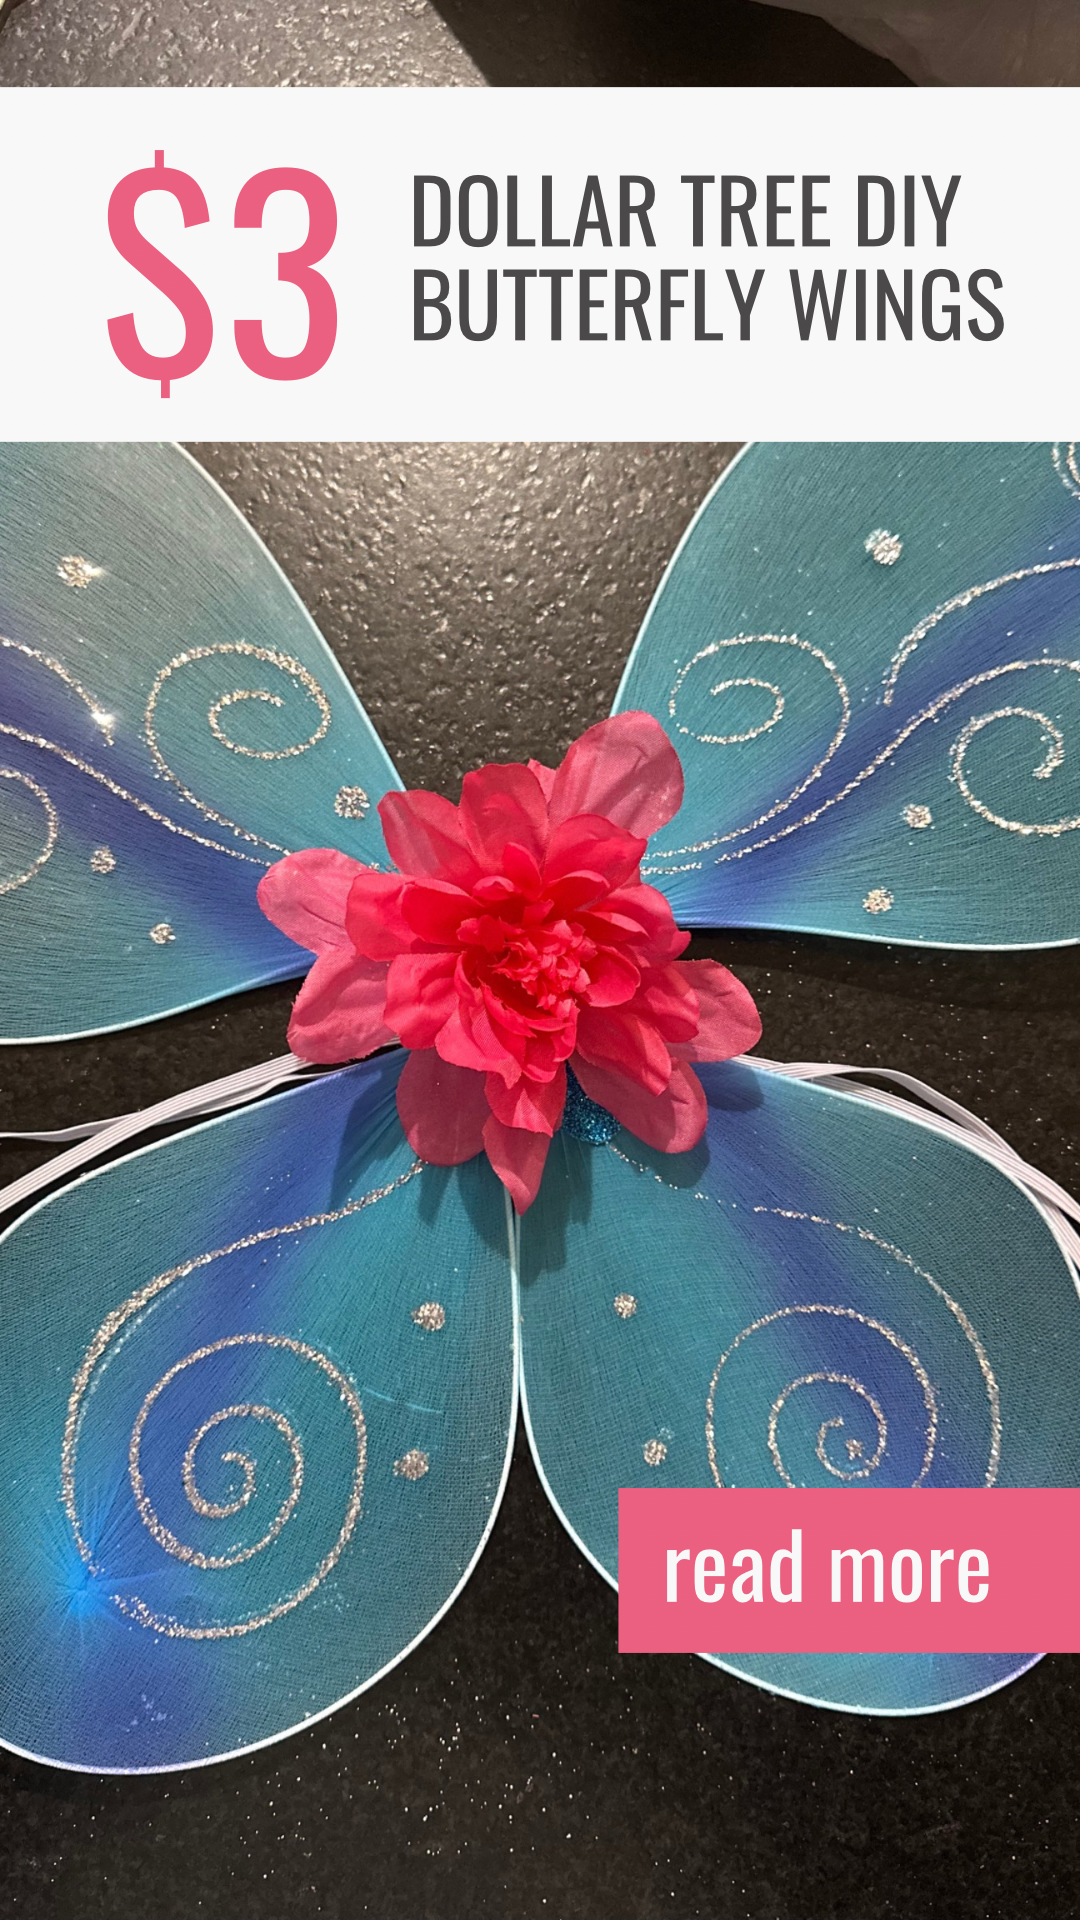
- I used the same flowers as I did for my Dollar Tree DIY Butterfly wings to keep the same theme and it turned out perfect
- I didn’t worry to much about the streamers on this side but I did cover the cardboard with one layer
- The butterfly body I traced a round object and but out the body. I am sure you can find a template online, I just eyed it
- Add your pipe cleaners and you are good to go!


I decided to make my piñata because everything I found online either took to long to ship or were table top sized. I 10/10 recommend doing it yourself. This was done in a single night with no stopping in around 3 hours. The only difference between this one and one from the store is that the box if it’s sturdy most likely will not bust so if you need you can always pull the strings to release the prizes inside.
I filled it with the Walmart 3lbs piñata filler and other girly stuff and never had an issue with it coming out.
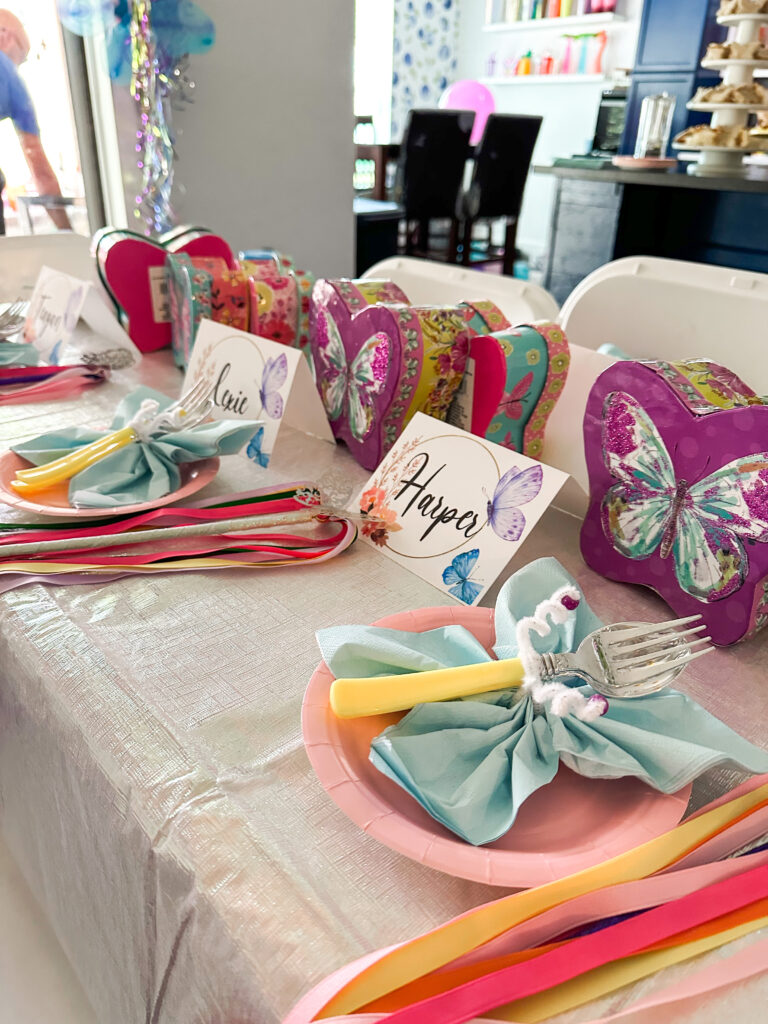
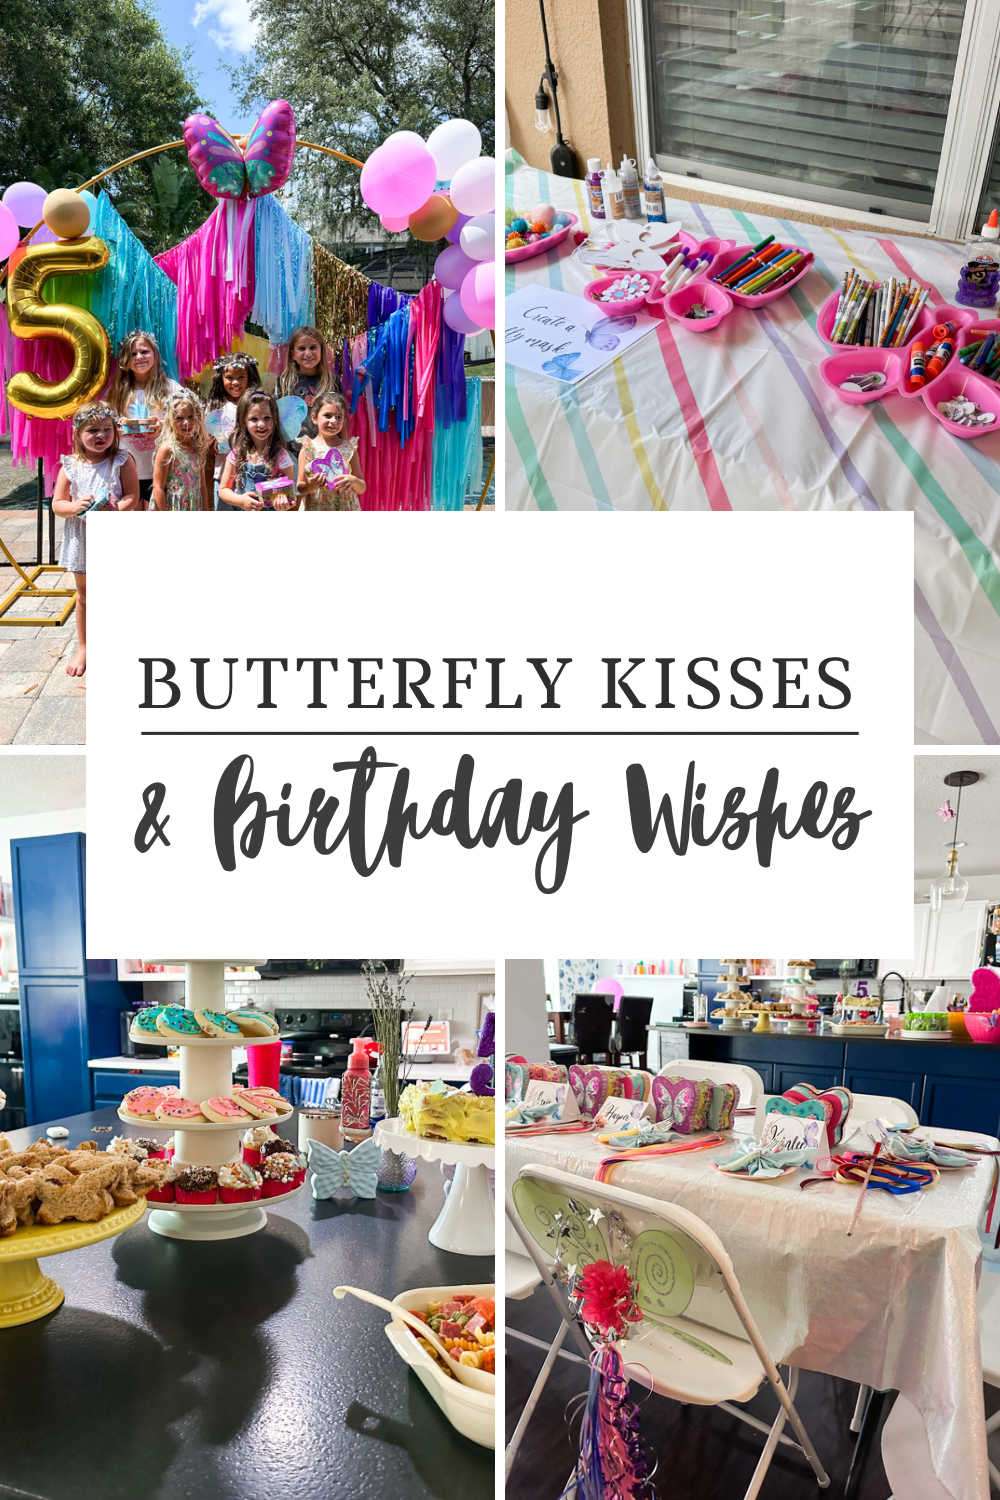
An additional touch that I did was grabbed the butterfly boxes during the spring season at the Dollar Tree and used them as the piñata prize container. Because it was a smaller party it was affordable and make it just that much cuter. You can see them on the table here.
Host your own Butterfly Kisses and Birthday Wishes will all of the DIY’s and more here.


[…] […]