
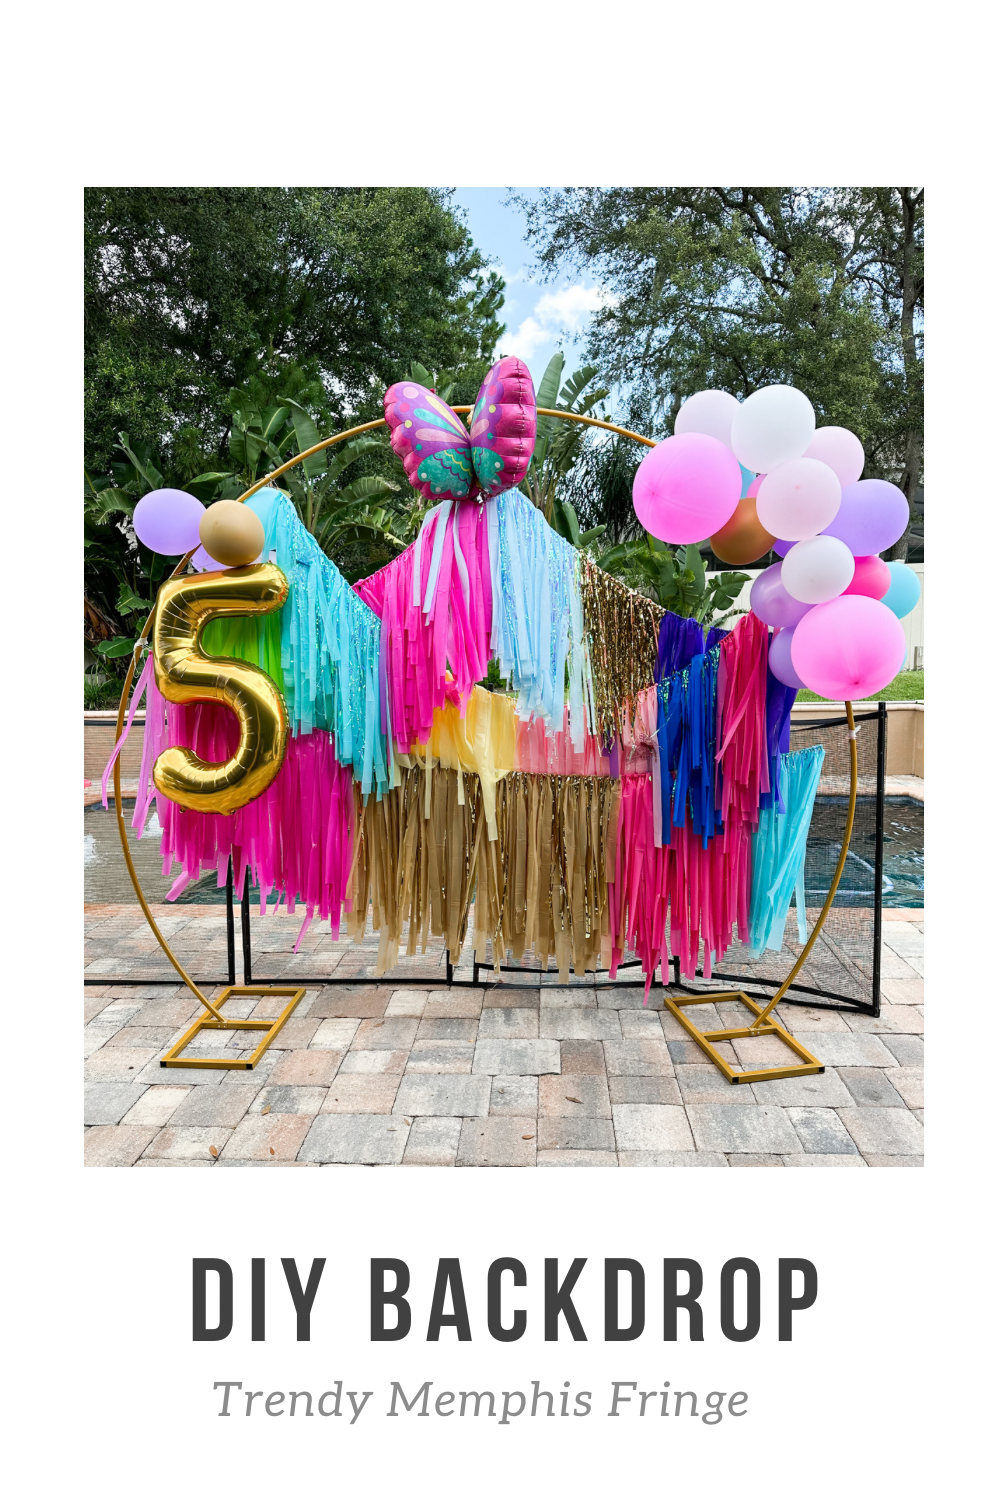
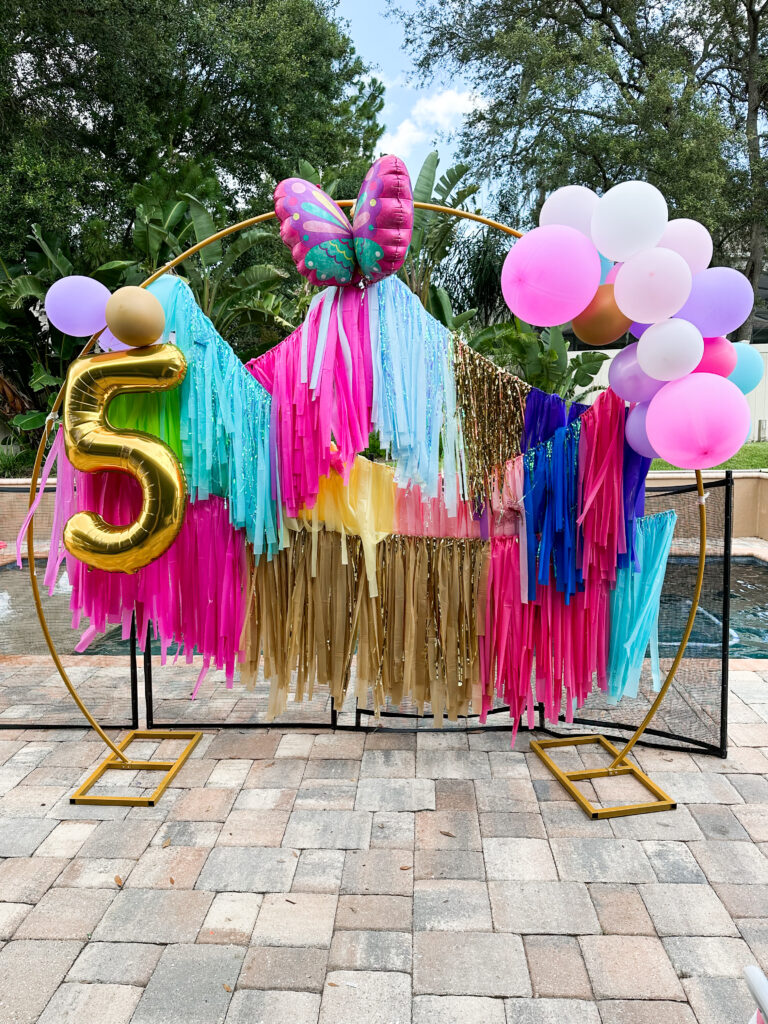
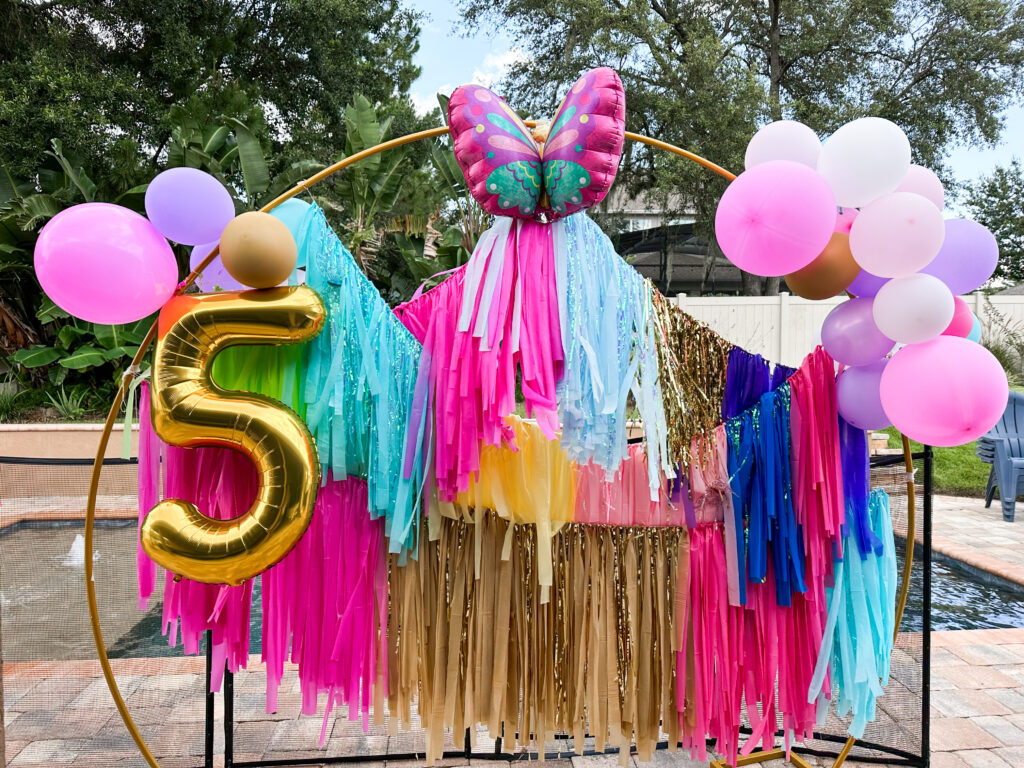
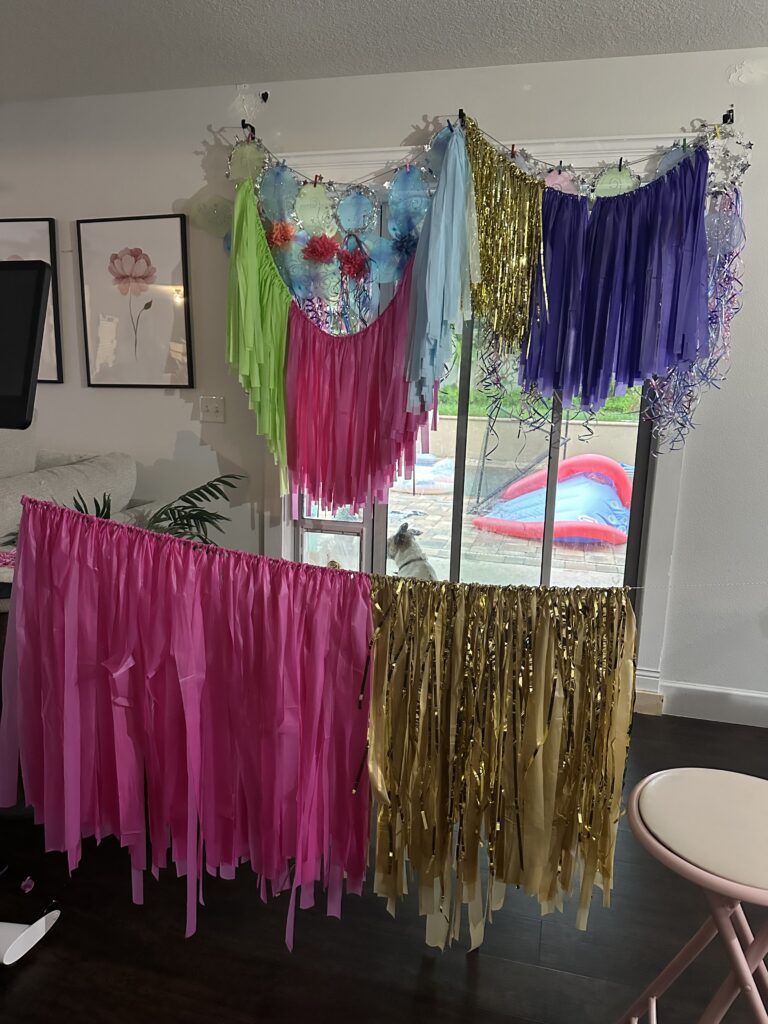
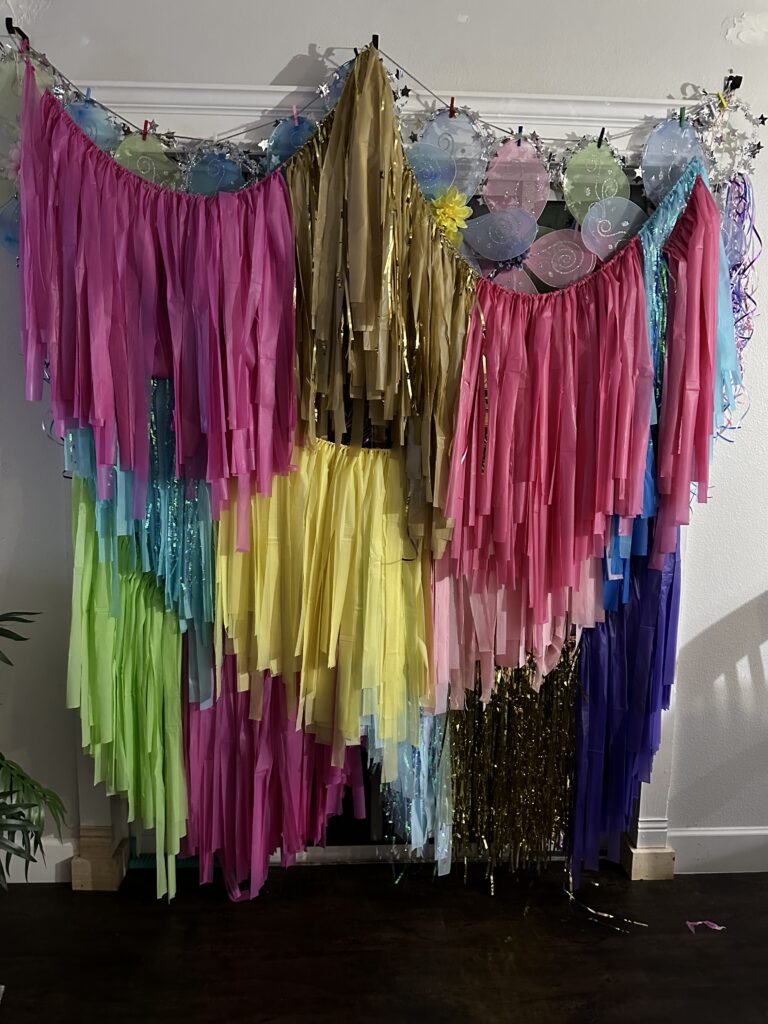
Hi, I’m Danielle and I am OBSESSED with the new Memphis fringe backdrop craze. You can make them any color, any size AND hang it however you like ?. Here are the deets to my Butterfly Themed Memphis Fringe Backdrop.
For starts
To reference the size on mine it is just about 9.5 feet wide and 8 feet tall. There is a smaller one on Amazon here that I want to get but you can find the one I used here.
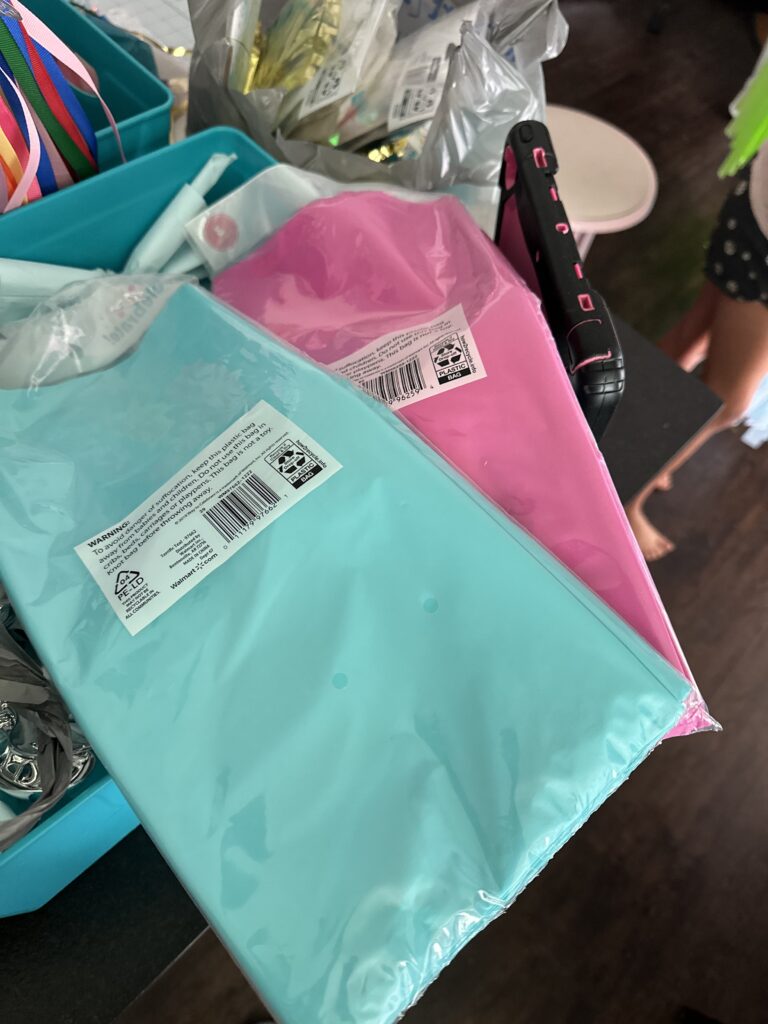
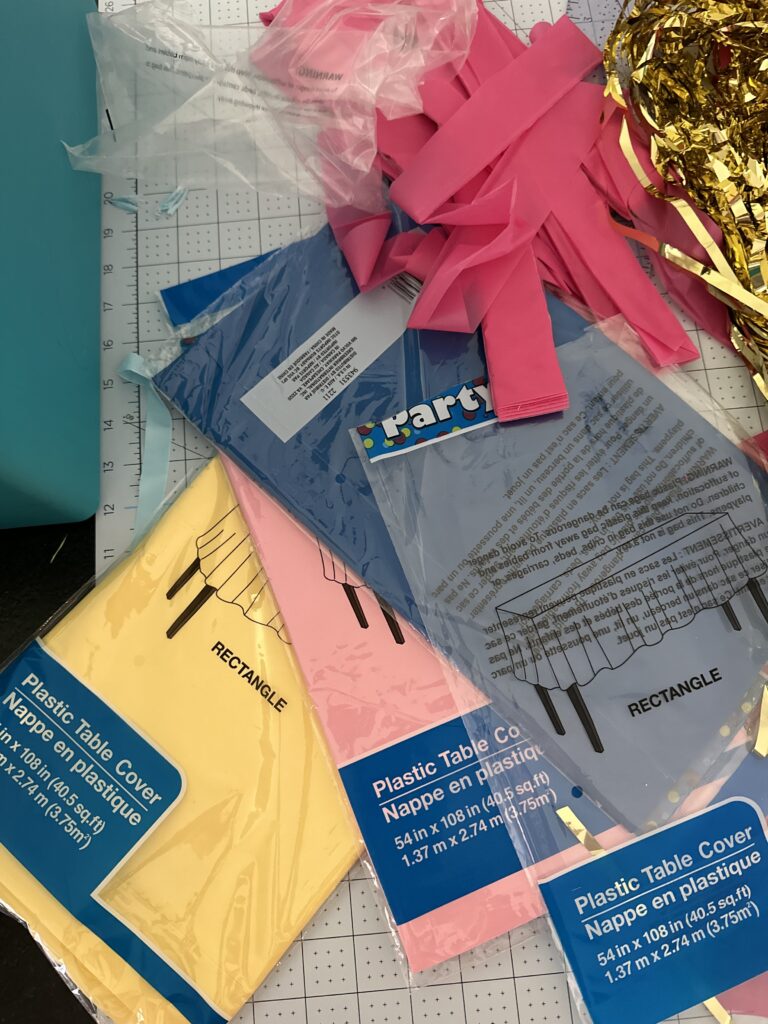
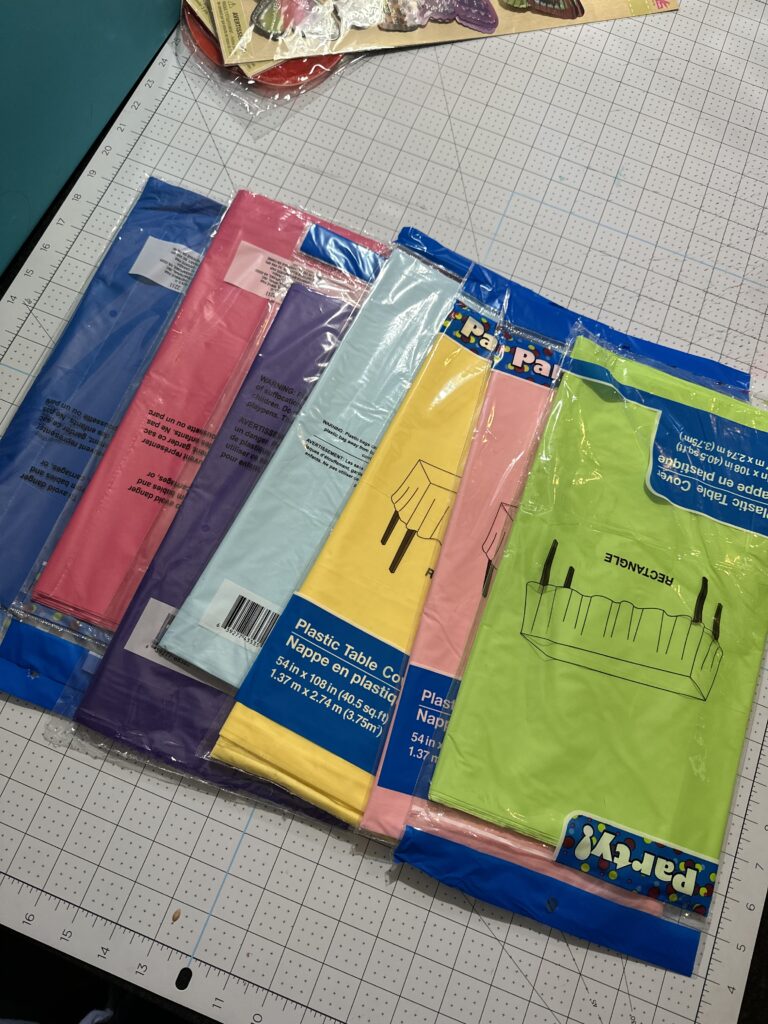
For the bigger patches of colors I used 3 table clothes and for the iridescent and gold I used foil fringe curtains like this one.
When I started my Memphis fringe backdrop project I wasn’t 100% sure what I was doing and what colors I wanted to use so I grabbed anything that felt like it would work and went with it. When I do it again I will definitely use Walmart or Amazon table cloths because the Dollar tree ripped easily and got annoying after awhile.
Your tools you will need for your Memphis fringe backdrop
- I have a large self healing mat from Cricut that I LOVE, but you can find one here from amazon at a better price.
- You will also need a Rotary Cutter
- A strong string like twine to hang it on
- Plastic ruler, I use this Cricut one for everything and it’s been the best craft addition for the last 5 years.
I have a large self healing mat from Cricut that I LOVE, but you can find one here from amazon at a better price. You will also need a Rotary Cutter and a strong string like twine to hang on.
This project does take some time. I did mine in about 48 hours with only sleeping in between so I recommend giving yourself at least a week if you don’t want to be rushed like myself.
This is a very easy project
It may look intimidating but it’s not and once you start you will get the hang of it.
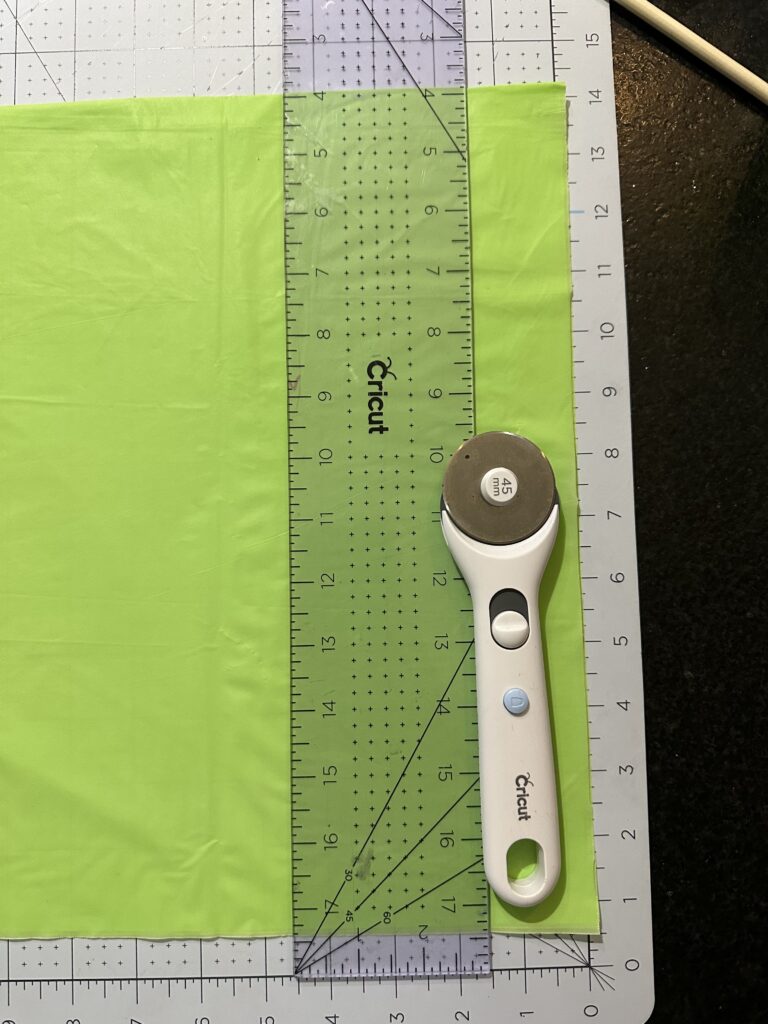
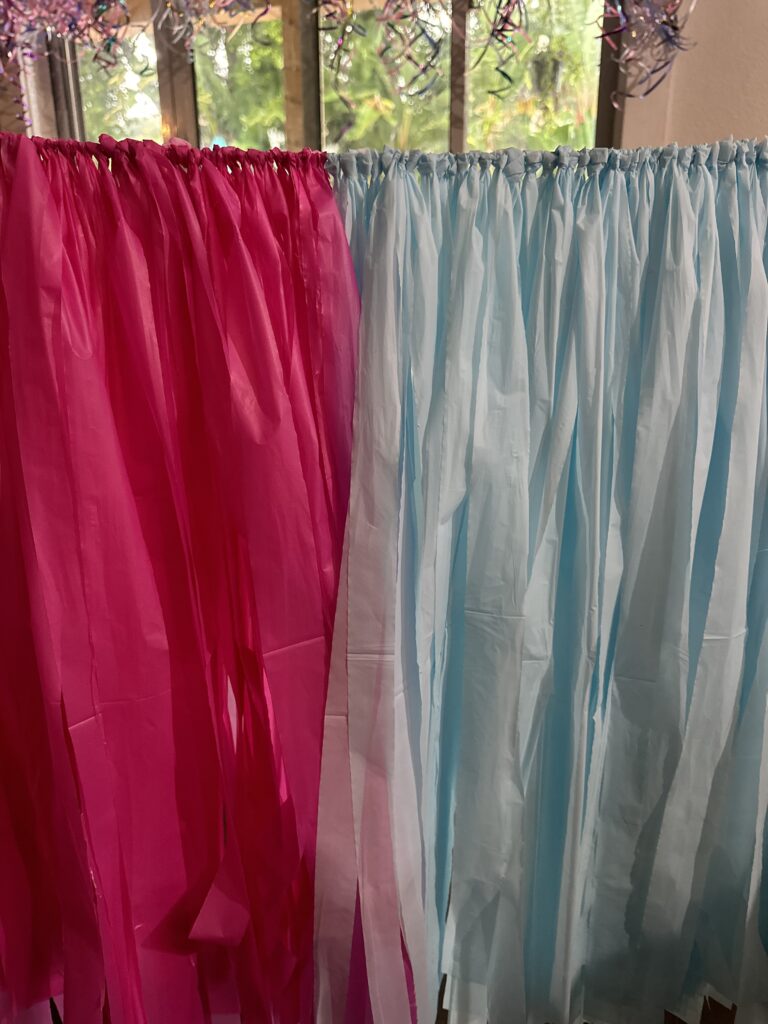
- I kept my table clothes folded for the most part. I only unfolded it once and rarely had a problem
- Cut strips an inch and half and leave them at height of the table cloth it comes folded in
- When ready unfold strip and fold in half, place being the twine and pull ends through the loop to attached it. If you have ever made a tutu or ribbon garland it is exactly like that. For reference it is a slip knot.
- Try to keep the ends even but they do not have to be perfect
- Continue to add the colors you like and go until yours is complete
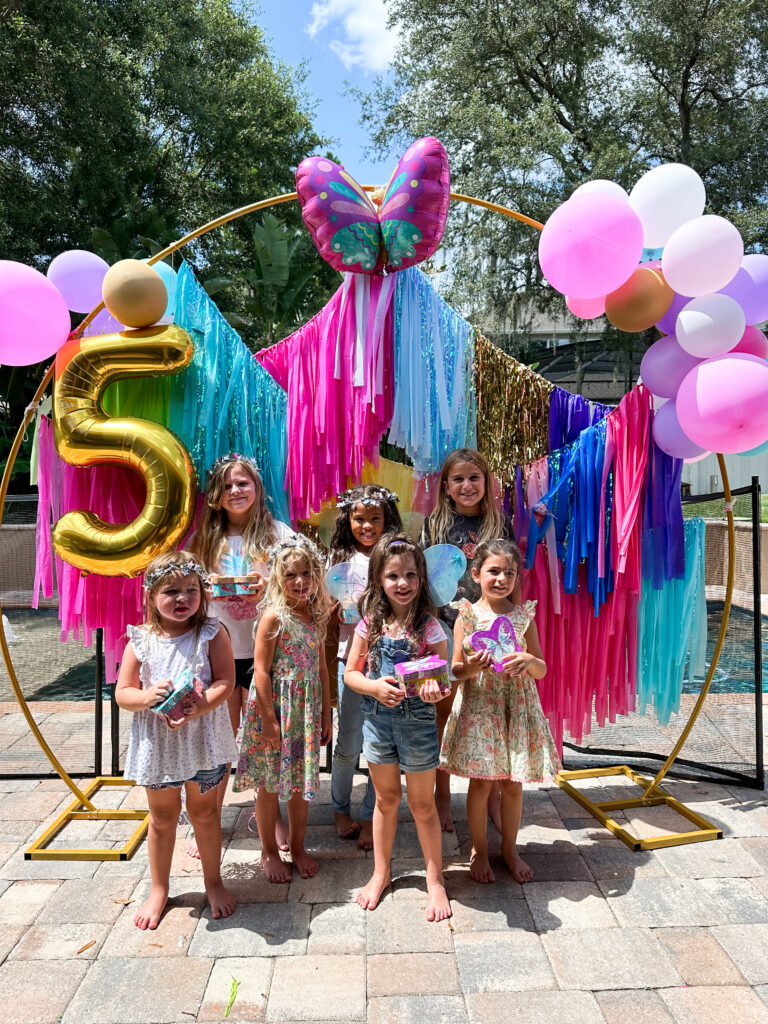
Complete your Butterfly party with all things you need here at my Butterfly Kisses and Birthday Wishes blog.
Gratitude yummi.club


[…] […]